How to configure Repeater/Bridge Mode on TL-MR3020 (new logo)
Repeat signal from an existing wireless network. This mode is suitable to extend wireless coverage, reaching devices that were previously too far from your host router to maintain stable wireless connection.
Here takes TL-MR3020 for demonstration.
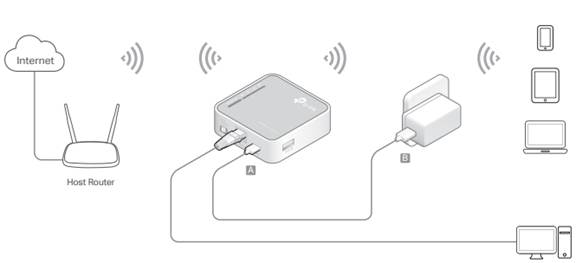
1. Switch the operation mode to AP and connect the hardware according to Step A and B.
2. Log in the router. For instruction, please refer to How to log into the web management page of TL-MR3020 (new logo)?
The Quick Setup Wizard will walk you through the process to set up your router.
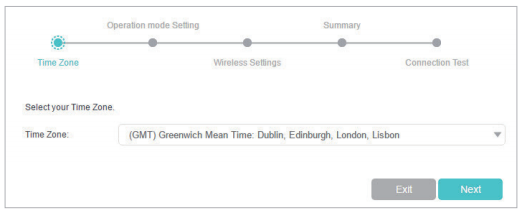
3. Select your Time Zone and click Next.
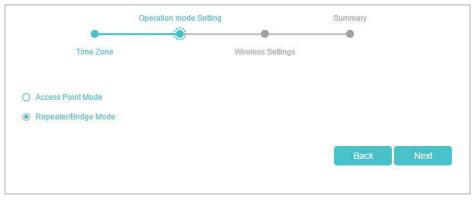
4. Select Repeater/Bridge Mode and click Next.
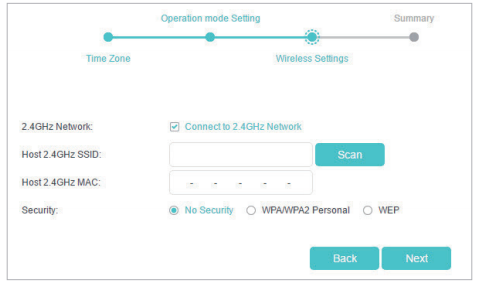
5. Click Scan to find the network you want to extend. Enter the Password for the selected wireless network if it is encrypted. Then click Next.
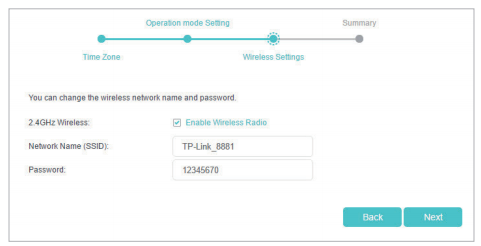
6. Either customize your Network Name (SSID) and Password or keep the default ones, and then click Next.
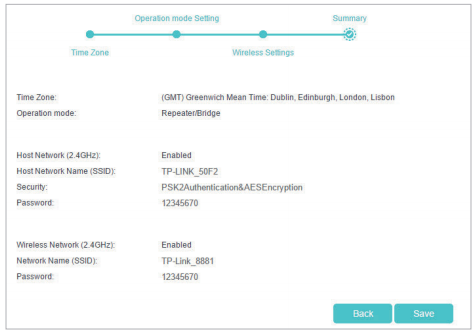
7. Click Save to complete the configuration.
8. Relocate the router about halfway between your host router and the Wi-Fi dead zone.
Get to know more details of each function and configuration please go to Download Center to download the manual of your product.
Is this faq useful?
Your feedback helps improve this site.
TP-Link Community
Still need help? Search for answers, ask questions, and get help from TP-Link experts and other users around the world.