How to configure TL-WR902AC as Range Extender (new logo)
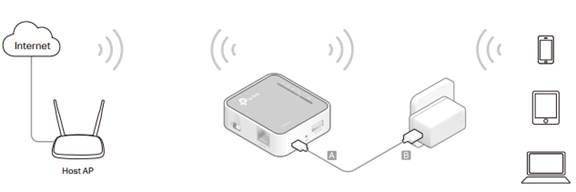
Repeat signal from an existing wireless network. This mode is suitable to extend wireless coverage, reaching devices that were previously too far from your primary router to maintain a stable wireless connection.
1. Switch the operating mode to AP/Rng Ext/Client and plug the router into an electrical outlet near your host AP.
2. Connect your device to the router wirelessly or via an Ethernet cable. The Wi-Fi network name and password are on the router’s label.
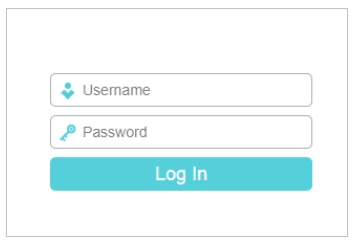
3. Launch a web browser and enter http://tplinkwifi.net in the address bar. Log in with admin (in lowercase) for both username and password.
4. Click Next to start the Quick Setup.
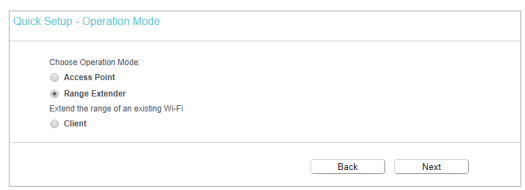
5. Select Range Extender for the operation mode of the router.
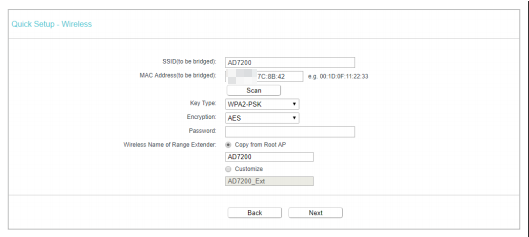
6. Click Connect to connect to the host network in the AP List page.

7. Enter the password of the host network and then either copy the Wireless Name from the host network or customize it.
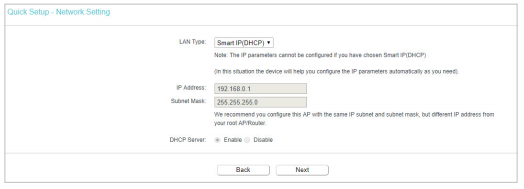
8. Select the LAN IP type of the router or leave the default settings Smart IP for most cases, and then click Next.
9. Click Finish to apply the settings.
10. Relocate the router about halfway between your host network and the Wi-Fi dead zone. The extended network shares the same Wi-Fi password as that of your host network, but may have different wireless network name if you have customized it during the configuration.
Get to know more details of each function and configuration please go to Download Center to download the manual of your product.
Is this faq useful?
Your feedback helps improve this site.
TP-Link Community
Still need help? Search for answers, ask questions, and get help from TP-Link experts and other users around the world.