How to configure TL-WR902AC as Standard Wireless Router (new logo)
Create an instant private wireless network and share internet to multiple Wi-Fi devices. This mode is suitable for hotel rooms and home networks.
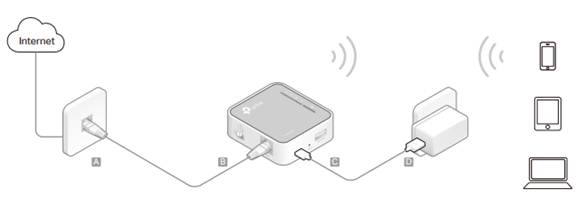
1. Switch the operating mode to Share ETH and connect the hardware according to Step A to D.
2. Connect your device to the router wirelessly. The Wi-Fi network name and password are on the router’s label.
Note: If the hotel’s internet has an authentication process, you will need to authenticate only once and only on one device.
Check whether you can access the internet.
- If yes, neglect the steps below and enjoy the internet.
- If no, continue with the steps below.
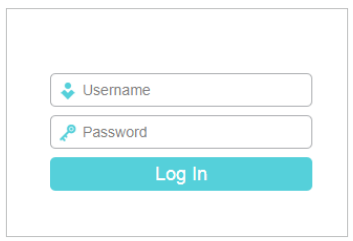
3. Set up the TCP/IP Protocol in Obtain an IP address automatically mode on your computer. Visit http://tplinkwifi.net, and log in with the username and password you set for the router. The default one is admin (all lowercase) for both username and password.
4. Click Next to start the Quick Setup.
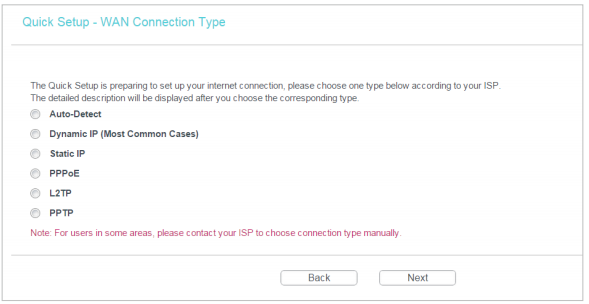
5. Select the WAN Connection Type. When using the router in a hotel room or a small office, select Dynamic IP.
Note:
• If you use DSL line and you are only provided an account name and a password by your ISP, choose PPPoE.
• If you use cable TV or fiber cable, choose Dynamic IP.
• If you are provided more information such as IP address, Subnet Mask and Default Gateway, choose Static IP.
• Contact your ISP if you are not sure about the WAN connection information. You can also select AutoDetect to let the router detect your connection type automatically.
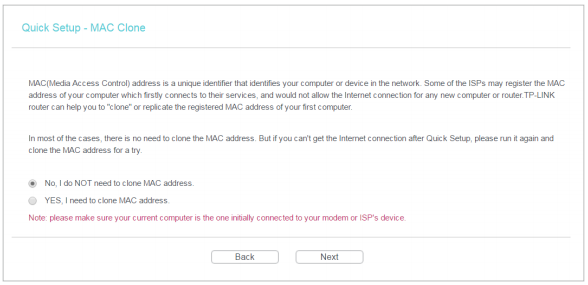
6. In this case, we take Dynamic IP for instance. Please select to clone the mac address or not and click Next. For other connection types, please enter the parameters provided by your ISP, and then click Next.
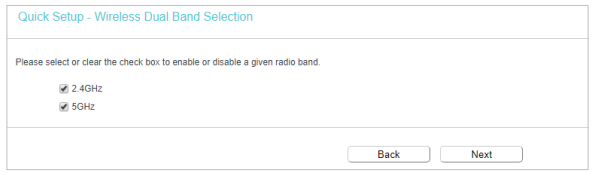
7. Select the wireless band you want to enable. It’s suggested to keep the two bands both enabled. And click Next.
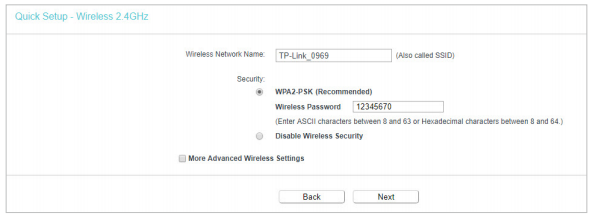
8. Either customize your Wireless Network Name and Wireless Password for the 2.4GHz/5GHz wireless network or keep the default ones, and then click Next.
9. Click Save to apply the settings.
Note: If you have changed the default Wi-Fi name(s) and password(s), you have to reconnect your wireless devices to the new Wi-Fi network(s).
Get to know more details of each function and configuration please go to Download Center to download the manual of your product.
Fick du svar på din fråga?
Your feedback helps improve this site.
TP-Link Community
Still need help? Search for answers, ask questions, and get help from TP-Link experts and other users around the world.