How to Configure the Hotspot Router Mode on the TL-WR802N
Scenario
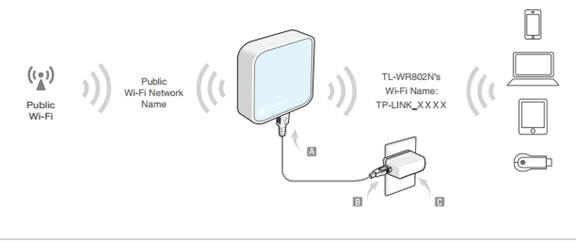
Definition: The TL-WR802N borrows existing wireless Internet and broadcasts it using a different network name (SSID) and password. This application can create two individual networks for two groups of users sharing one Internet.
Tips: In this mode, devices can connect to the internet via the LAN port and wireless simultaneously.
Step 1
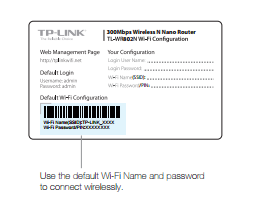
Use the default Wi-Fi Name and Password printed on the Wi-Fi Info Card to connect to the router.
Step 2
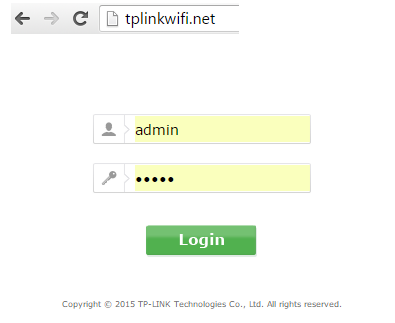
Launch a web browser and type http://tplinkwifi.net into the address bar. Enter admin (in lowercase) for both user name and password.
Step 3
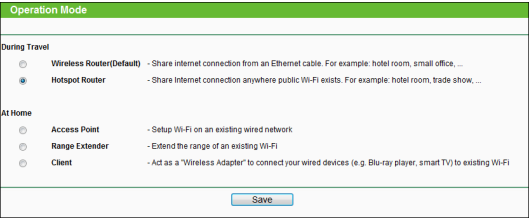
Click Quick Setup on the left panel, and click Next to start configuring the router. Select Hotspot Router mode and click Next.
Step 4
Select the WAN Connection Type of your Internet Service Provider and follow the screen instructions to configure the parameters. When using the router in a hotel room or a small office, please select Dynamic IP.
If you’re not sure, please consult with your ISP customer service or refer to the link below:
Application Requirement Choose WAN Connection Type on my TP-Link router
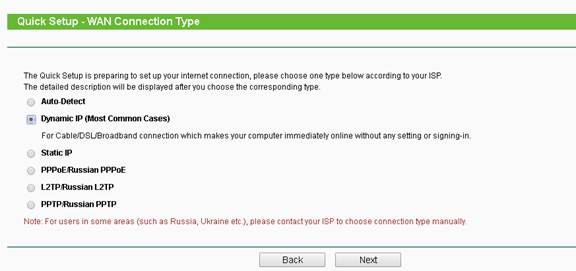
Procedures are different according to the Connection Type you choose.
- Select Dynamic IP, and click Next;
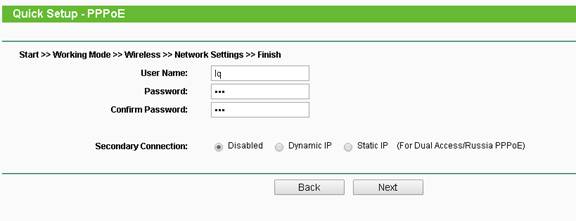
- Select PPPoE, input the Username and Password provided by ISP and then click Next;
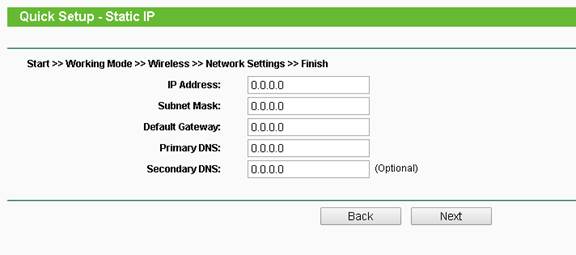
- Select Static IP, input the IP parameters provided by ISP and then click Next;
Step 5
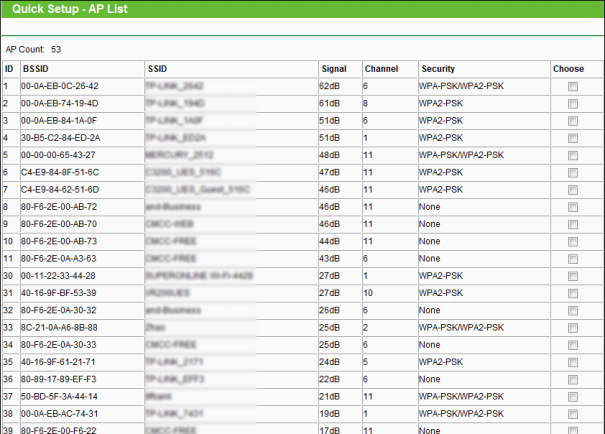
The router will scan for the wireless network automatically, and then AP List page will appear. Select the public Wi-Fi that you want to connect to, and click Next.
Step 6
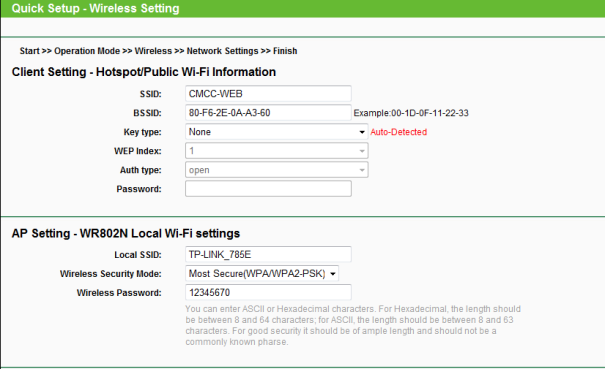
Type in the public Wi-Fi password when prompted. In the AP settings section, customize your Wi-Fi network name and password, then click Next.
Step 7
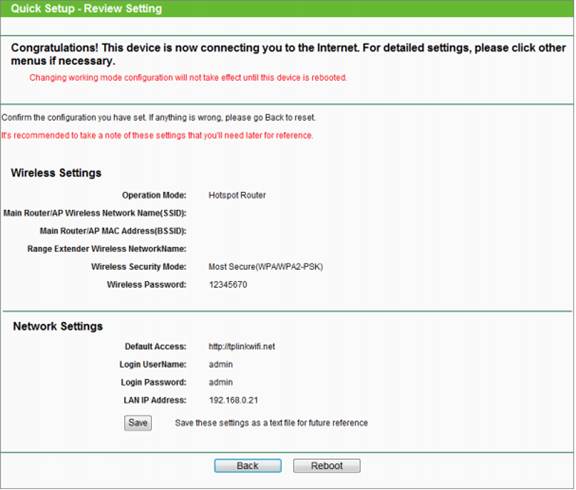
Click Finish or Reboot to complete the configuration.
Get to know more details of each function and configuration please go to Support Center to download the manual of your product.
Fick du svar på din fråga?
Your feedback helps improve this site.
TP-Link Community
Still need help? Search for answers, ask questions, and get help from TP-Link experts and other users around the world.