How to setup TP-Link Wi-Fi Router on Tether APP
Note: This articles applies to wireless router that’s compatible with Tether.
https://www.tp-link.com/tether_compatibility_list/
This article will take Archer AX55 as an example.
Step 1. Connect Ethernet cable to your router’s WAN port from the modem like Pic 1 or the Ethernet port on the wall like Pic 2.
Pic 1

Pic 2

Step 2. Connect your smartphone to TP-Link Wi-Fi. The default wireless network name and password of TP-Link wireless router are printed on the bottom label.

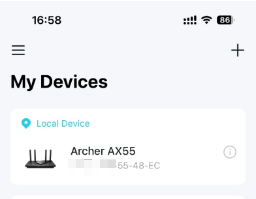
Step 3. Launch the Tether APP on your phone.

Step 4. Select your TP-Link wireless router from device list.
Step 5. Create a login password for TP-Link wireless router.


Step 6. Select connection type such as PPPoE, Dynamic IP, and Static IP, and fill in VLAN ID if ISP required, which all need to be confirmed with your ISP. The Common connection types of regular ISPs we collected is for reference only.
If connection type is Dynamic IP, please select it and go next


If connection type is PPPOE, enter the username and password provided by your ISP and go next.


Note For connection type: you may choose Dynamic IP when the TP-Link router wired to a main router like Pic 1, or you are suggested to confirm with ISP if your TP-Link router is wired to ISP directly like Pic 2.
Pic 1

Pic 2

If ISP required a VLAN ID, please get the VLAN ID from your ISP and enter it follow the steps:
- Enable IPTV/VLAN, select Custom If your ISP is out of the list;
- Type the VLAN ID provided by your ISP for the Internet VLAN ID;
- Check 802.1Q Tag and leave the priority as the default.
- Choose Internet for all the LAN ports.
- Do not change other settings unless necessary and click on “Done” to make the settings effective.
|
|
|


Step 7. Confirm “Do you need to change your MAC address”. Please choose “Do not Change MAC address (Recommended)” if you are not sure.

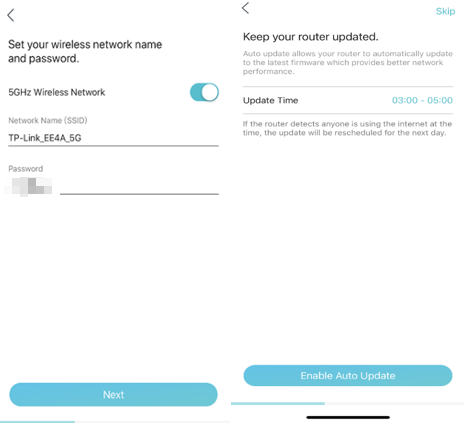
Step 8. Customize 2.4GHz and 5GHz Wireless Network of TP-Link wireless router. Set the Update Time you like or Skip it.
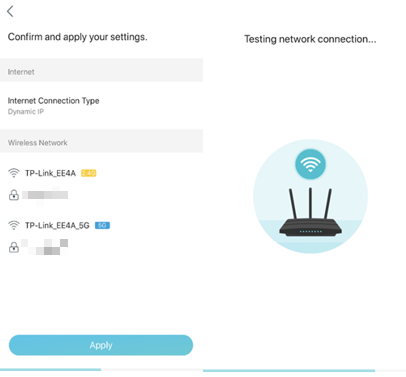
Step 9. Confirm and apply your settings. Then, Tether APP will test your network connection and report to you if there has something wrong.
Step 10. Done! Please enjoy your internet.

Is this faq useful?
Your feedback helps improve this site.


3.0_A_RGB_normal_1584493572647x.png)
TP-Link Community
Still need help? Search for answers, ask questions, and get help from TP-Link experts and other users around the world.