How to set up cloud camera with tpCamera APP
This article is only suitable for basic configurations.
Note: NC Class Cameras work with tpCamera app only.
Run the tpCamera APP on the Android phone or Iphone
Note: Please download and update the latest version of the app from Google Play or the App Store.
For IOS devices: download the tpCamera APP in APP store
For Android phone: Scan the QR code below or on the camera’s package and an APP downloading link will come up.
Here we take Android as an example to set up the camera:
1) Connect your camera to your router by an Ethernet cable, then connect the phone to the Wi-Fi network of same router.
Note:
1.The NC210 do not have Ethernet port, it can only be configured via Wi-Fi.
2.After we configured the camera successfully, if you don’t want the camera connect to the router via Ethernet cable, you can disconnect the Ethernet cable between the router and the camera, and the Camera will connected to the router automatically by Wi-Fi.
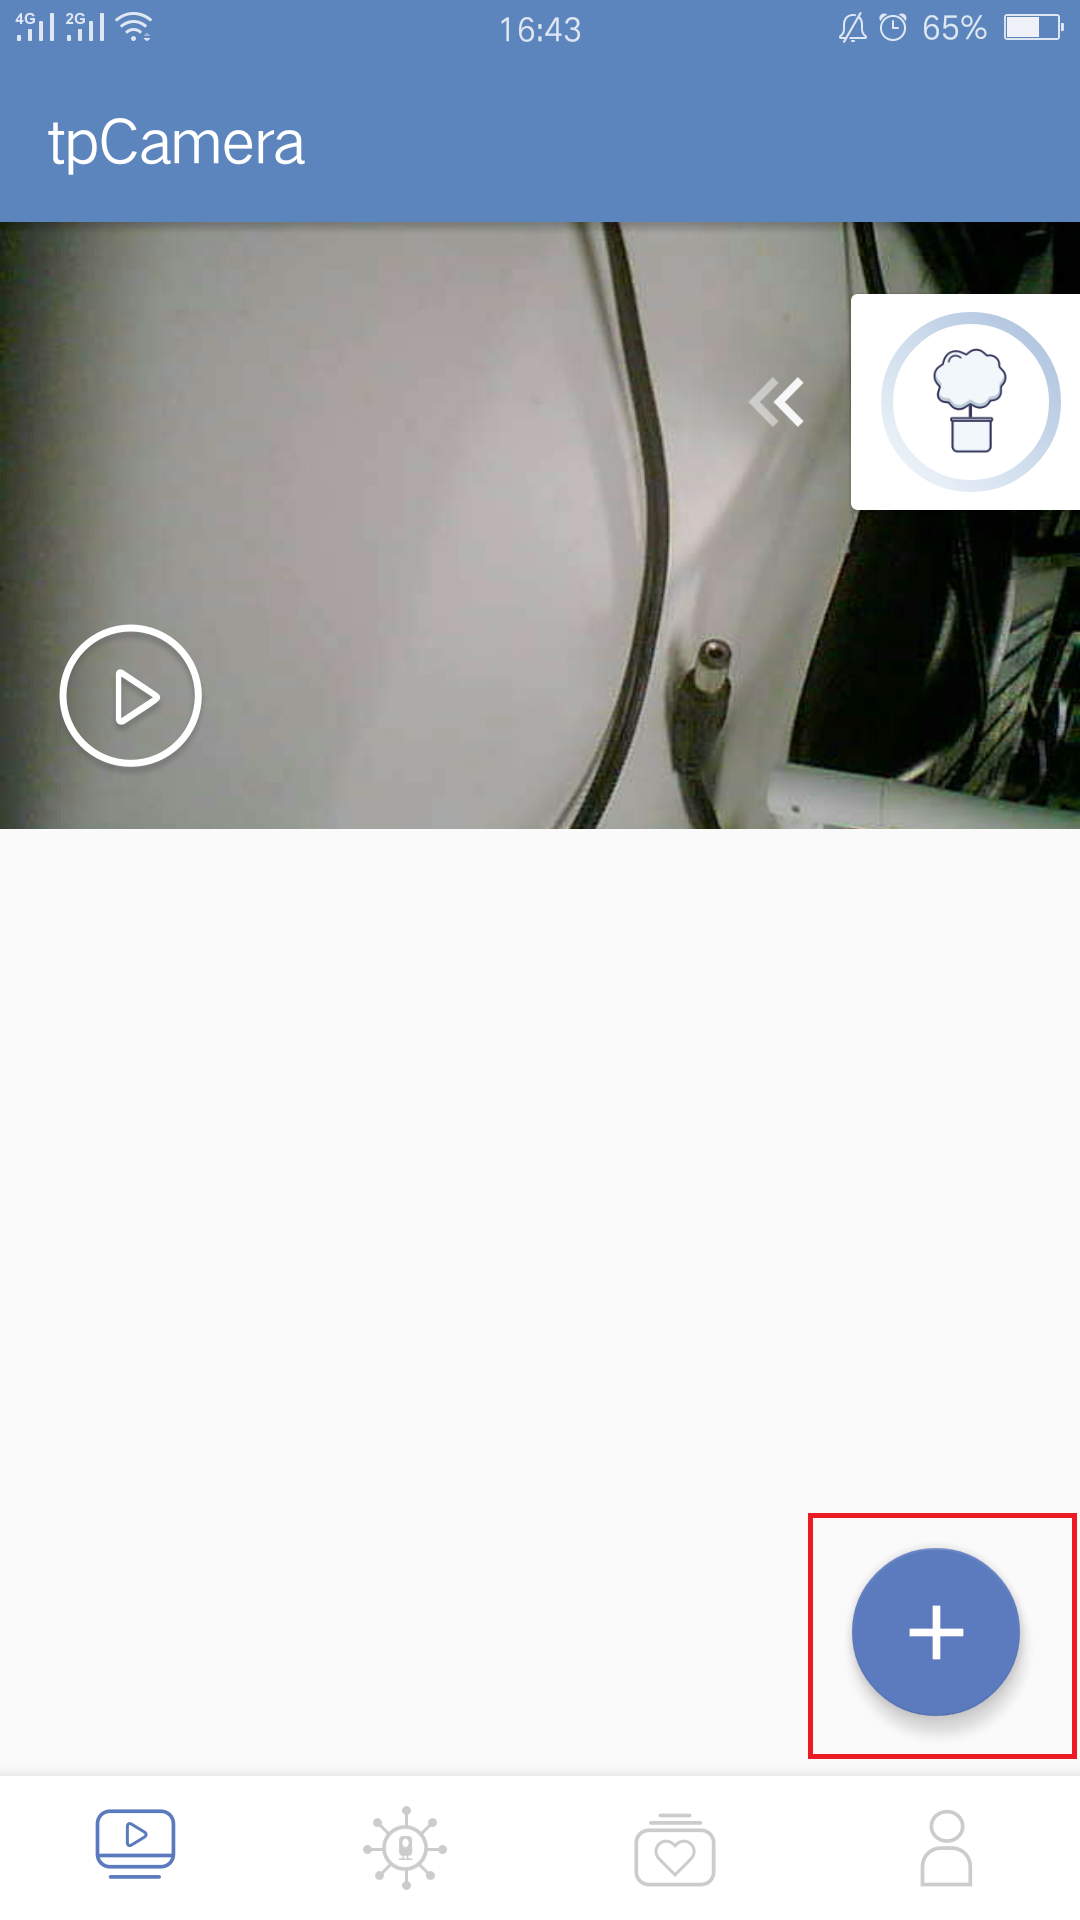
2) Log in the tpCamera app with your cloud account, choose “+” to add a new device.
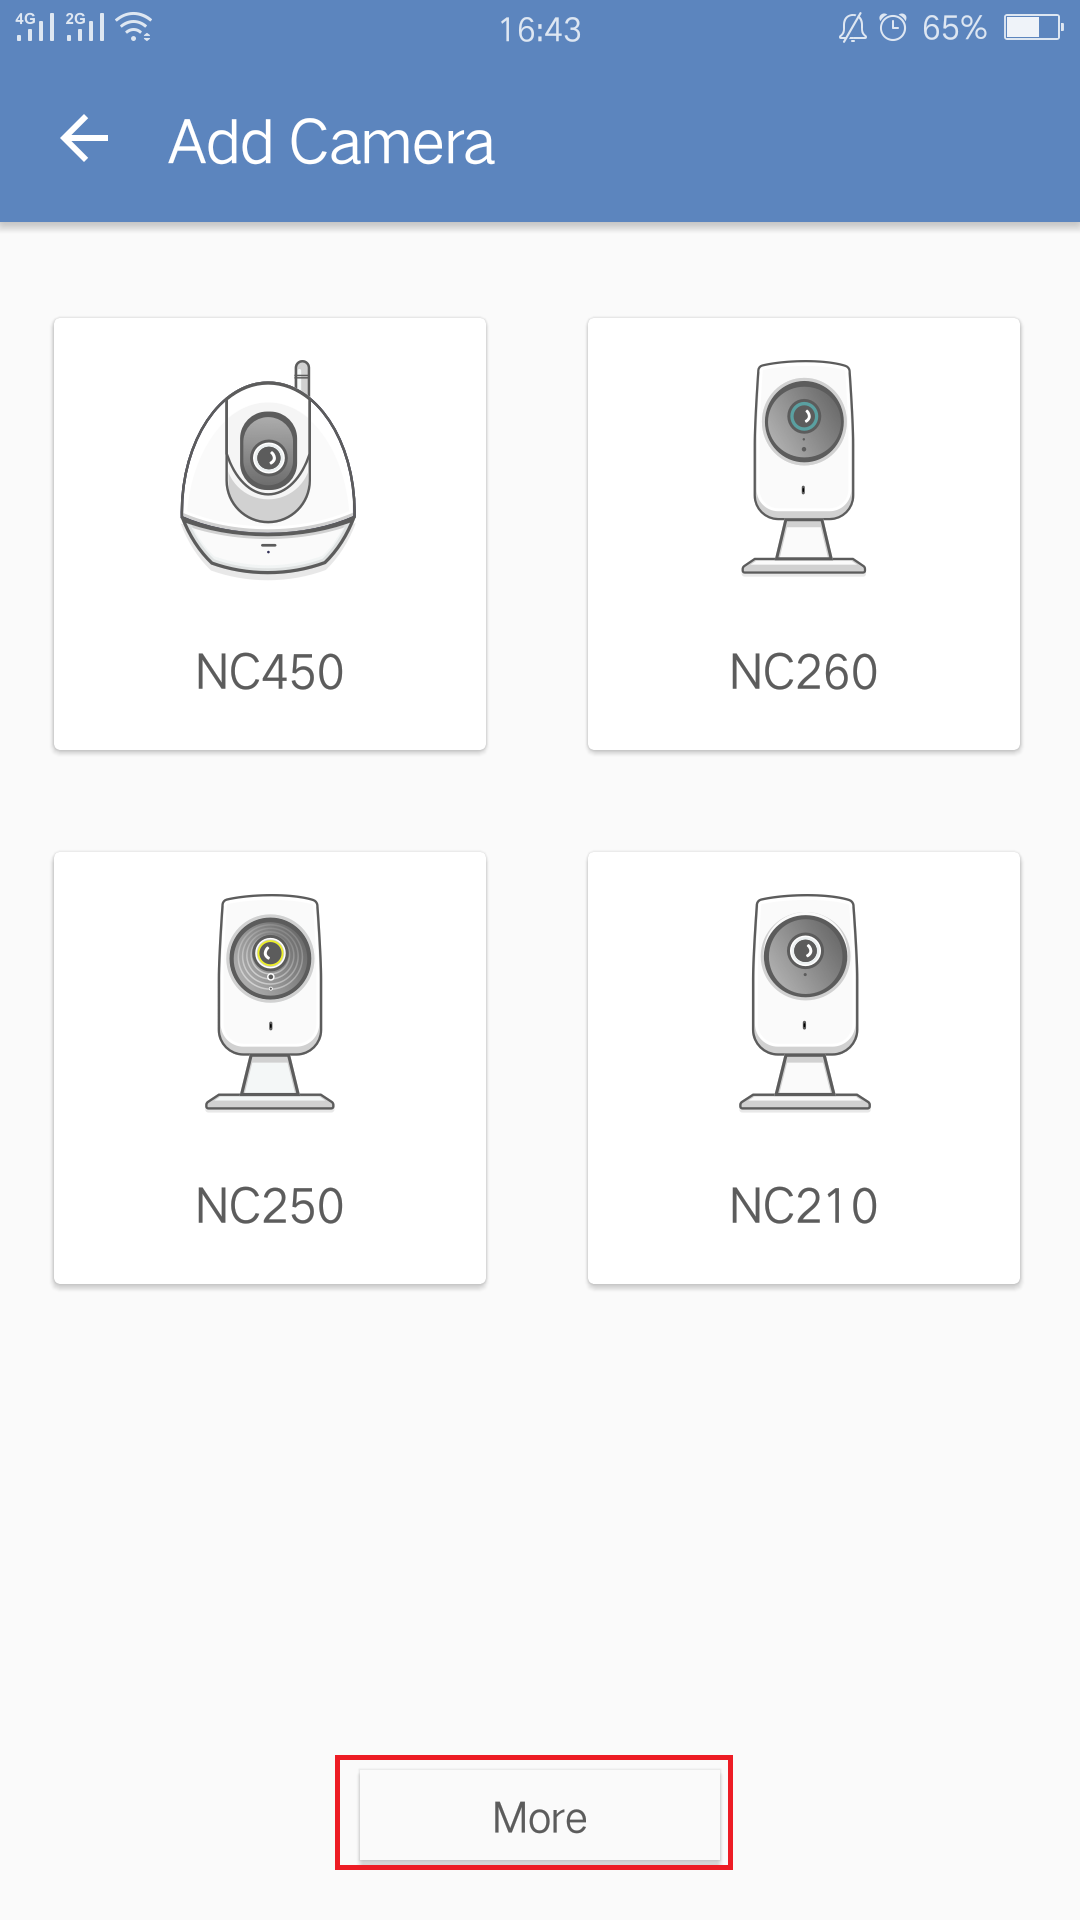
3)You need to choose the model number of your camera before adding it.Tap “More” you could find more models.
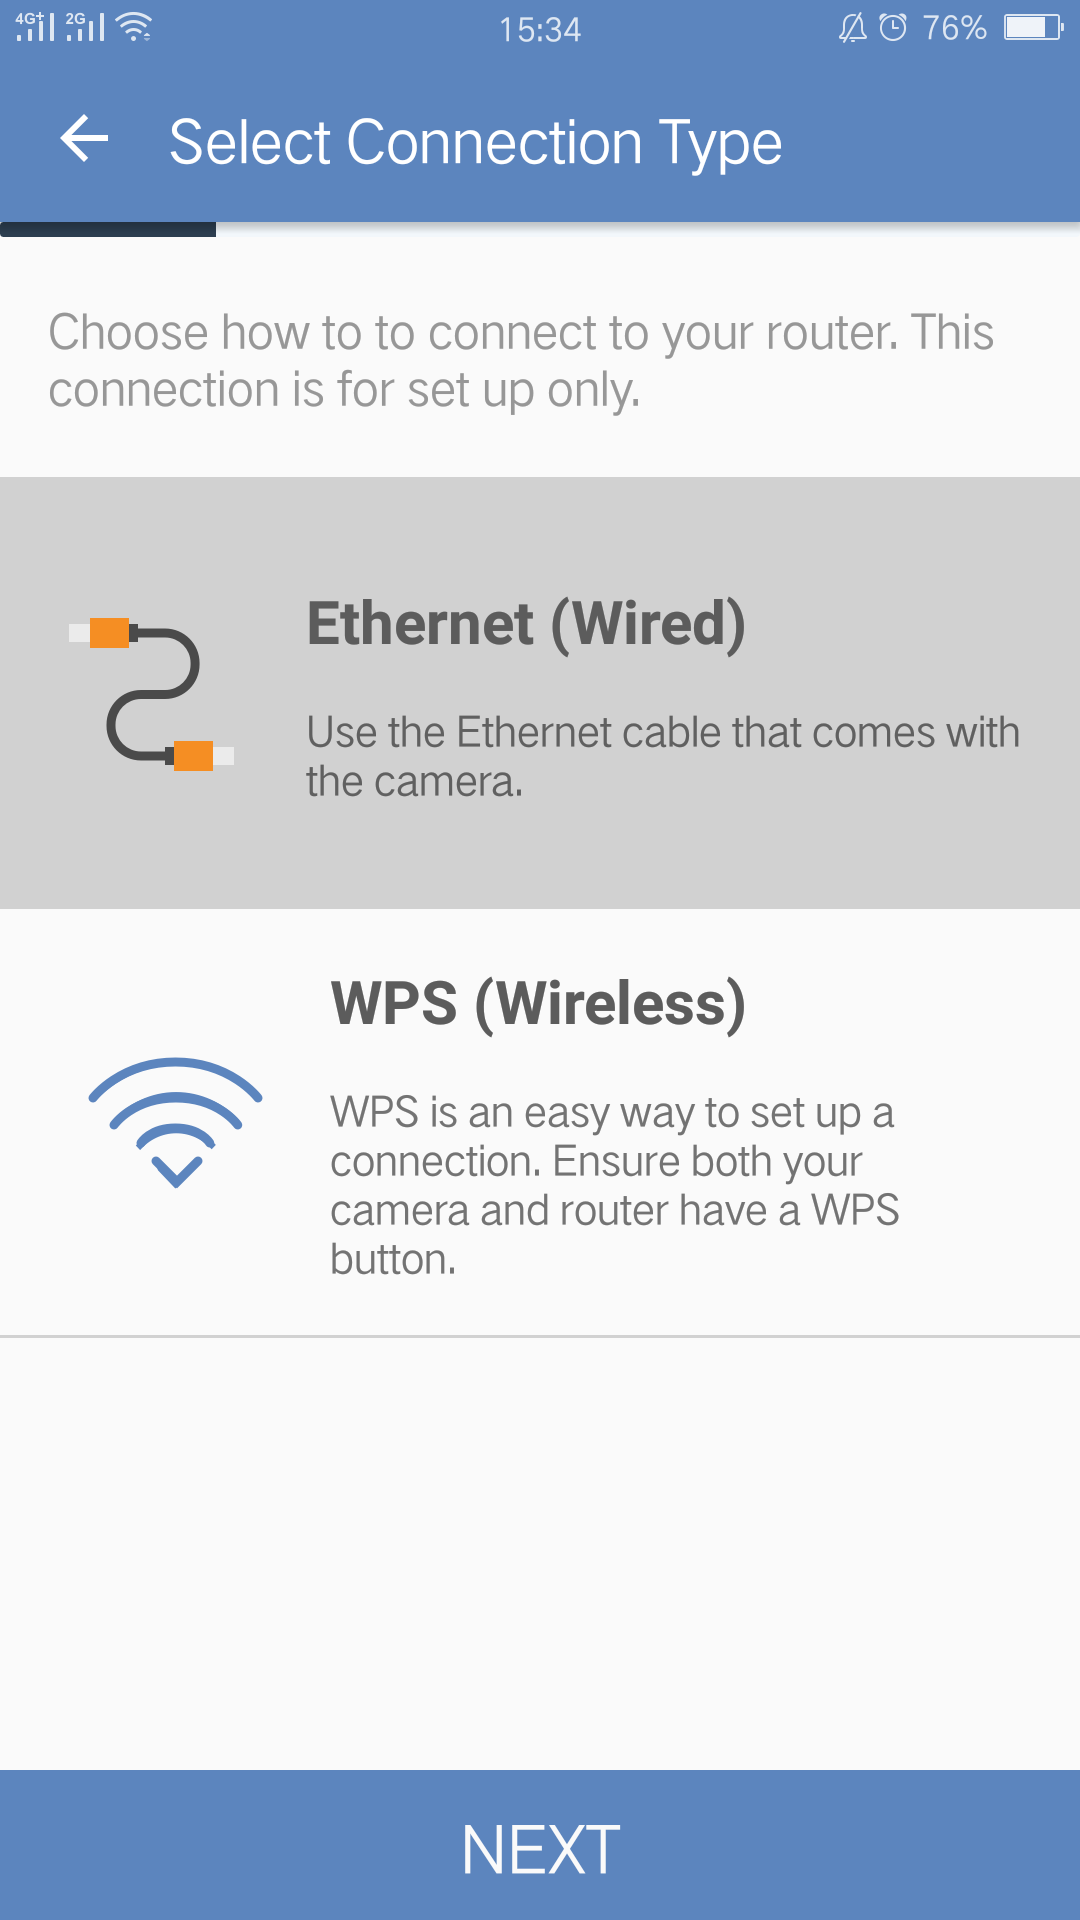
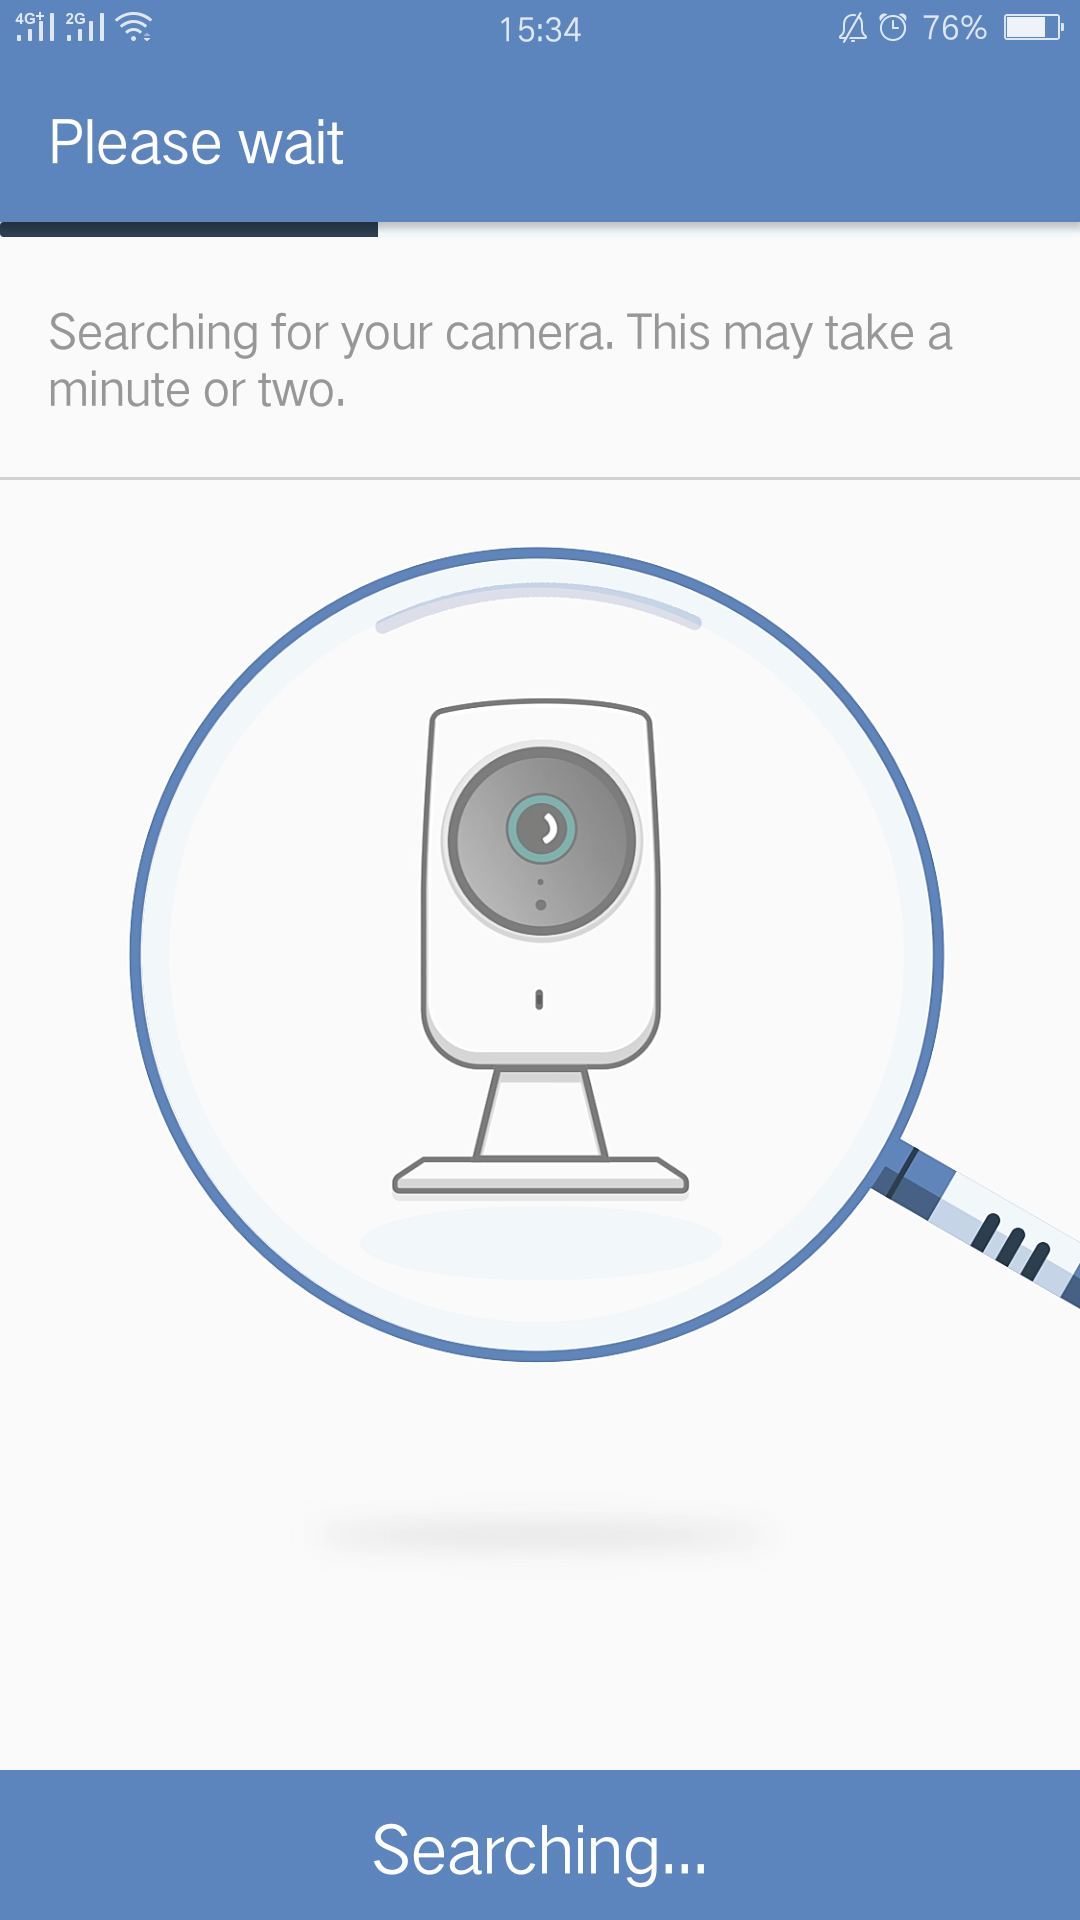
4) tpCamera APP will detect your camera in LAN. Tap “Ethernet (Wired)” when select connection type.
Note: Please make sure that your camera’s LED turns solid green.

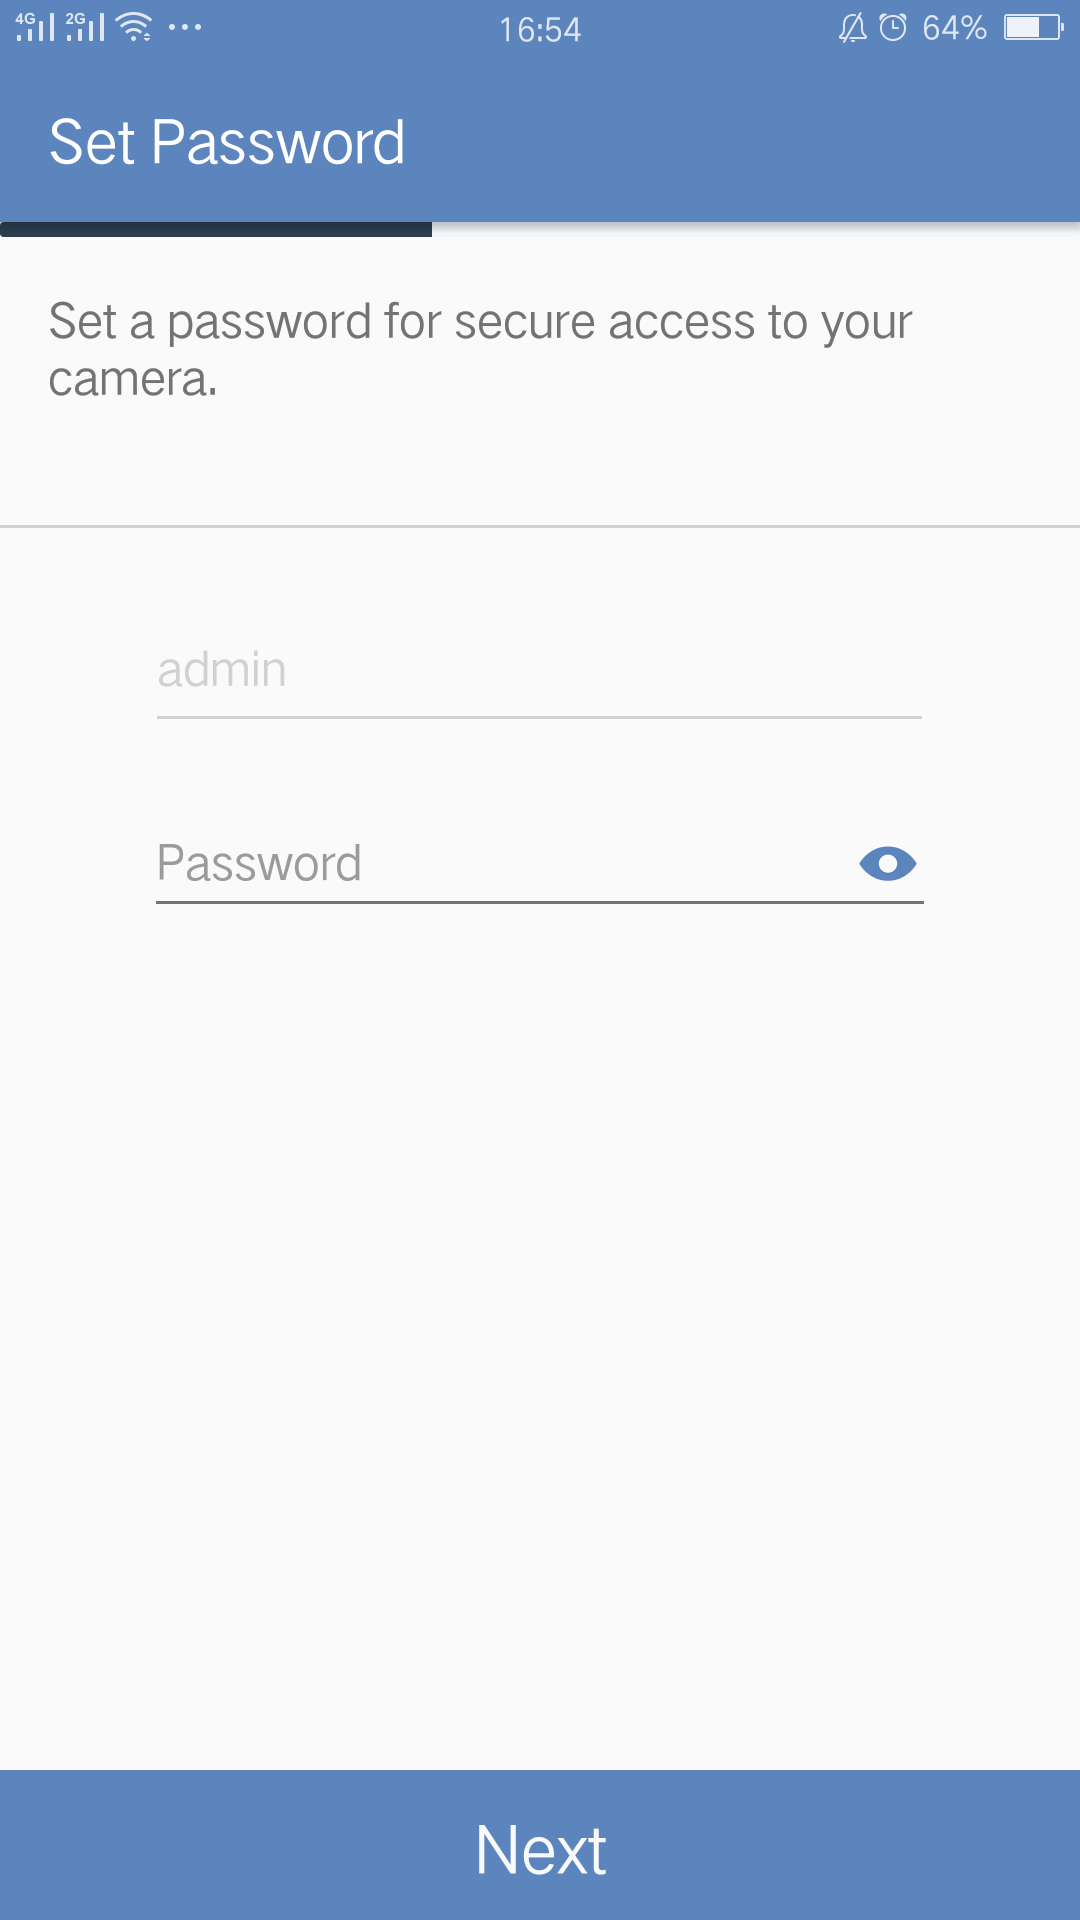
5)Here it will ask you to set a password for secure access to your camera.
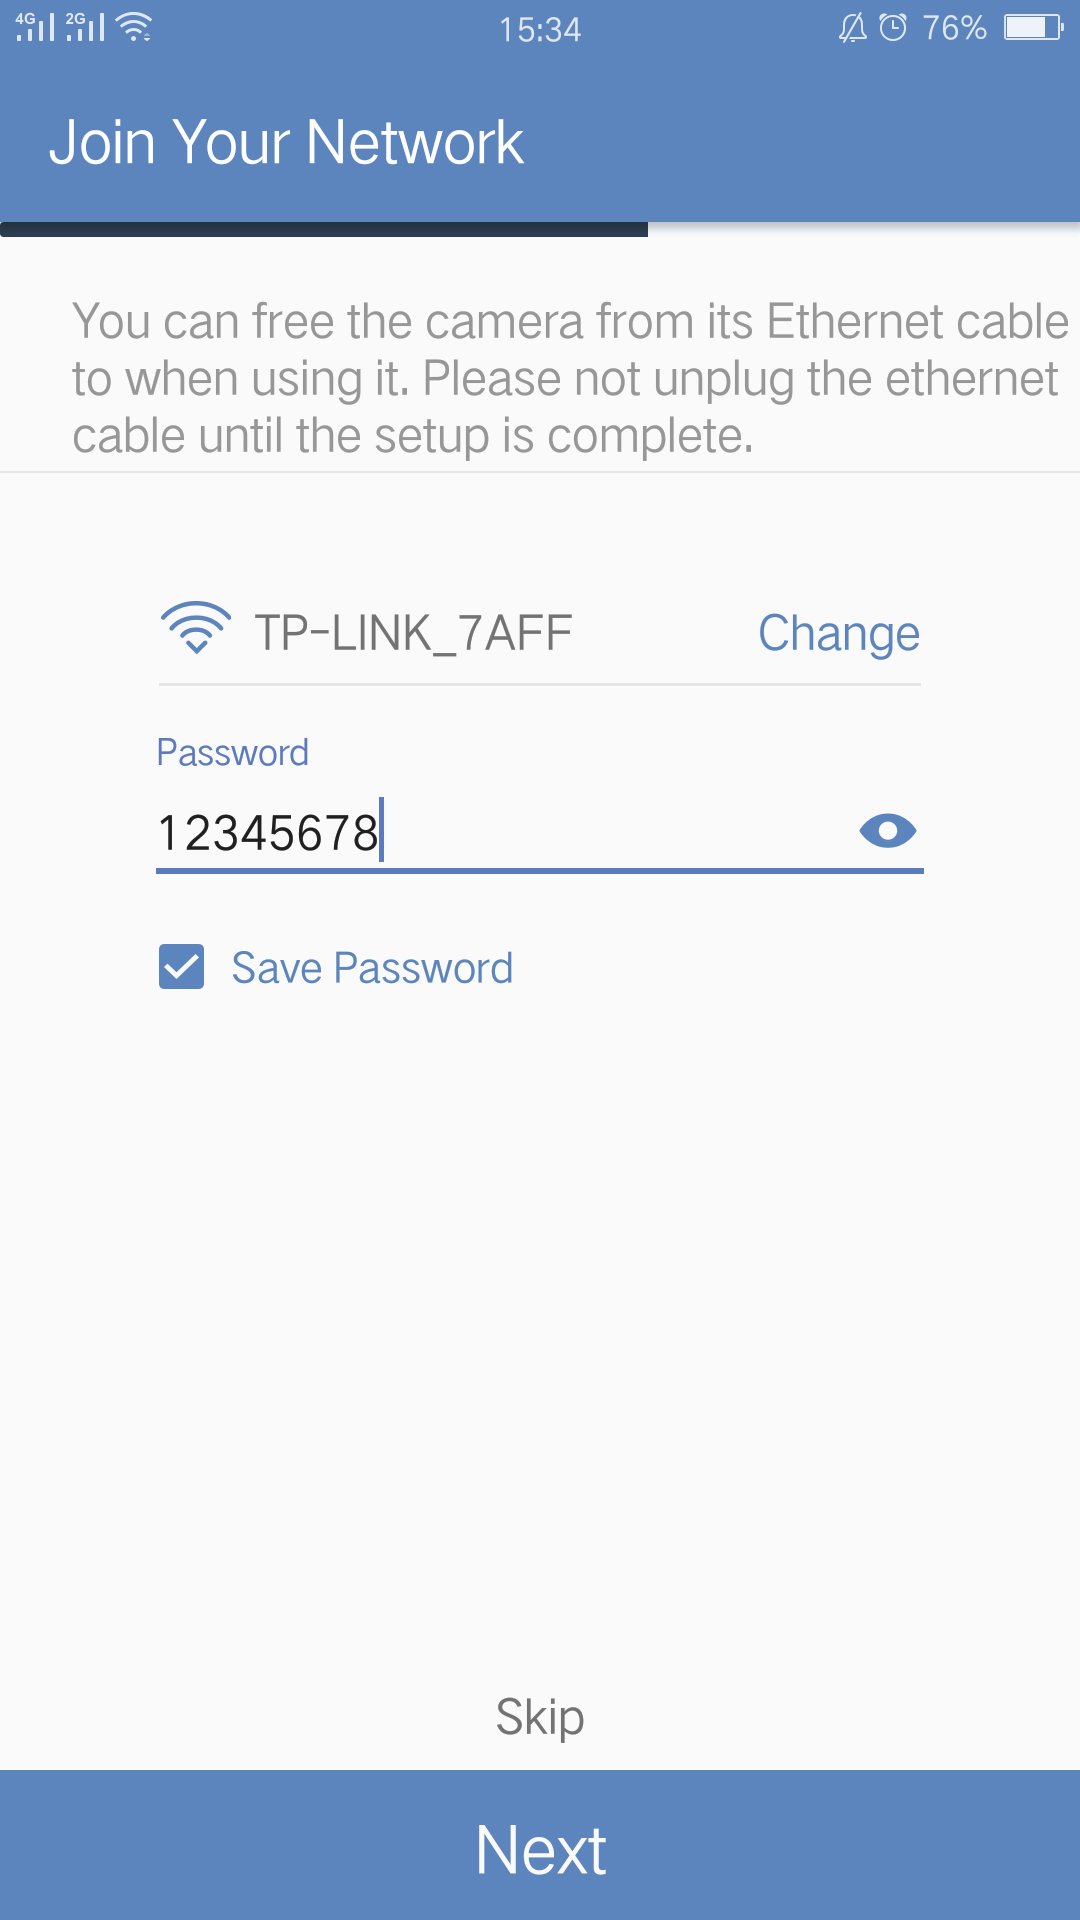
6) Choose your own router’s Wi-Fi network and input the password.
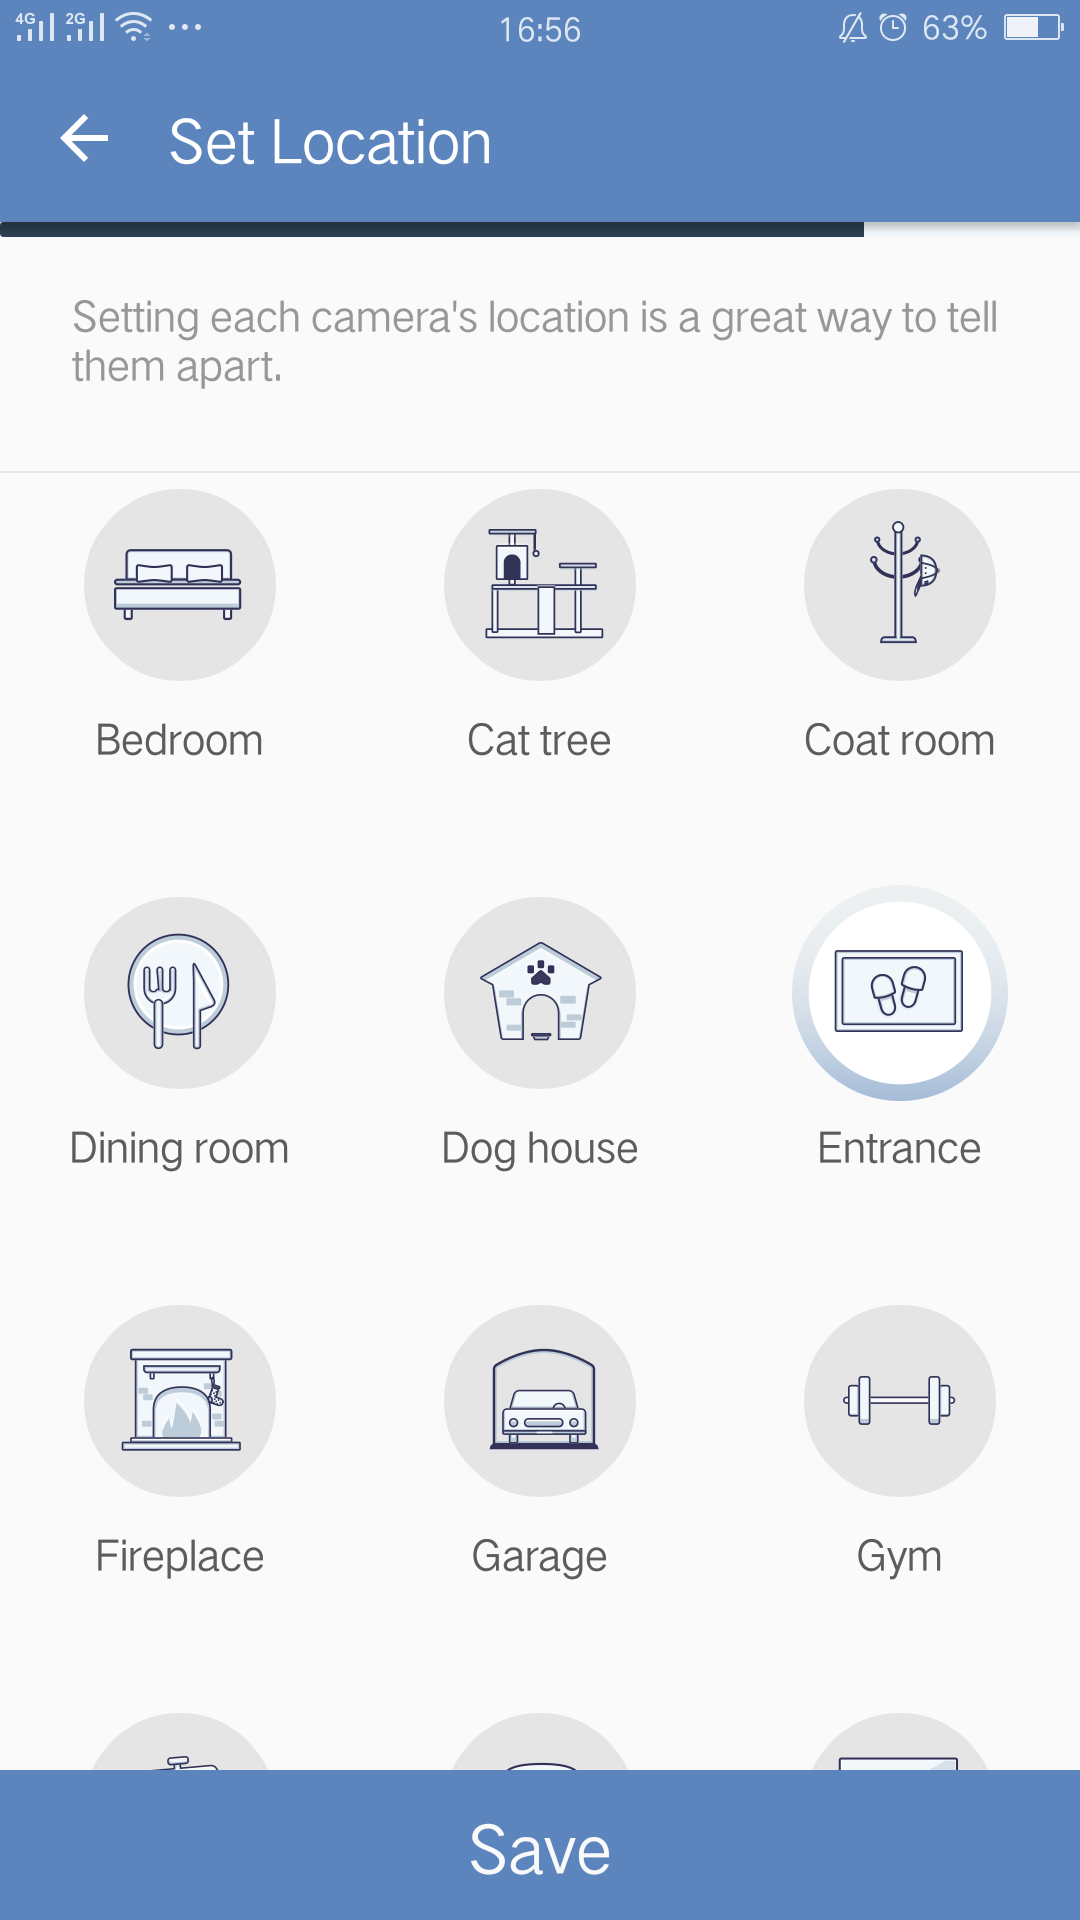
7)It will remind you to Set Location of your camera.
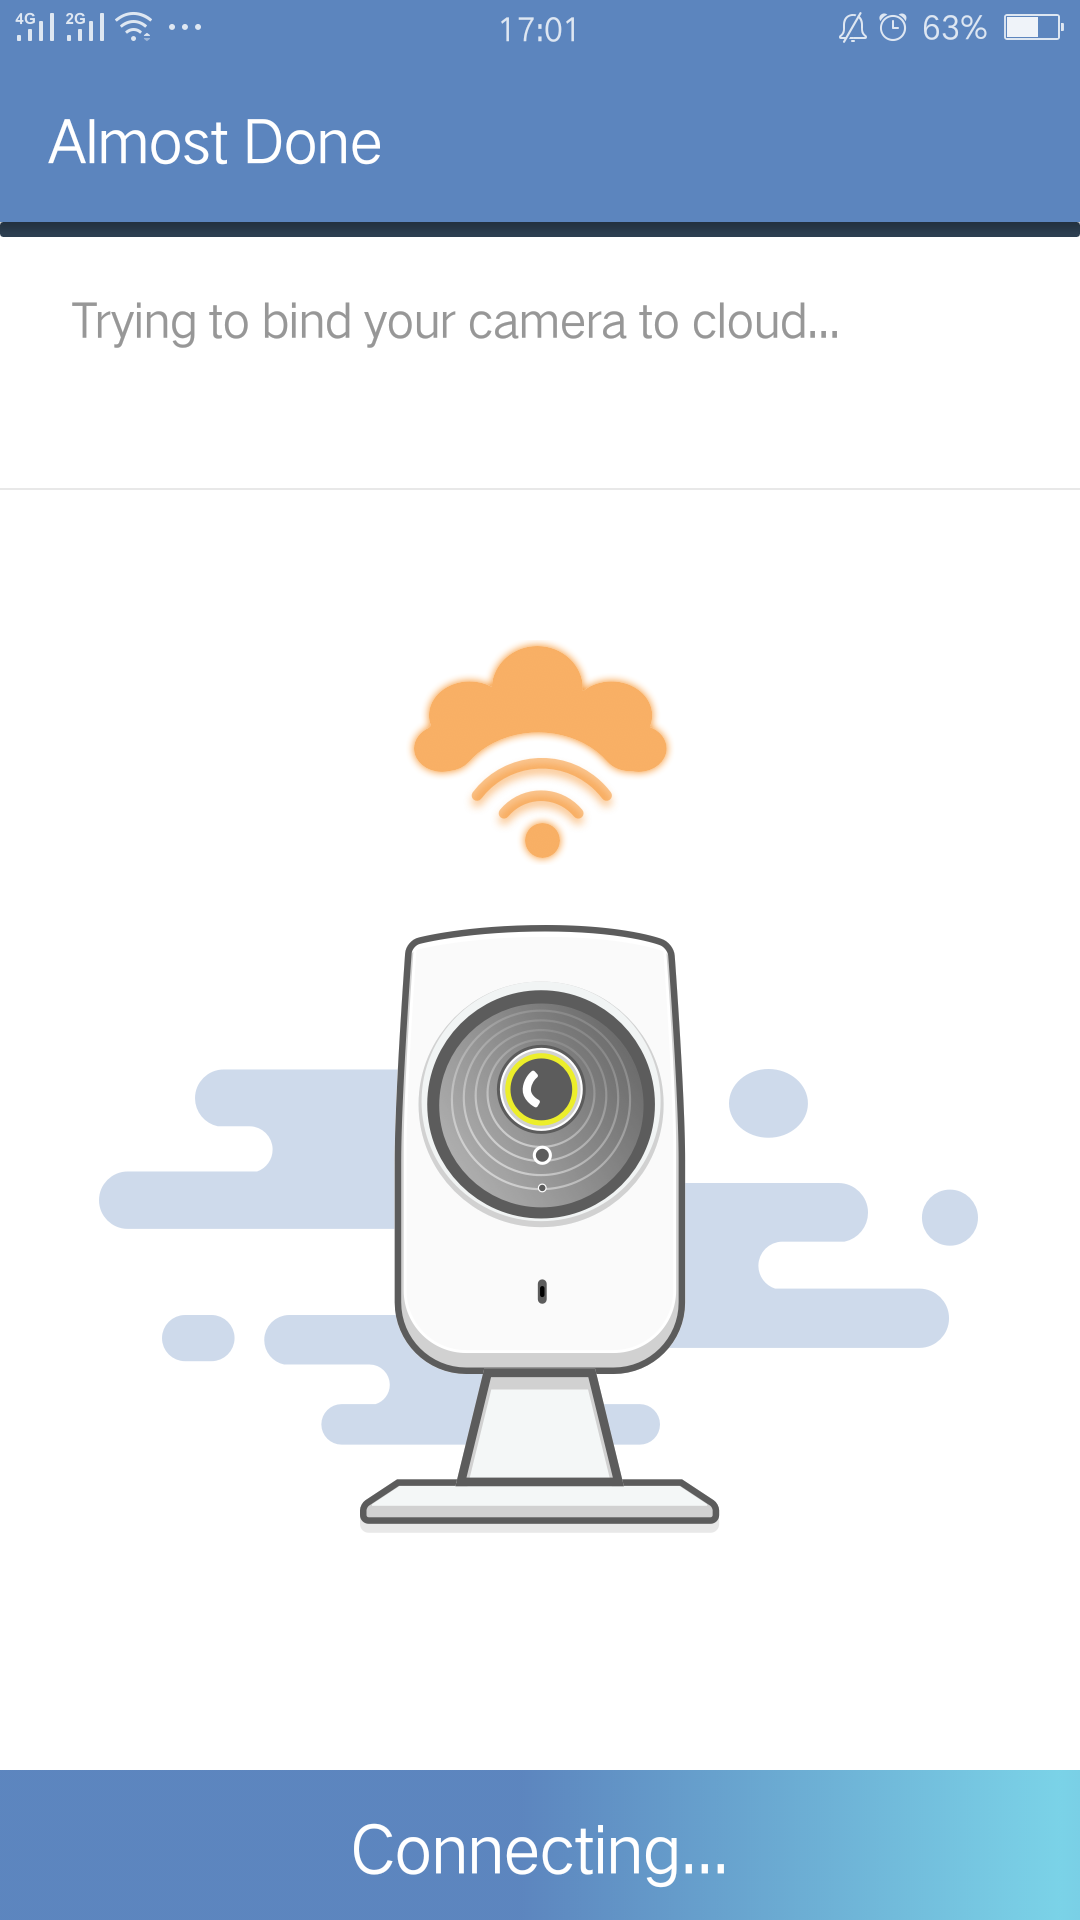
Now you can view your camera on APP.

Полезен ли этот FAQ?
Ваши отзывы помогают улучшить этот сайт.
From United States?
Получайте информацию о продуктах, событиях и услугах для вашего региона.