How to Configure the AP Mode on the TL-WR710N
Эта статья подходит для:

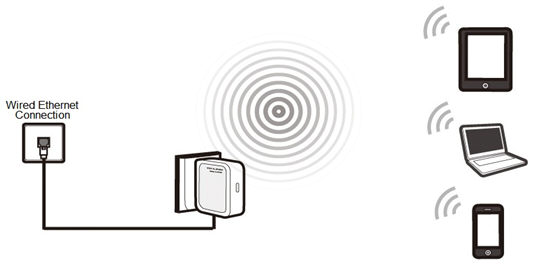
Definition:The TL-WR710N is connected to a wired network and transforms the wired Internet access into wireless so that multiple devices can share the Internet.
Application:
1. Office, hotel and places where only wired network is available.
2. LAN gaming party, small meeting and other situations where a temporary wireless network is needed.
Step1
Connect the computer to the LAN port of TL-WR710N with an Ethernet cable. Open the web browser and type the IP address http://192.168.0.254 into the address bar and then Press Enter.

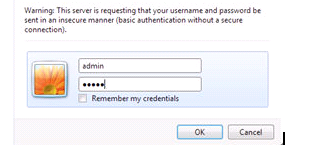
Step 2
Type the username and password into the boxes of the login page, the default username and password both are admin, then press Enter.
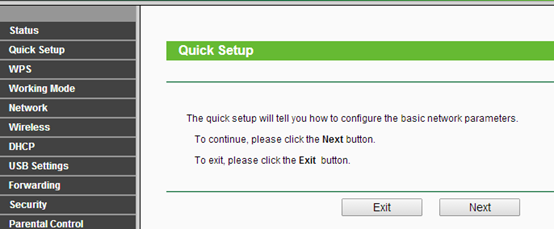
Step 3
Go to Quick Setup-> Click Next
Step 4
Select Access Point-> Click Next

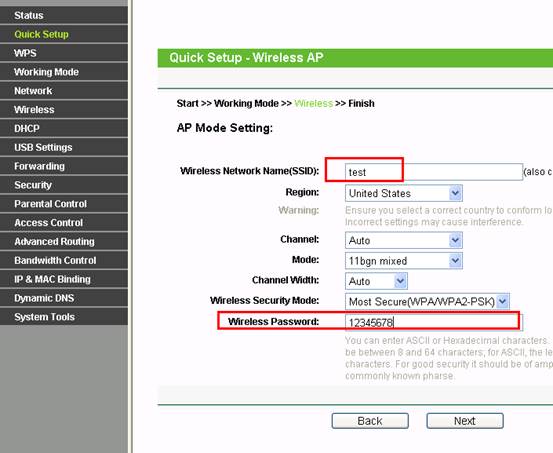
Step 5
Customize your wireless name (SSID) and password
|
Wireless Radio: Enable
SSID: (Rename Your Wireless Name)
Region:(Select Your Current Location)
Channel: Auto
Mode: 11bgn mixed
Channel Width: Auto
Wireless Security Mode: Most Secure(WPA/ WPA2-PSK)
Wireless Password: (Create a Private Password)
|
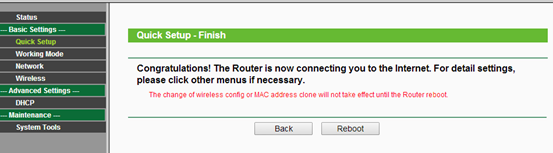
Step 6
Click Reboot, and wait until it goes to 100%
Step 7
Relocate the TL-WR710N
You may now connect the TL-WR710N directly into your Wired Ethernet Network Connection as displayed on the picture below.
Congratulations! All your Wi-Fi enabled devices can connect to the customized wireless network.
If it doesn't work, please feel free to contact us(support@tp-link.com).
Get to know more details of each function and configuration please go to Download Center to download the manual of your product.
Полезен ли этот FAQ?
Ваши отзывы помогают улучшить этот сайт.
From United States?
Получайте информацию о продуктах, событиях и услугах для вашего региона.