How to Setup an Ad Hoc Wireless Network with Windows Built-in Utility (Windows XP)
This Article Applies to:
The Ad Hoc mode, also called peer to peer mode, allows nodes to communicate directly (point-to-point) without the need for an AP, as in the following Figure. There is no fixed infrastructure. Nodes need to be in range with each other in order to communicate. For more information about an Ad Hoc network, please refer to the interpretation from Wikipedia.
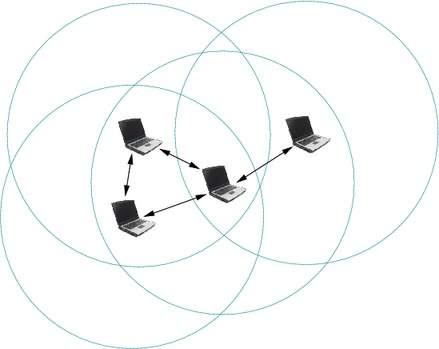
Ad Hoc mode
An Ad Hoc WiFi network should at least consist of 2 clients. In this tutorial, we also take just two computers for instance: computer A and computer B.
NOTE: Before we proceeding, please make sure the Windows Zero Configuration (WZC) service is started. If you are not sure about this, please click here to check the settings.
Part 1: Create an Ad Hoc network profile on computer A
Step 1
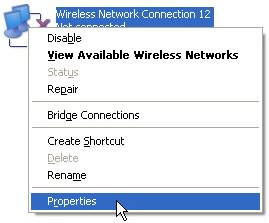
Go to Control Panel -> Network Connections and find Wireless Network Connection. Right click Wireless Network Connection and select Properties.
Step 2
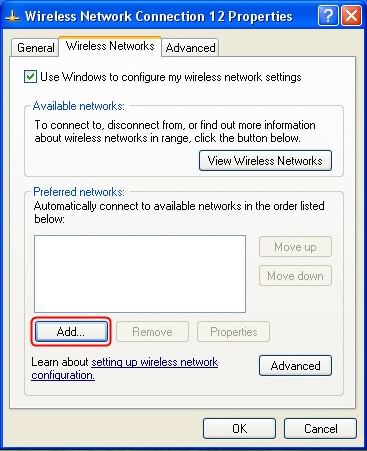
On Wireless Networks tab, click Add button.
Step 3
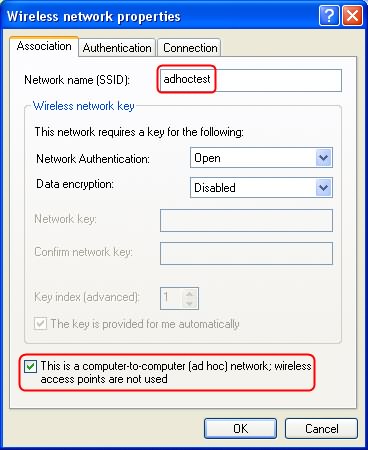
On Association tab of Wireless network properties window, please type a phrase for Network Name [SSID]. In our scenario, we take adhoctest for example. Then go to the bottom and tick This is a computer-to-computer [ad hoc] network; wireless access points are not used. Then click OK.
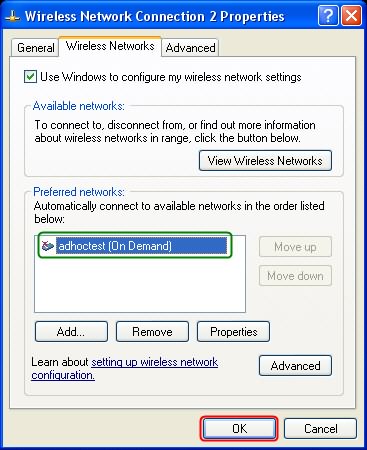
Step 4
After Step 3, there should be a profile named adhoctest in Preferred Networks. Click OK to save all the settings.
Part 2: Manually configure an IP address on computer A
Step 5
Right click Wireless Network Connection and select Properties.
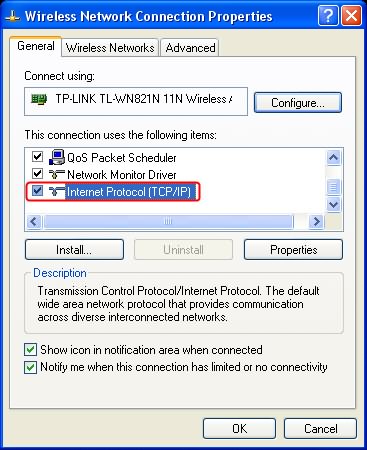
Step 6
On General tab, please double click Internet Protocol (TCP/IP).
Step 7
Tick Use the following IP address, and input the IP address and Subnet mask. Then click OK.

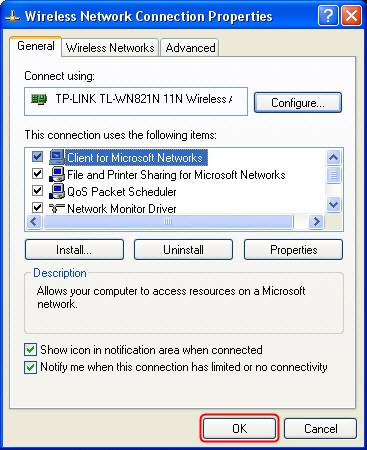
Step 8
Click OK on Wireless Network Connection Properties window.
Part 3: Scan for Ad Hoc network on computer B
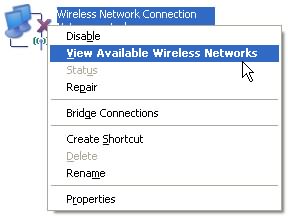
Step 9
Right click Wireless Network Connection, select View available wireless networks
Step 10
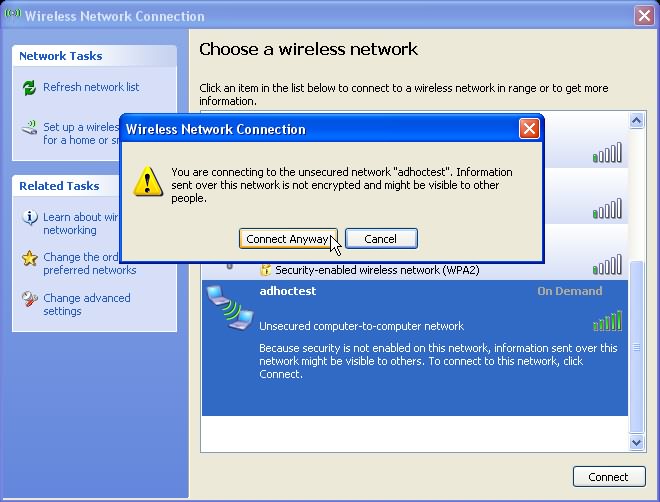
Find adhoctest(which is set up on computer A) network in the scan window. Then double click it and click connect Anyway?
Part 4: Manually configure an IP address on computer B
The steps are the same as which were done on computer A (Step 5 to Step 8). The point is that we need assign a different IP address for computer B, and it must be in the same subnet with computer A. In our scenario, we can take 192.168.1.20/255.255.255.0.

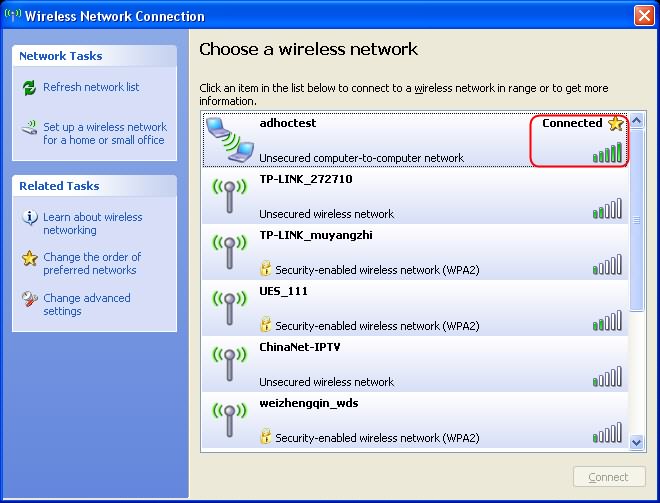
Here until, all the basic settings for building an Ad Hoc network have been finished. If we open the network scan window again, we can see the adhoctest network says Connected.
Is this faq useful?
Your feedback helps improve this site.


TP-Link Community
Still need help? Search for answers, ask questions, and get help from TP-Link experts and other users around the world.