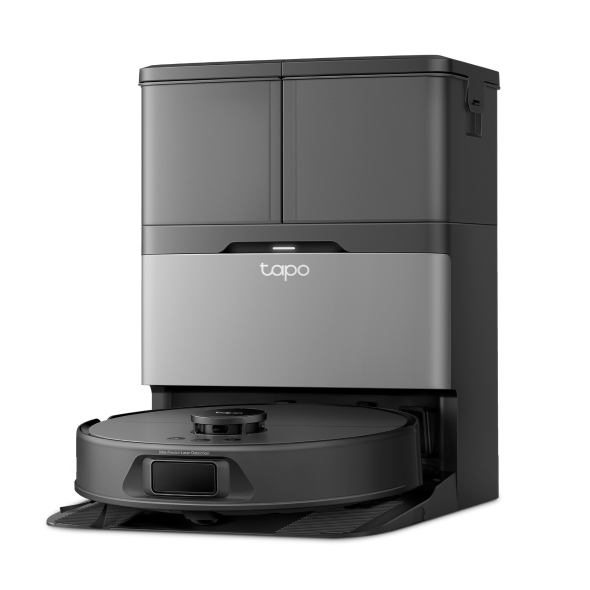
How to connect Tapo Robot Vacuum to home Wi-Fi
Introduction
This article provides step-by-step instructions to connect the Tapo Robot Vacuum to the home Wi-Fi.
Requirement
- Phone/tablet is connected to your home Wi-Fi network.
Note: Only 2.4 GHz Wi-Fi is supported.
- Bluetooth is enabled
- Pre[are Wi-Fi password for setup
Configuration
Step 1. Open the Tapo app and tap Vacuums on the menu bar. Tap the + icon and select your model.


Step 2. Turn on your robot vacuum.
- For RV50/RV30 Max/RV20 Max Series
Press and hold the power button  for 3 seconds to turn it on. You will hear either "Turning On" or a beep, indicating a successful power-on. Tap Next.

- For RV10/20/30 Series:
Slide the power switch from OFF to ON to power your robot vacuum. You will hear either "Turning On" or a beep, indicating a successful power-on. Tap Next.

Step 3. Press and hold the  and
and  buttons simultaneously for 5 seconds and then release. All buttons should start to blink white. Tap Next.
Note: If buttons are not blinking white, press and hold the  and
and  buttons simultaneously for 10 seconds to reset your robot vacuum.

Step 4. Connect your phone to your robot vacuum.
Step 5. Select your home Wi-Fi and enter the Wi-Fi password.
Note: Only 2.4 GHz Wi-Fi is supported.

Step 6. Success! Your robot vacuum is now connected to your Wi-Fi.

Is this faq useful?
Your feedback helps improve this site.


TP-Link Community
Still need help? Search for answers, ask questions, and get help from TP-Link experts and other users around the world.