How to Configure Wireless MAC Filtering on a TP-Link 11N Wireless Router to Allow or Block Devices
Wireless MAC filtering lets you control which devices can connect to your Wi-Fi network based on their media access control (MAC) address. On a TP-Link 11N wireless router, you can use this feature to allow specific devices while blocking all others, or to block specific devices while allowing the rest. This guide applies to TP-Link 11N wireless routers. Before setting up the filter, you can find the MAC addresses of all connected devices in the ARP List under IP & MAC Binding in your router's web interface.
Key Takeaways
- Wireless MAC filtering on a TP-Link 11N router lets you control which devices can connect to the network by allowing or blocking specific MAC addresses.
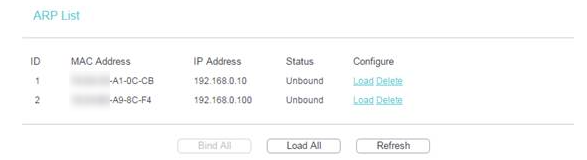
- The MAC addresses of all connected devices can be found under IP & MAC Binding → ARP List in the router's web interface.
- To add a filtering entry, go to Wireless → Wireless MAC Filtering, click Add New, enter the MAC address, add a description, set the status to Enabled, and click Save.
- Entries must be added one at a time — each MAC address requires a separate entry.
- Selecting the Allow rule means only devices on the list can connect. Selecting the Deny rule means only devices on the list are blocked.
How to Configure Wireless MAC Filtering on a TP-Link 11N Router
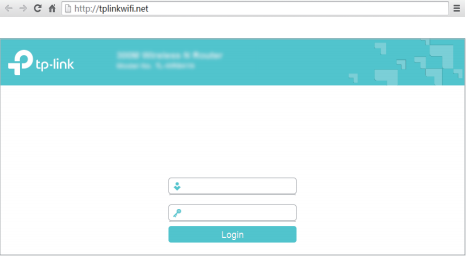
Step 1. Open the web browser and type http://tplinkwifi.net or the IP address in the address bar (default is http://192.168.0.1). Press Login. The username and password are both “admin” or the one you created.
Step 2. Go to IP & MAC Binding > ARP List to find the MAC addresses of all devices currently connected to the router.
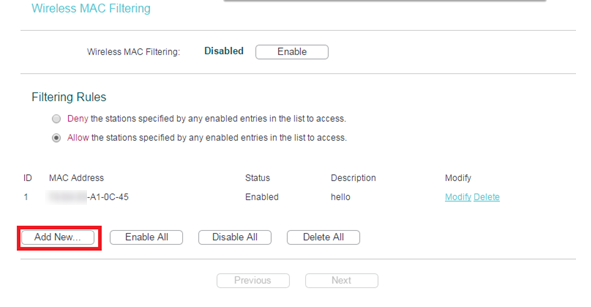
Step 3. Go to Wireless > Wireless MAC Filtering page, click the Add New button.
Step 4. Enter the MAC address to allow or deny, add a description, set the status to Enabled, and click Save.
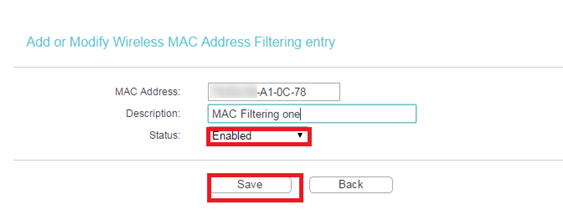
You need to add items one by one.
Step 5. Under Filtering Rules, select Allow or Deny, then enable the Wireless MAC Filtering function.
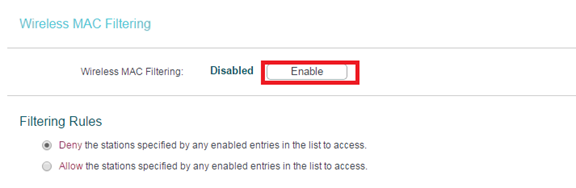
- If you choose Allow the stations specified by any enabled entries in the list to access as the filtering rule, the wireless client A with the MAC address XX-XX-XX-A1-0C-78 can access the router, but other wireless clients cannot.
- If you choose Deny for the stations specified by any enabled entries in the list to access, as the filtering rule, only wireless client A with MAC address XX-XX-XX-A1-0C-78 cannot access the router.
For full configuration details, visit the Download Center to find the manual for your product.
Looking For More
Finden Sie diese FAQ hilfreich?
Mit Ihrer Rückmeldung tragen Sie dazu bei, dass wir unsere Webpräsenz verbessern.
14.0-A_normal_1584497163963a.png)
TP-Link Community
Still need help? Search for answers, ask questions, and get help from TP-Link experts and other users around the world.
Von United States?
Erhalten Sie Produkte, Events und Leistungen speziell für Ihre Region