How to bind IP Address and MAC Address on TP-Link 11N Router (new logo)
Note: the IP Address on your computer should be set as a static one and DHCP Server on the router should be disabled. Click How to configure static IP on the computer and know how to configure TCP/IP Properties on your computer.
Step 1 Open the web browser and type the domain name of the router in the address bar, http://tplinkwifi.net, and then press Enter.
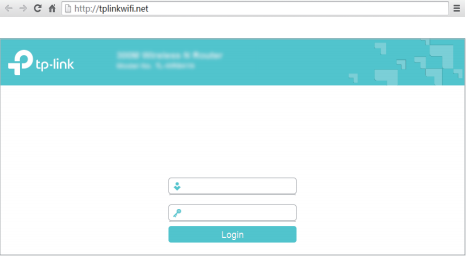
Step 2 Type the username and password in the login page, the default username and password both are admin.
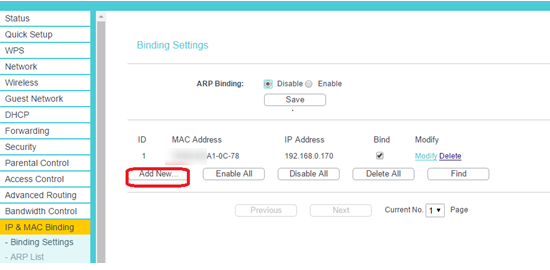
Step 3 Click IP & MAC Binding->Binding Settings on the left page.
Step 4 Select Enable ARP Binding, and click Save.
Step 5 Click ARP List on the left page, you can see ARP table the router learns.
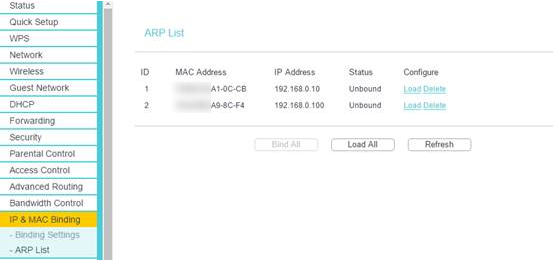
If you can confirm the ARP table is correct, please click Load All and Bind All, then all IP Address and MAC Address of your computers showed on the ARP table will be bound.
But if you can’t confirm the ARP table has no problem, please add IP Address and MAC Address of your computers manually.
(1) Click Add New to set IP & MAC Binding.
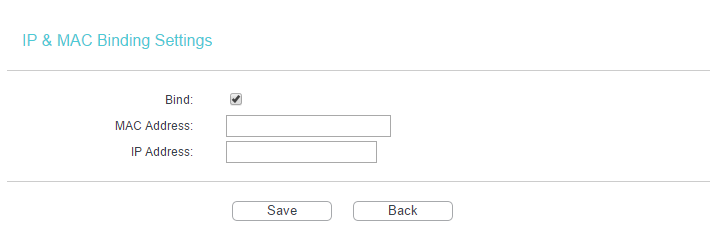
(2) Enable Bind, and type the MAC Address and IP Address of your computer,
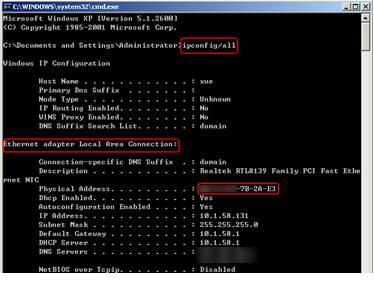
You should know the MAC addresses of the computers which you would like to allow them to access the Internet. You can check them on the computers with command prompt.
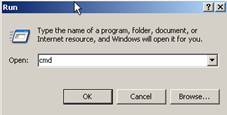
(1) Click Start->Run, type cmd and press Enter.
(2) Type ipconfig/all at the prompt window, press Enter, it will show the MAC address and other address information of this computer.
Step 6 Click Save to save the settings.
Get to know more details of each function and configuration please go to Download Center to download the manual of your product.
Finden Sie diese FAQ hilfreich?
Mit Ihrer Rückmeldung tragen Sie dazu bei, dass wir unsere Webpräsenz verbessern.
14.0-A_normal_1584497163963a.png)
Von United States?
Erhalten Sie Produkte, Events und Leistungen speziell für Ihre Region