How to Create a TP-Link Account (Product Registration System)
A TP-Link ID, also called a TP-Link account, is the login you use to access the TP-Link Product Registration System at myproducts.tp-link.com. From there, you can register your products, check warranty status, and request replacements. If you already have a TP-Link ID, skip ahead to Step 6 to log in.
Key Takeaways
- A TP-Link ID is a free account used to access the TP-Link Product Registration System at myproducts.tp-link.com, where you can register products, check warranty status, and request replacements.
- To create a TP-Link account, go to myproducts.tp-link.com, click "Sign Up," enter an email address and password, and agree to TP-Link's Terms of Use and Privacy Policy.
- After signing up, TP-Link will send an activation email to your registered address. You must click "Click to Finish Registration" within one hour to complete the account setup.
- If you already have a TP-Link ID, skip the sign-up steps and log in directly at myproducts.tp-link.com.
- If you do not receive the activation email, check your spam or junk folder, or use the Resend option on the confirmation screen.
Follow the steps below to create your TP-Link account and activate your TP-Link ID.
Step 1. Open a web browser (Chrome, Edge, Safari), and browse to https://myproducts.tp-link.com.

Step 2. Click on SIGN UP.
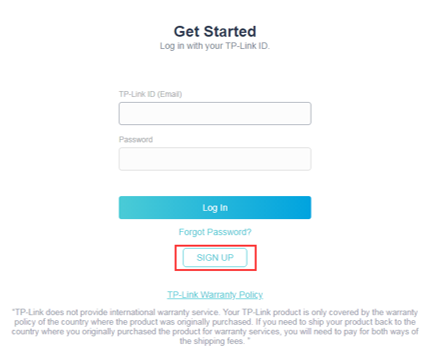
Note: If you already have a TP-Link ID created then skip to “Step 6”.
Step 3. Enter an email address and set a password that you want to use for your TP-Link ID, then click SIGN UP.
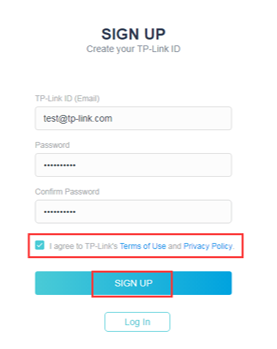
Note: The ‘SIGN UP’ button is grayed out by default, it will only be clickable after you check the box to the TP-Link’s Terms of Use and Privacy Policy.
Step 4. You will see a message that an activation email has been sent to your mailbox. Please access this email account and look for an email from TP-Link Cloud.
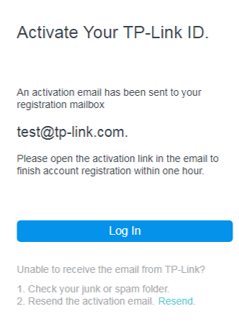
Note: If you do not see this email, please verify if the email address is correct and click Resend. Or, check your spam or junk folder.
Step 5. Open the email and then click on the button Click to Finish Registration to complete your TP-Link ID registration.
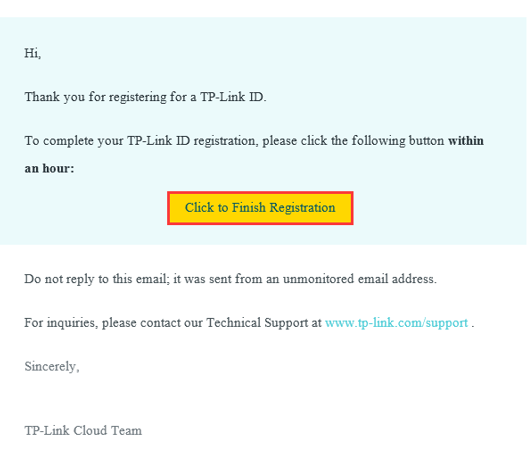
Note: Link will remain valid for 1 hour.
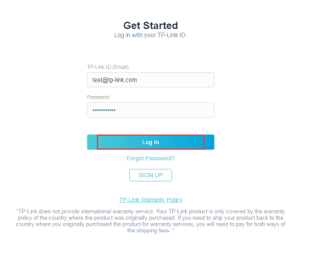
Step 6. Log in with your email address and password to access the TP-Link Product Registration System.
Is this faq useful?
Your feedback helps improve this site.
TP-Link Community
Still need help? Search for answers, ask questions, and get help from TP-Link experts and other users around the world.