How to Setup DDNS(DynDNS) on Wireless Router
This article will illustrate how to assign a fixed host and domain name to a dynamic Internet IP address.
Step 1
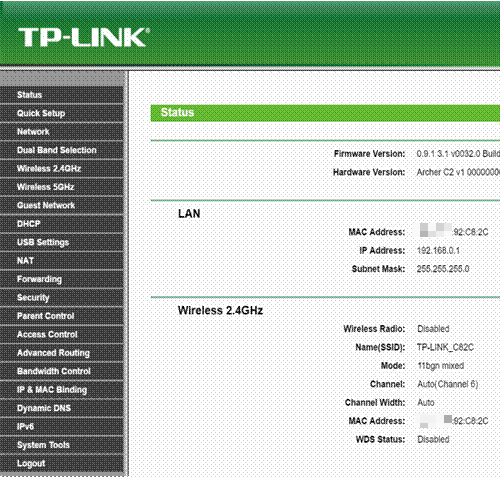
Login to the router’s management page. If you are not sure about how to do this, please click here.
Step 2
Once Logged in, click on Dynamic DNS.
If you have an account from http://dyn.com/, skip to Step 12. Otherwise, continue the following steps to create an account.
Step 3
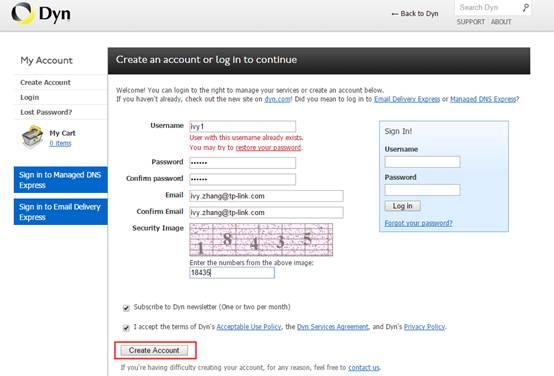
Open your web browser and navigate to http://dyn.com/.
Step 4
Select SIGN IN on the top right corner of the webpage. Click on My DynDNS Account on the right-hand side.

Step 5
Type in the requested information then click Create Account.
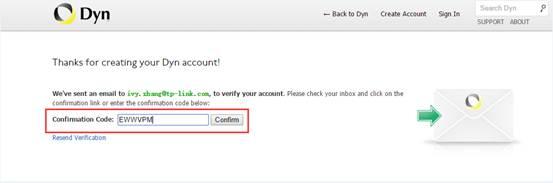
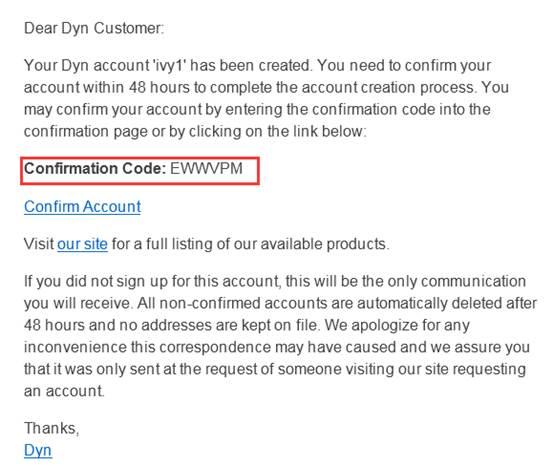
Step 6
Check your email inbox for a message enclosing your confirmation code. Fill the code into the necessary field.
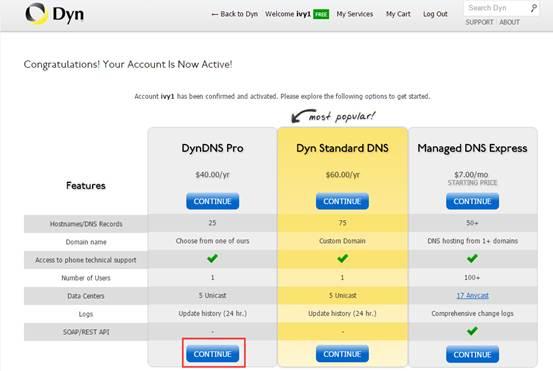
Step 7
Click CONTINUE.
Step 8
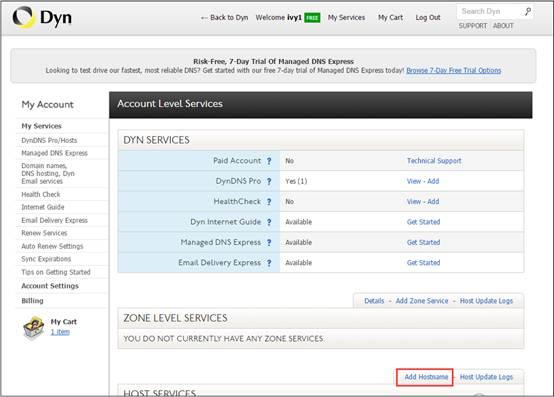
Click on My Services on the left side menu.
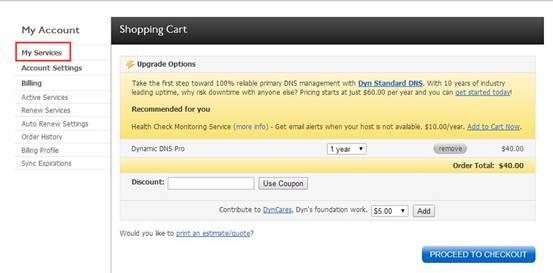
Step 9
Click Add Hostname, located under Zone Level Services.
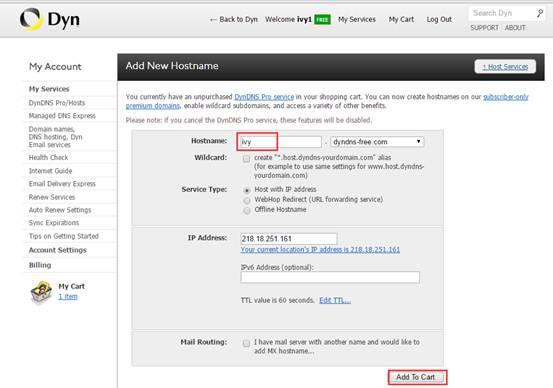
Step 10
Input the desired host name to preference. Then, click on Add To Cart.
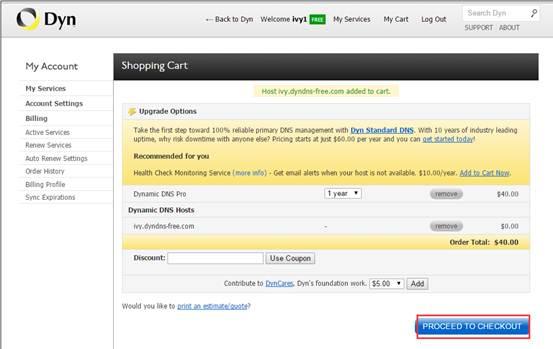
Step 11
Proceed to checkout and select the method of payment.
Step 12
Once you’ve completed your purchase, return to the router’s management page. Enter the User Name, Password, and Domain Name.
Check the Enable DDNS box and click the Login to sign into the DDNS service.
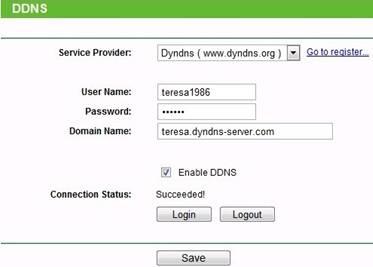
DDNS should now be working properly. You can check the connectivity by using nslookup on your computer or from a device outside your network.

Note: If you want to use a new DDNS account, please log out first, then log in with the new account.
Is this faq useful?
Your feedback helps improve this site.
3.0-L-D-2000px_normal_1584496942417r.png)

