How to back up and restore the configuration file of TP-Link ISP-customized devices
Introduction
This FAQ article explains how to back up the current configuration of TP-Link ISP-customized Devices, including network, wireless, and advanced function settings. When configuring a new ISP-customized device, you can also directly copy the information from the backup file.
Configuration
Scenario 1: Back up configuration settings
Step 1. Log in to the ISP-customized device via its LAN gateway IP address in a web browser (e.g., Chrome or Firefox).

Step 2. Click Advanced > System Tools > Backup & Restore.
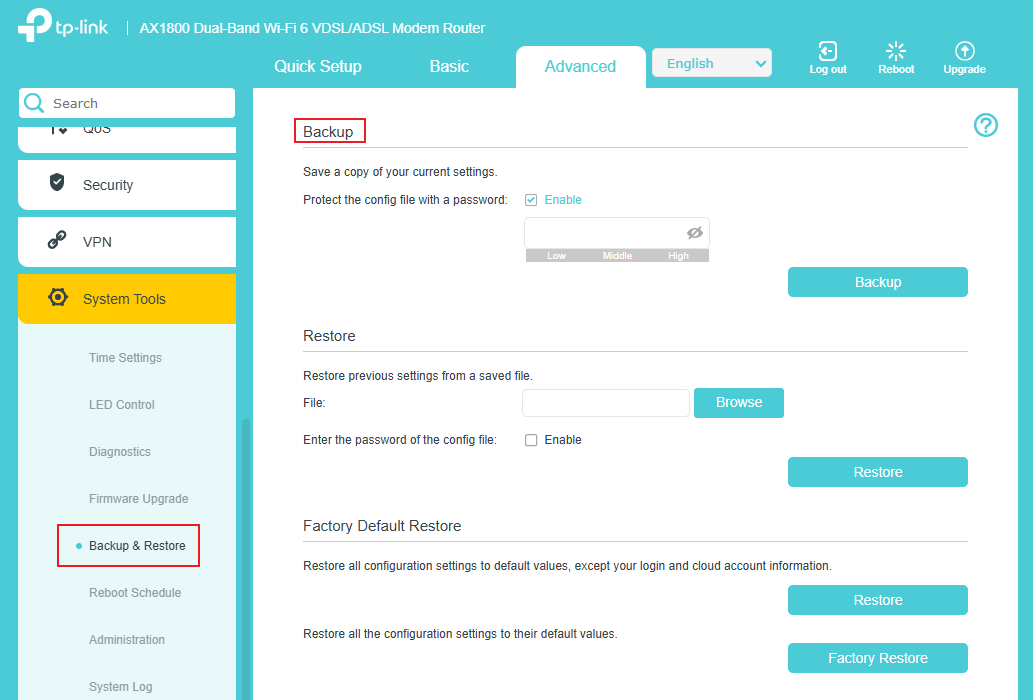
Step 3. Click Backup to save a copy of the current settings to your local computer. The conf.bin file will be saved on your computer. You can also set a password to protect the config.
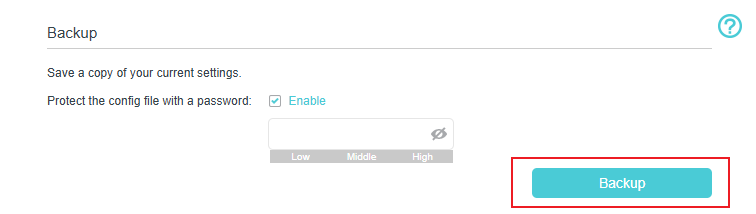
Note: Only some newer models support Protect the config file with a password.
Scenario 2: Restore configuration settings
Step 1. Log in to the ISP-customized device via its LAN gateway IP address in a web browser (e.g., Chrome or Firefox).
Note: You can check the LAN gateway IP in the client's network adapter settings. Here we use 192.168.1.1 as an example.

Step 2. Click Advanced > System Tools > Backup & Restore.
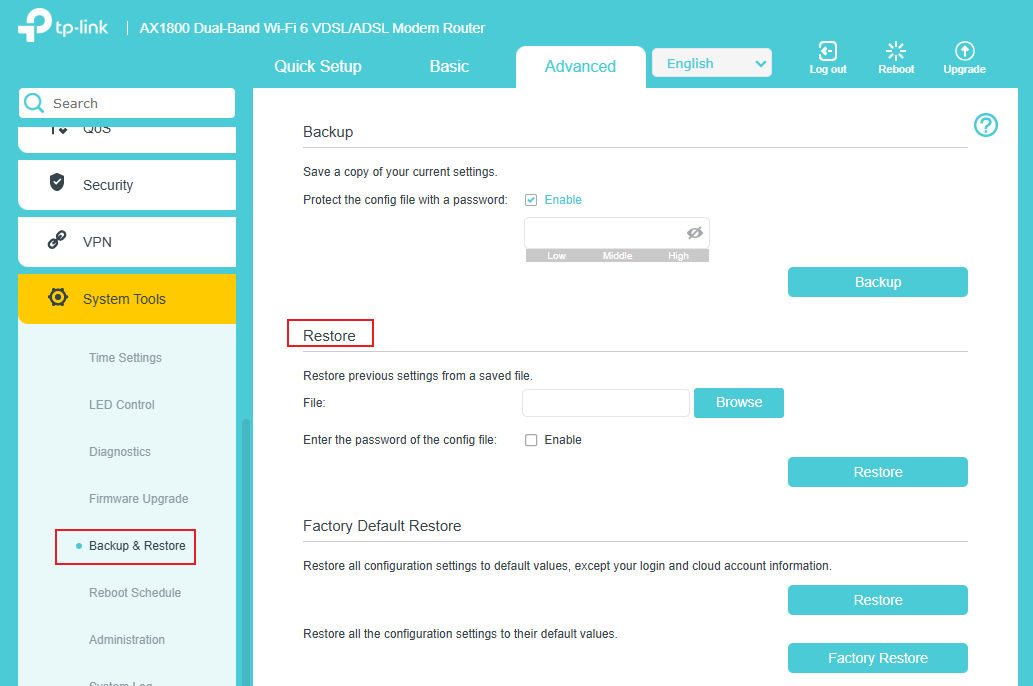
Step 3. Click Browse to find the previous backup file and then click Restore. If you have set a password for the backup file, you need to enable the Enter the password of the config file and enter the correct password before clicking Restore.
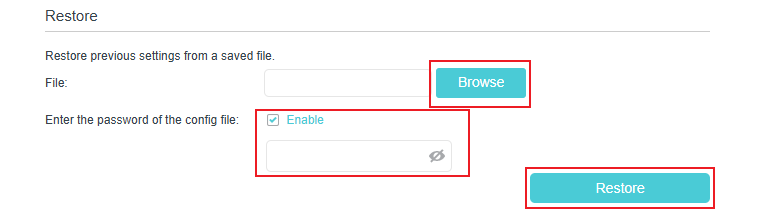
Note: Only some newer models support Enter the password of the config file, and you can only restore config files that were exported from the same model.
Step 4. Wait for the recovery process to complete, and the router will restart automatically.
Note: The current configuration will be covered with the uploaded configuration file. An incorrect process will result in the device being unmanaged. The restoration process takes more than 30 seconds, and the router will restart automatically afterward. Keep the router's power on during the process in case of any damage.
Get to know more details of each function and configuration please go to Download Center to download the manual of your product.
Finden Sie diese FAQ hilfreich?
Mit Ihrer Rückmeldung tragen Sie dazu bei, dass wir unsere Webpräsenz verbessern.


Von United States?
Erhalten Sie Produkte, Events und Leistungen speziell für Ihre Region