How to configure Address Reservation of TP-Link Wireless N 4G LTE Router (new logo)
Here takes TL-MR6400 as demonstration.
1. Please refer How do I log into the web-based Management Page of TL-MR6400 (new logo)?
2. Go to DHCP → Address Reservation, and then you can view and add a reserved address for clients. When you specify a reserved IP address for a PC on the LAN, that PC will always receive the same IP address each time when it accesses the DHCP server. Reserved IP addresses should be assigned to the servers that require permanent IP settings.
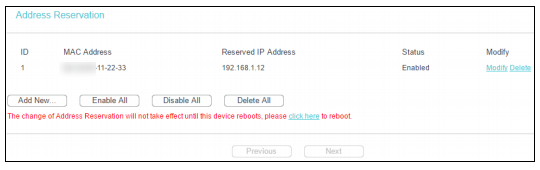
MAC Address - The MAC address of the PC for which you want to reserve IP address.
Reserved IP Address - The IP address of the router reserved.
Status - The status of this entry is either Enabled or Disabled.
To Reserve IP addresses:
1. Click Add New ….
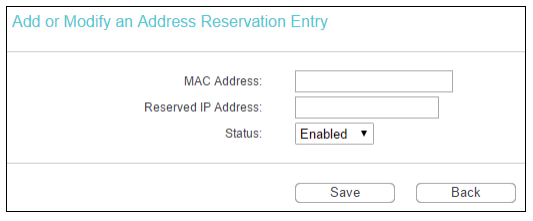
2. Enter the MAC Address (The format for the MAC Address is XX-XX-XX-XX-XX-XX) and the IP address in dotted-decimal notation of the computer you wish to add.
3. Click Save.
To modify an existing entry:
1. Click the Modify in the entry you want to modify.
2. Modify the information.
Click Delete in the entry you want to delete to delete an existing entry.
Click Enable/ Disable All to make all entries enabled/disabled.
Click Delete All to delete all entries.
Click Next to go to the next page and click Previous to return to the previous page.
3. Click Save.
Get to know more details of each function and configuration please go to Download Center to download the manual of your product.
Finden Sie diese FAQ hilfreich?
Mit Ihrer Rückmeldung tragen Sie dazu bei, dass wir unsere Webpräsenz verbessern.


Von United States?
Erhalten Sie Produkte, Events und Leistungen speziell für Ihre Region