How to register a TP-Link Cloud Account for Cloud Camera
Here are two ways to register a cloud account via IP camera App and cloud website.
Method 1. Registration via cloud website.
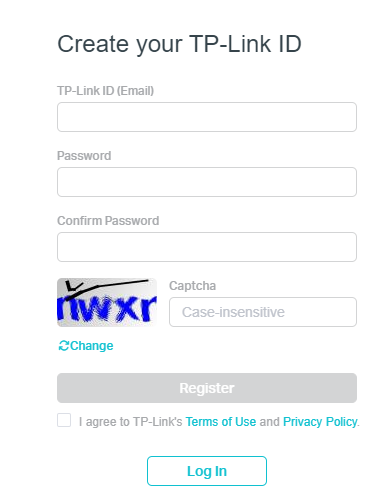
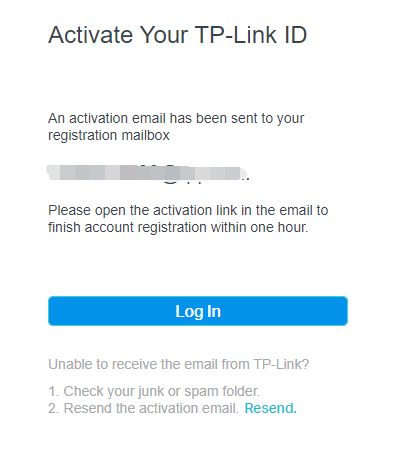
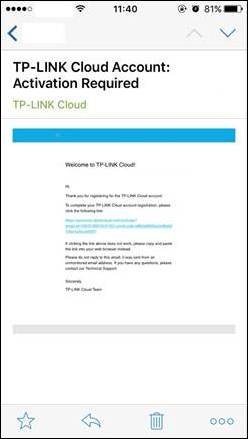
Visit https://community.tp-link.com/en/register and type in all the info, After you click on “Register”, you will receive an activation e-mail, click on the link in the e-mail to activate the TP-Link ID, then you can log into the app with your own TP-Link ID.
Method 2. Registration via the tpCamera APP.
1) Download tpCamera App:
For iOS: download tpCamera APP from APP store;
For Android: download tpCamera from the Google play;
You can also scan the QR code below then APP downloading link will come up:

Note: Please download and update the latest version of the app from Google Play or the App Store. NC Class Cameras work with tpCamera app only.
2) Run the tpCamera APP, Tap “New User”.
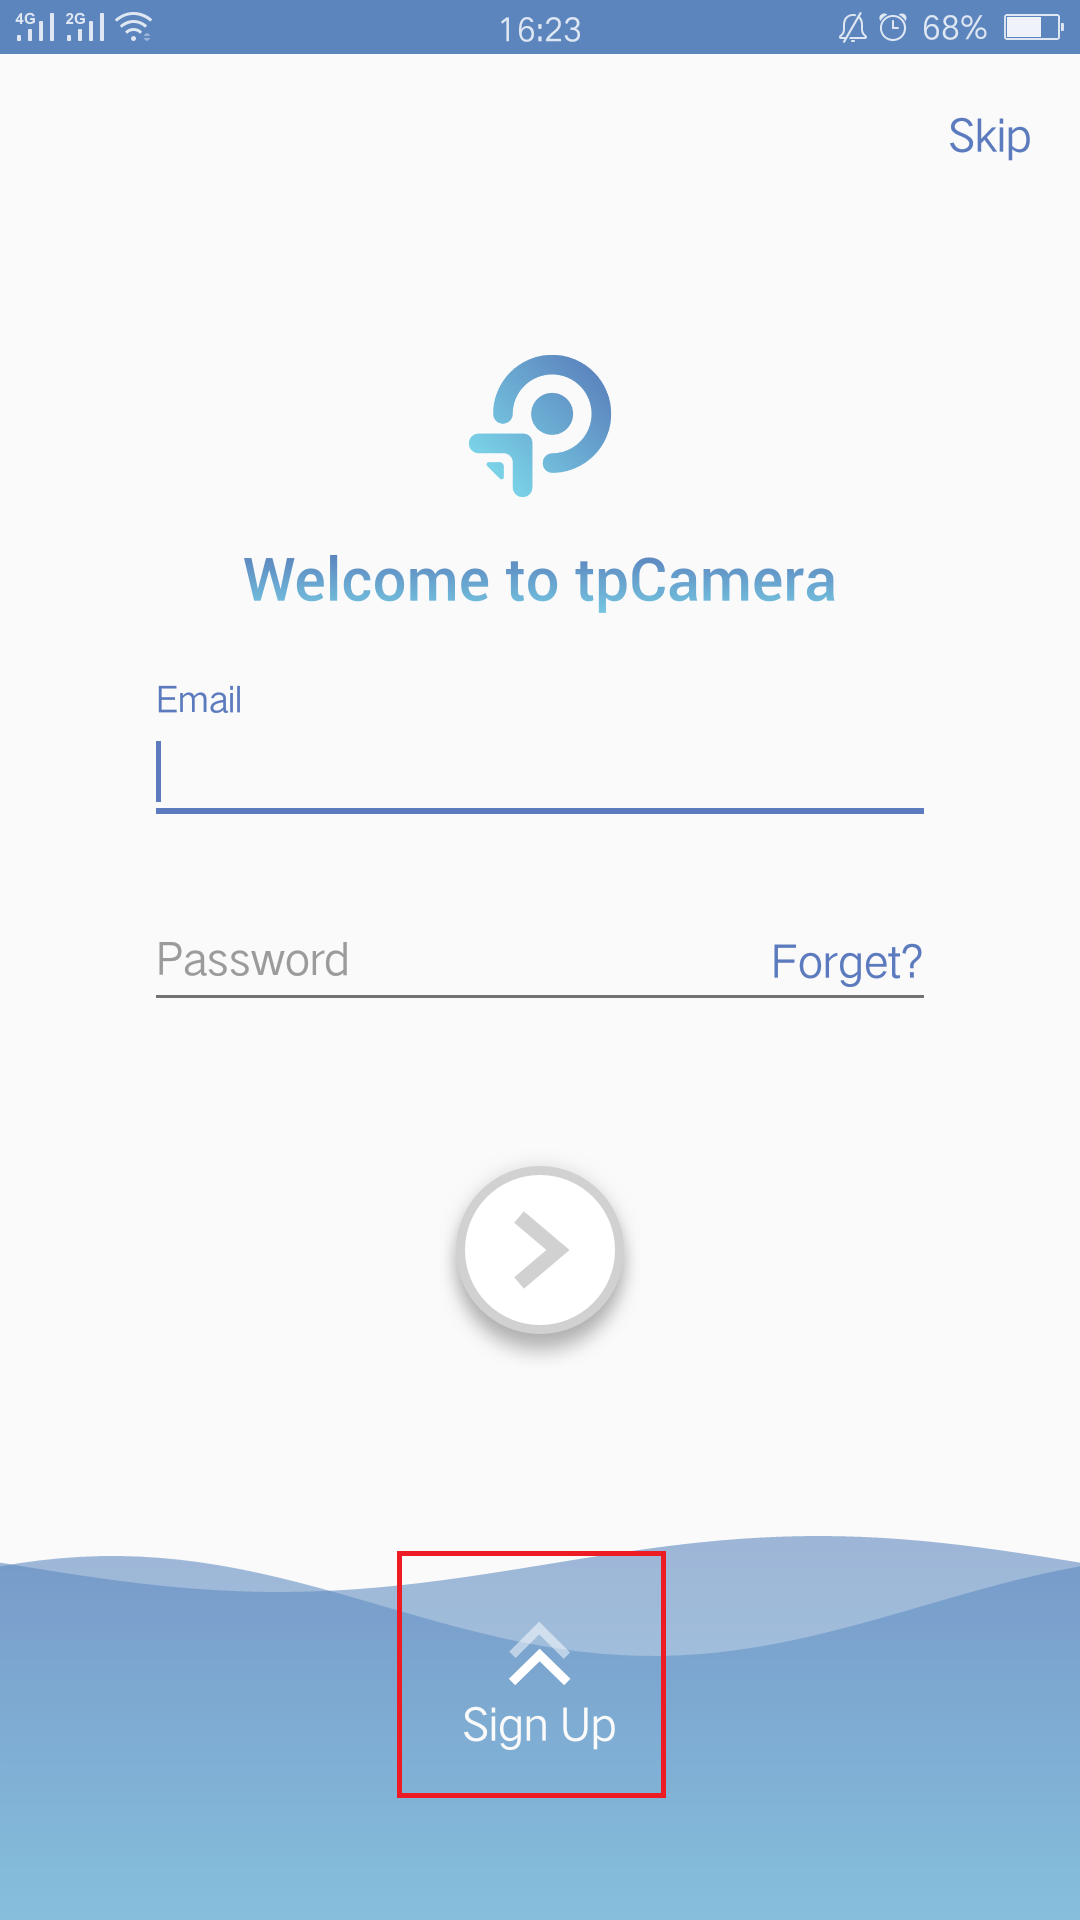
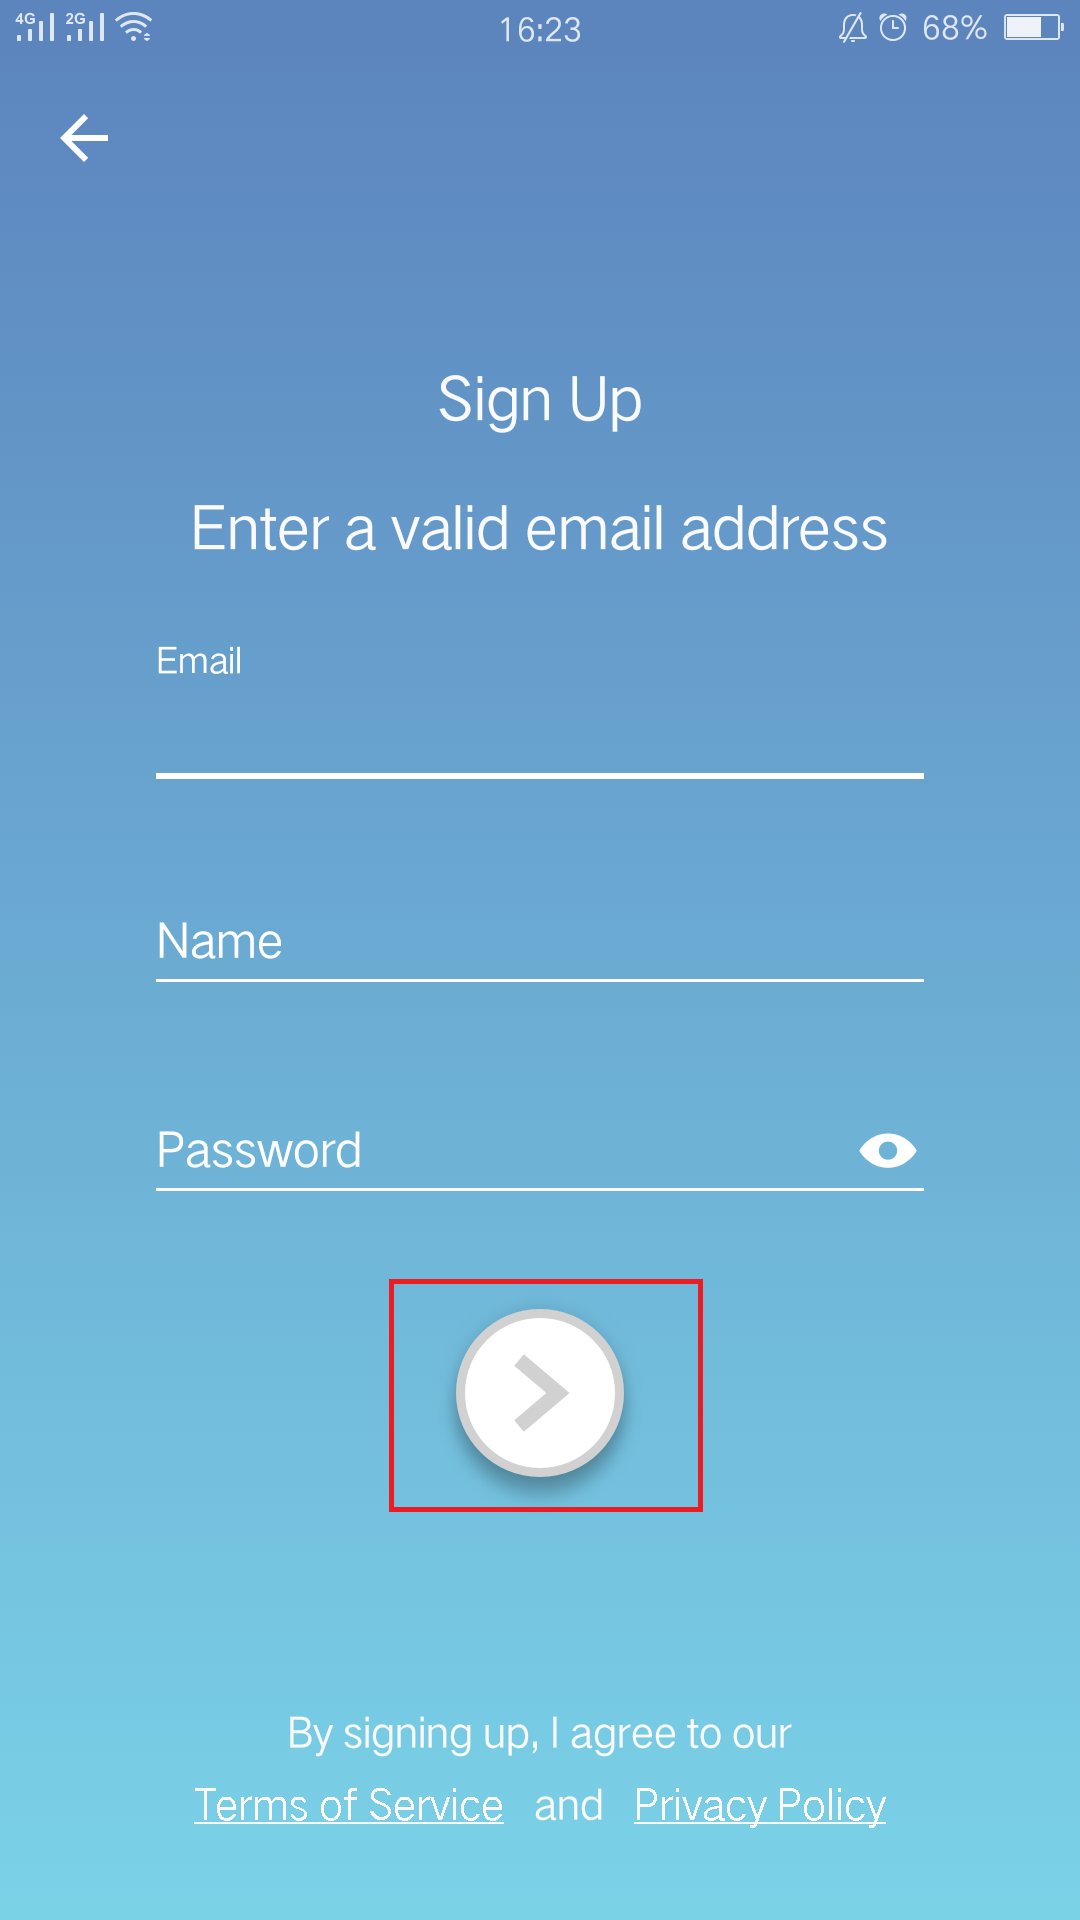
3) This screen will come up and here you need to input an email address and password for the cloud account, then click “Register” button.
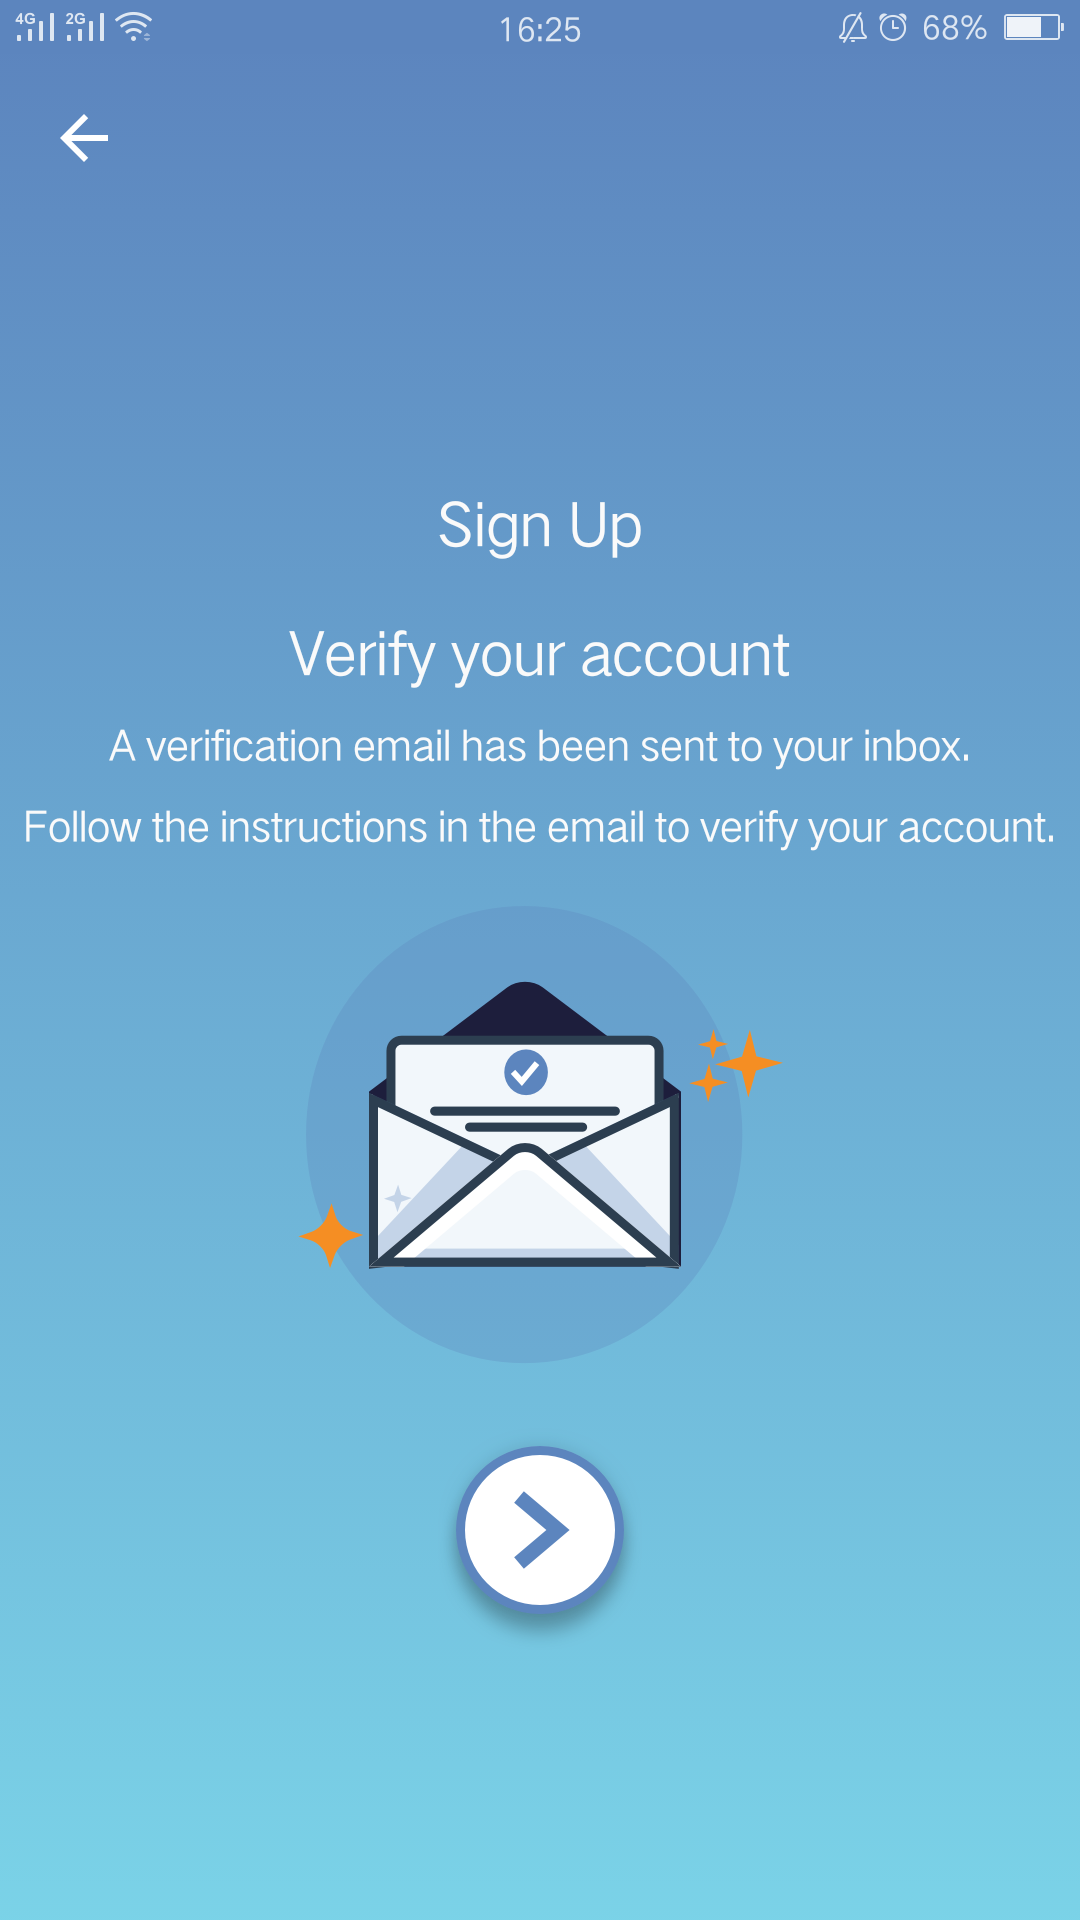
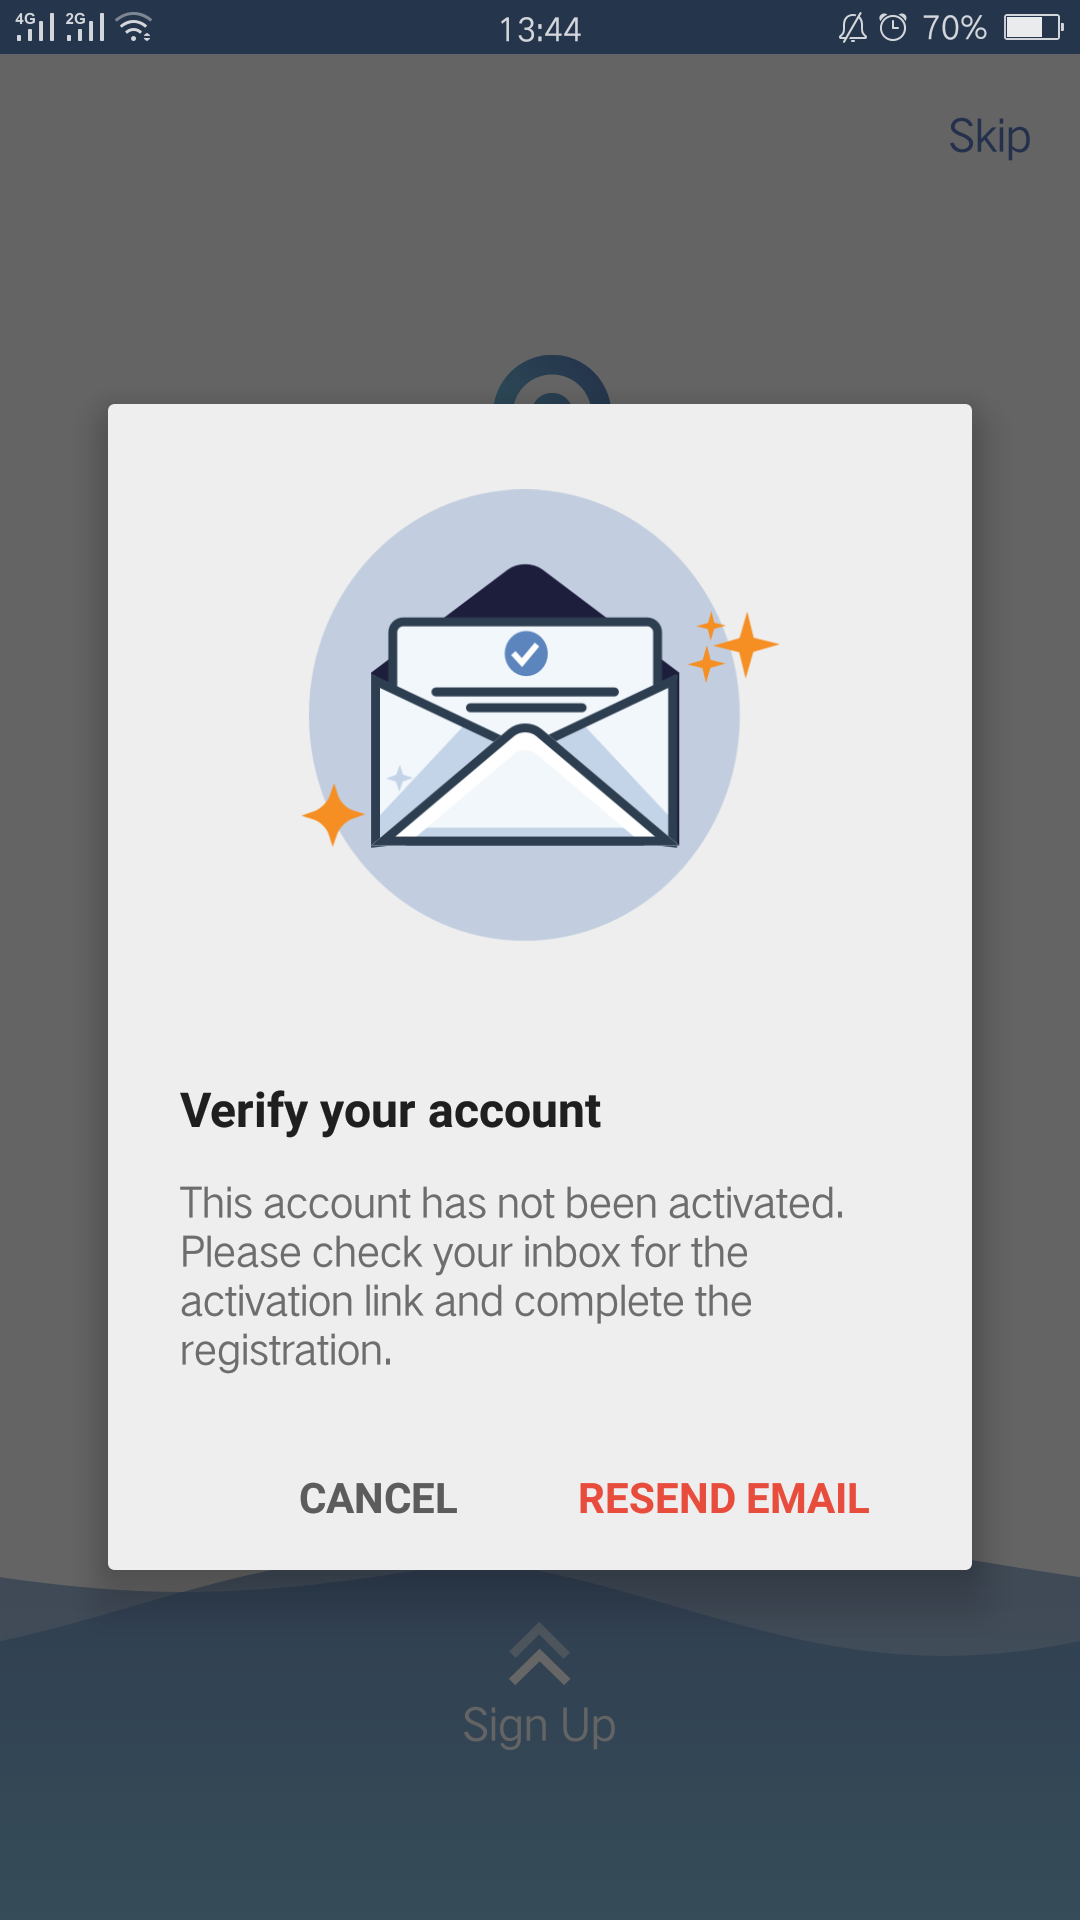
4) At last an activation Email will be sent to mail box to active your cloud account. If you can’t active your account via activation Email or don’t receive the activation Email, please click “Resend Email” button.
Get to know more details of each function and configuration please go to Download Center to download the manual of your product.
Is this faq useful?
Your feedback helps improve this site.
TP-Link Community
Still need help? Search for answers, ask questions, and get help from TP-Link experts and other users around the world.