How to get Token from NordVPN
Token-based authentication offers a secure way to verify user identity and protect their accounts. In this article, we will introduce how does user get the token from NordVPN.
On Phone
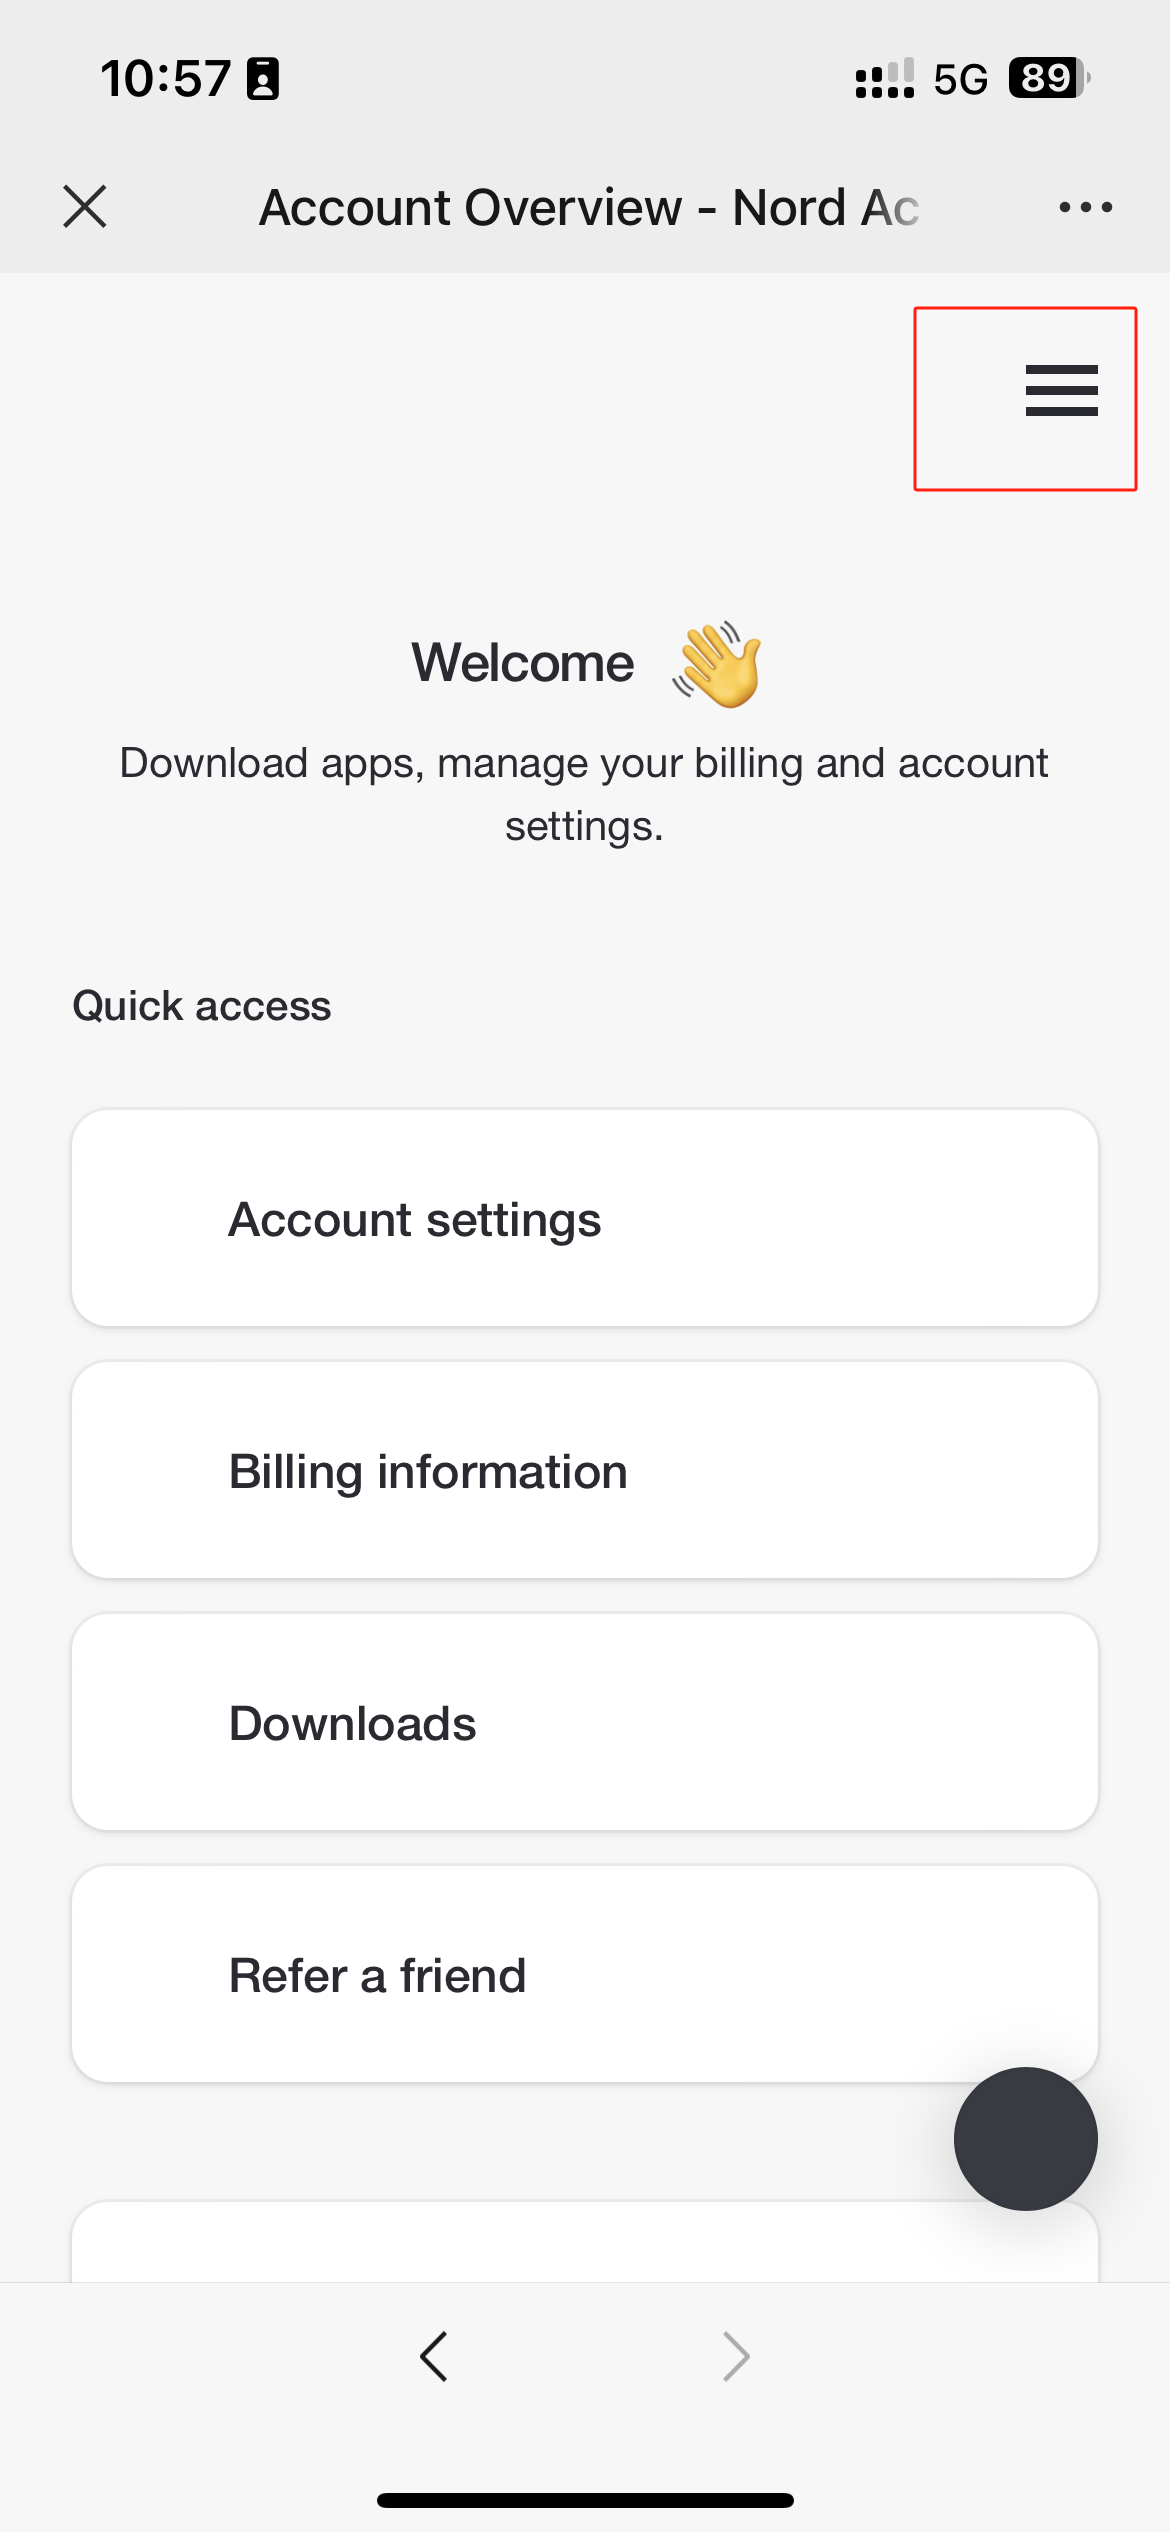
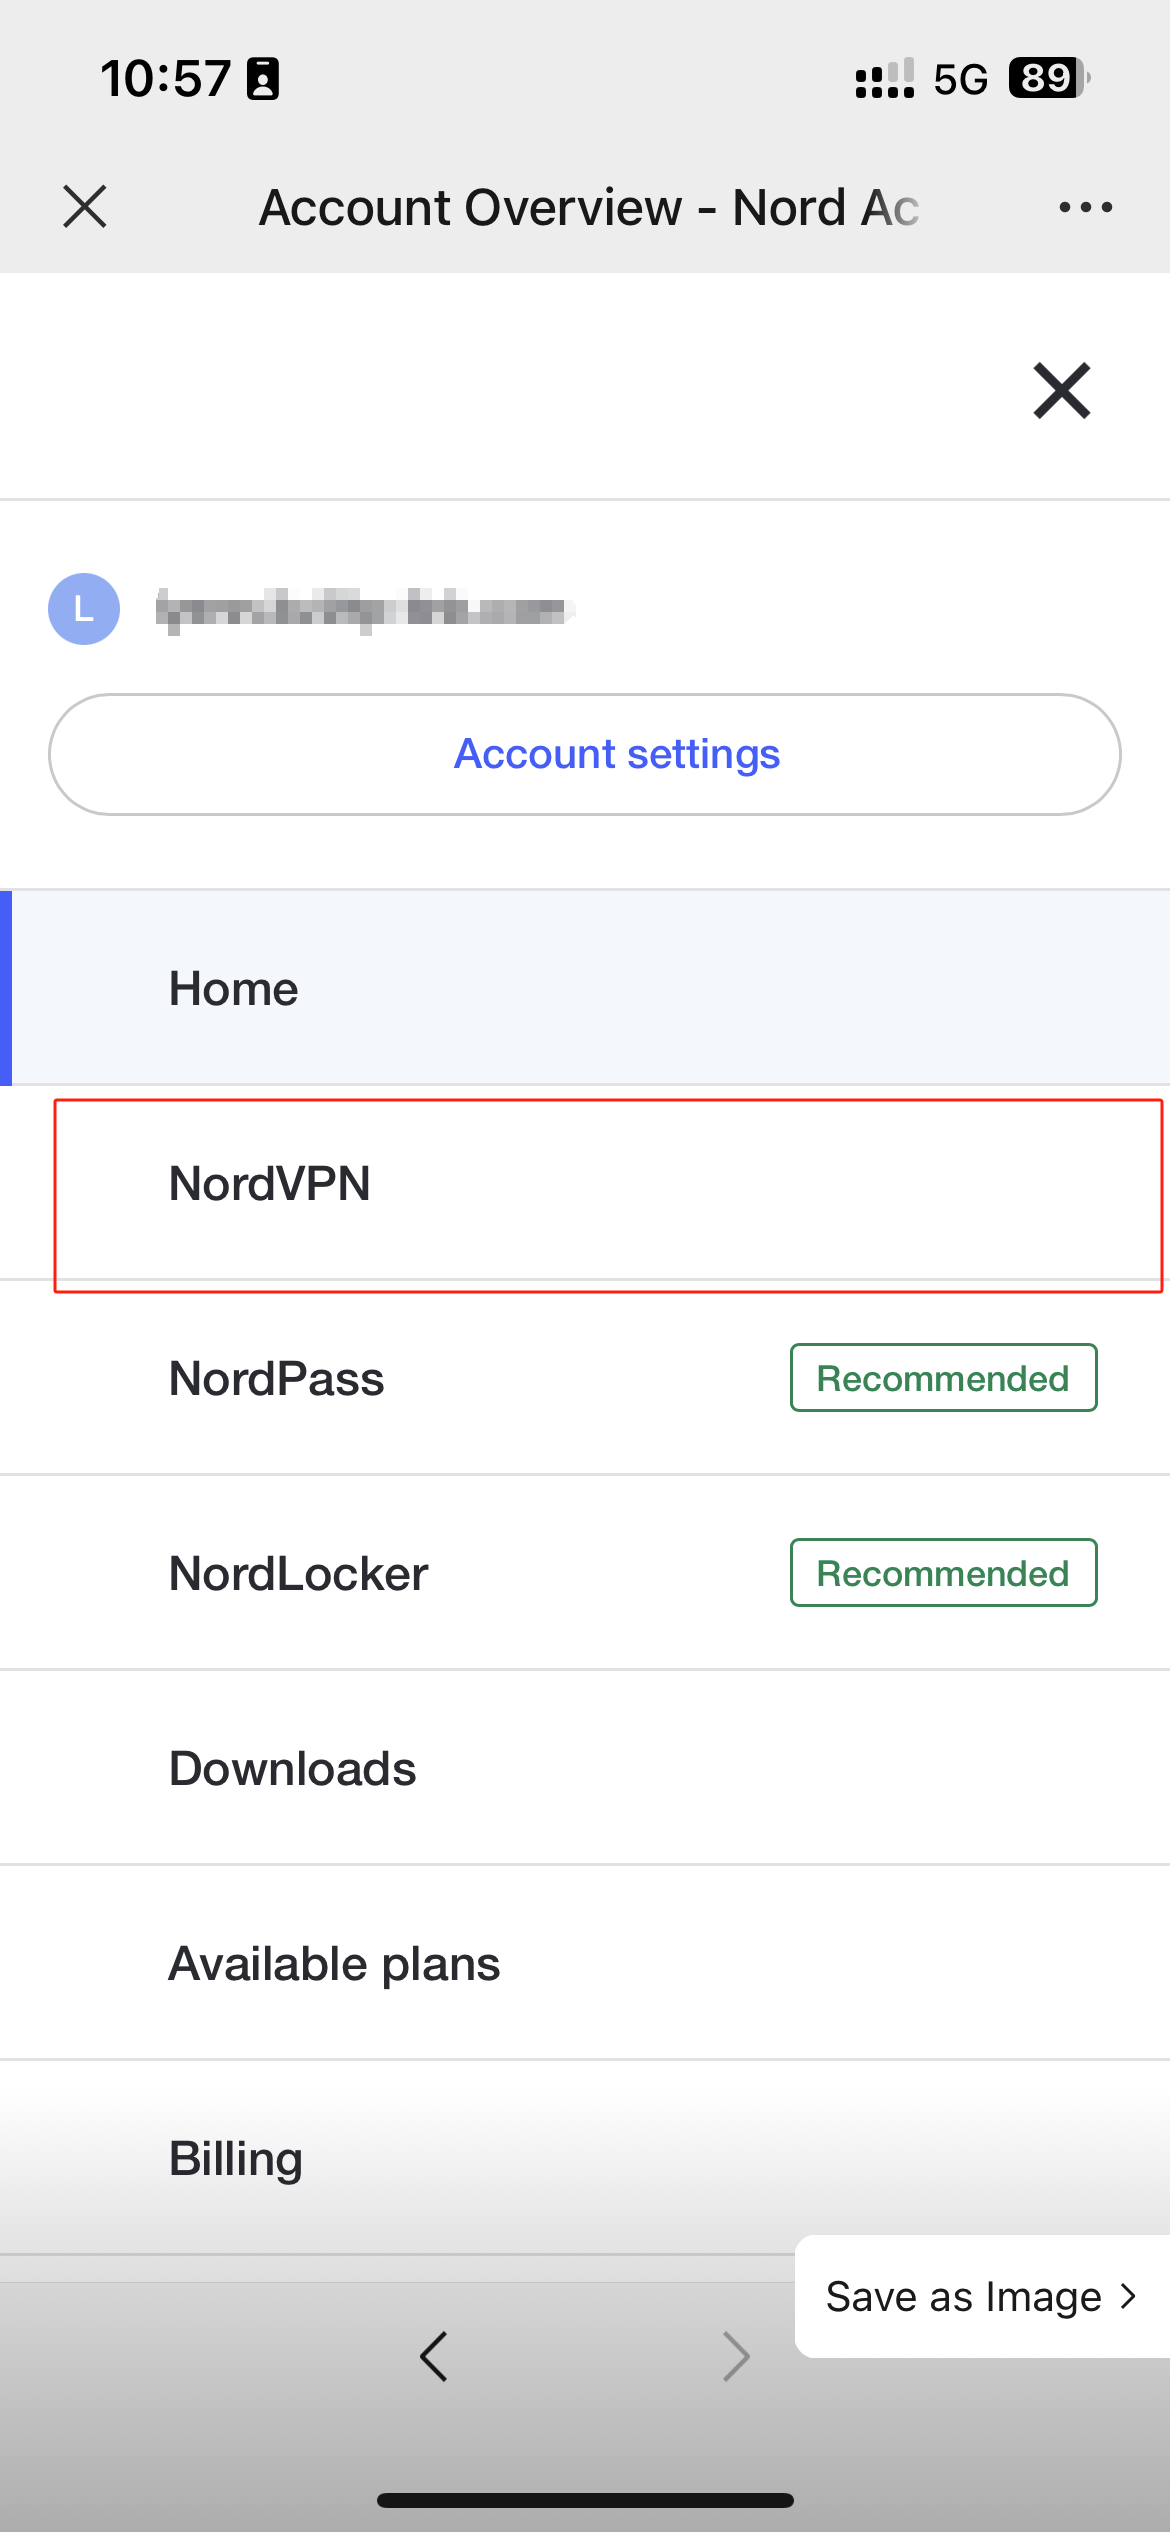
Step 1: Log in to Nord Account , tap the hamburger icon  at top right corner and select NordVPN under the Services menu.
If you don’t have an account, click here to get one.
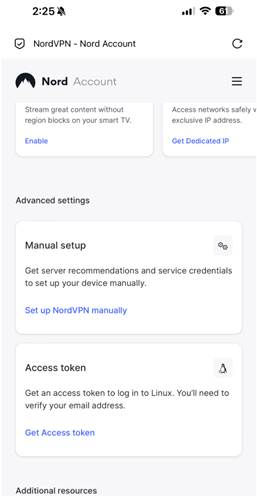
Step 2: Scroll down and tap Get Access token. A verification code will be sent to your NordVPN account email. Please review and enter the code.
Step 3: Navigate to Access Token and select Generate new token. Choose the expiration time to keep the token valid.


Step 4: Click Copy and close. Now you can paste the token on the place you need and continue your VPN settings.

On PC
Step 1: Log in to Nord Account and find NordVPN under the Services menu.
If you don’t have an account, click here to get one.
Step 2: Locate the Access token tab down below. Click on Generate new token.

Step 3: Pick either token: one that expires in 30 days or one that doesn’t expire. Proceed to Generate token.

Step 4: Click Copy and close. Now you can paste the token on the place you need and continue your VPN settings.
Looking For More
Is this faq useful?
Your feedback helps improve this site.
TP-Link Community
Still need help? Search for answers, ask questions, and get help from TP-Link experts and other users around the world.