How to send or receive a Fax by TM-IP5600 in Windows XP
This Article Applies to:
*Note: The TM-IP5600 must be pluged into the PCI slot before installing the driver.
1. Driver Installation
Install the "Ssetup.exe" program in the provided CD, this program is applicable to Windows XP & Vista.
For Windows 7, the driver of TM-IP5600 and Fax program will be automatically installed by the operating system.
You can also install the driver manually, refer to the FAQ 180 for more details.

2. Enable Fax Component
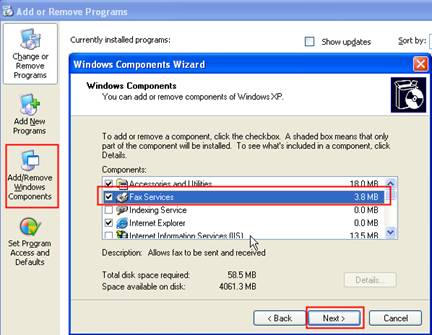
Step1 To fax with windows built in fax program, you need to install the Fax Services first. Go to Control Panel->Add or Remove Programs, then click Add/Remove Windows Components, check the box of Fax Services and go to next.
Note: The process needs the installer of Windows (Installation CD).
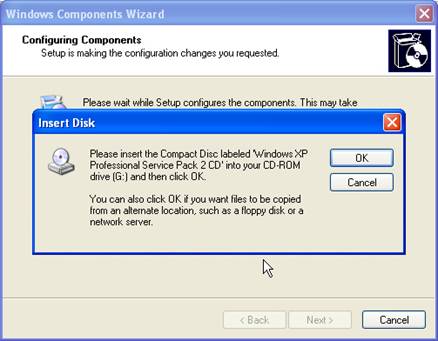
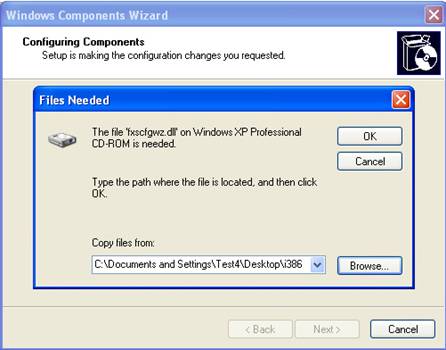
Step2 Click OK button and then click Browse button to choose the file in the Windows XP CD. At last, click OK button again to install the component.
3. Configure the Fax Console
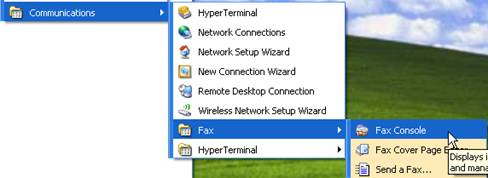
Step1 Go to Start ->All programs ->Accessories ->Communications ->Fax ->Fax Console to open the fax console.
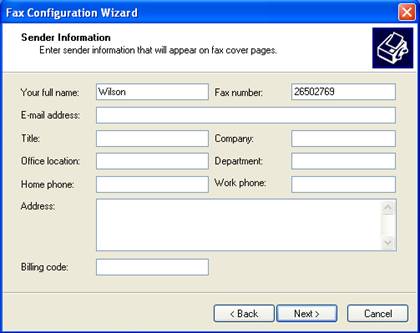
Step2 Put your Fax information in the window, and then click Next.
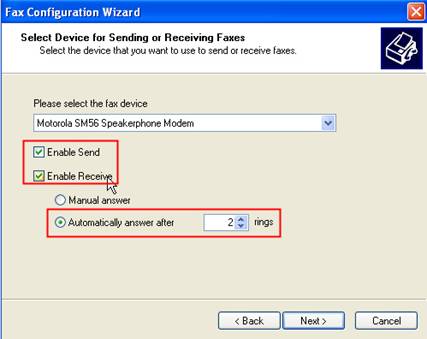
Step3 Select the correct modem (TM-IP5600 will be recognized as Motorola SM56 Speaker Modem), check the boxes of Enable Send and Enable Receive.
Please do check the box of Automatically answer the Fax after 2 or 3 rings, then click Next button again.
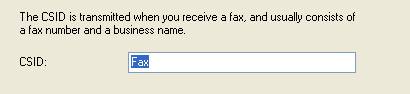
Step4 Enter your TSID and CSID then click Next. You can leave them as default values.

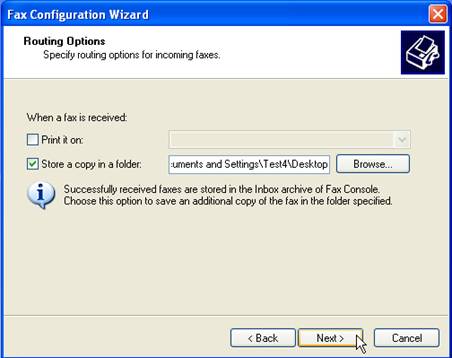
Step5 Tick the Routing Options as the Fax output option, then click Next.
Step6 Click Finish to complete the configuration.
Note: The Fax Configuration Wizard only appears in the first time configuration. After finished all the configuration, there will be a device named Fax in Control Panel->Printers and Faxes.
4. Send a Fax
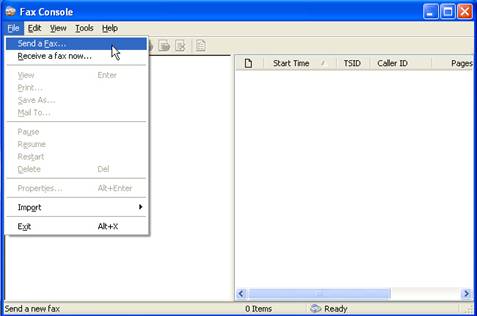
A. By Fax Console:
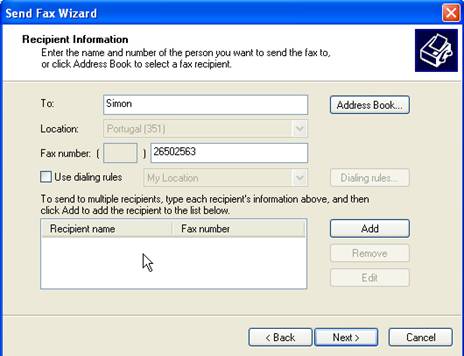
Step1 Click File ->Send a Fax. Enter the name and fax number of the receiver then click Next button.
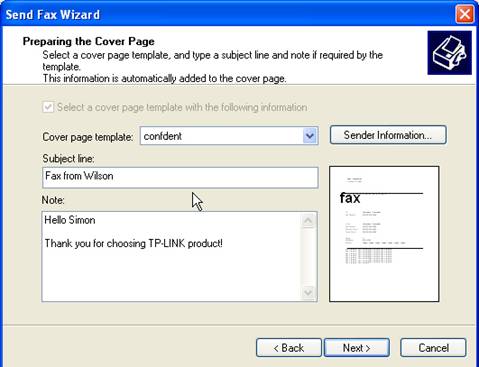
Step2 Enter the information of Cover Page and click Next button.
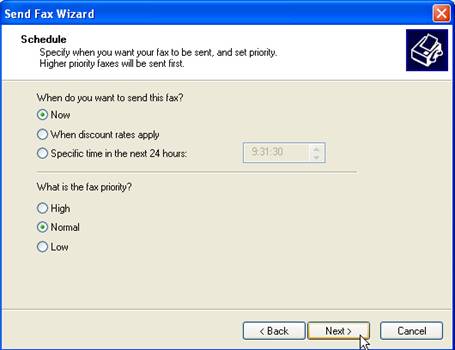
Step3 Configure the Schedule and click the Next button.
Step4 Click Finish button to send the fax.
B. By Printing:
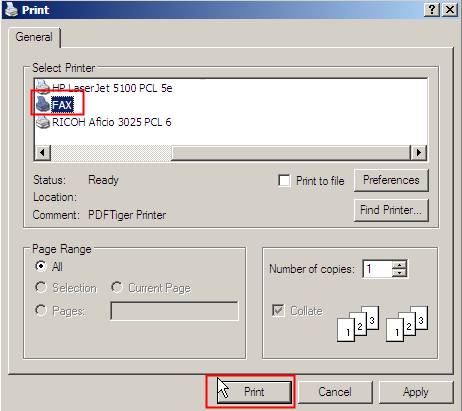
Step1 Here we take TXT file as an example. Open the file and try to print it. In the printer selecting box, choose the Fax and click Print button, another window will come out .
Step2 Put in the Fax Number and Subject, click the Send button. Your fax will be sent successfully.
Is this faq useful?
Your feedback helps improve this site.
TP-Link Community
Still need help? Search for answers, ask questions, and get help from TP-Link experts and other users around the world.