How to install TP-Link Print Server by using Standard TCP/IP port in Windows Vista and Windows 7
You ever connected directly a printer to your computer by a USB cable or a parallel cable, and installed the printer driver. Now you want to use a print server to share the printer through your network. You need to change the printer port to Standard TCP/IP port.
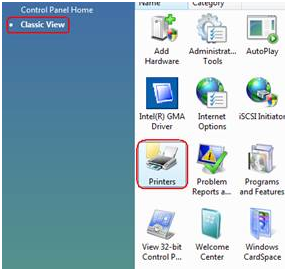
Step 1 Click Start-> Control Panel -> Classic View -> Printers.
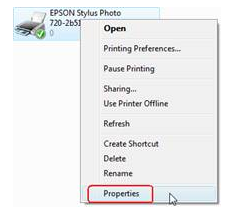
Step 2 Find your installed printer icon, right-click, select Properties.
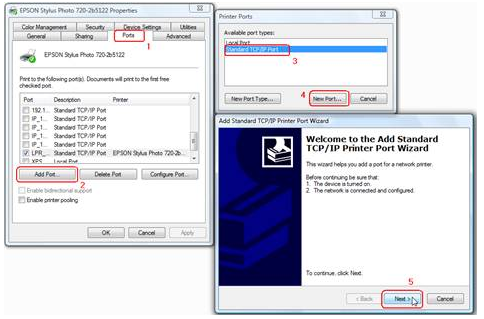
Step 3 Click Ports -> Add Port -> Standard TCP/IP Port -> New Port -> Next.
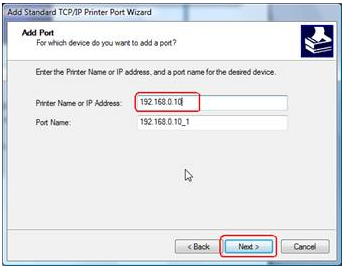
Step 4 Input the exact IP address of print server that you configured it. Click Next.
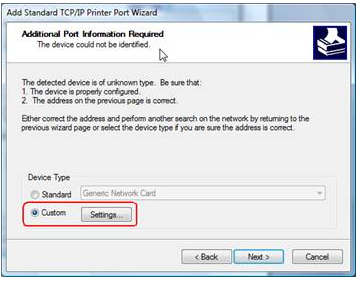
Step 5 Select Custom, and click Settings.
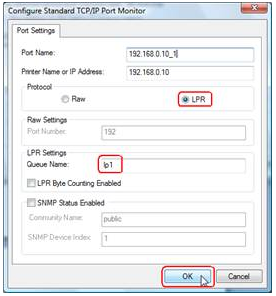
Step 6 Choose LPR, and input the queue name as lp1. Click OK.
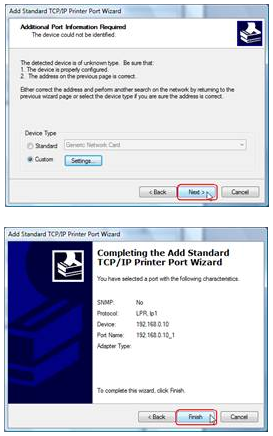
Step 7 Click Next, Finish, to complete the wizard.
Step 8 Click Close and Apply.
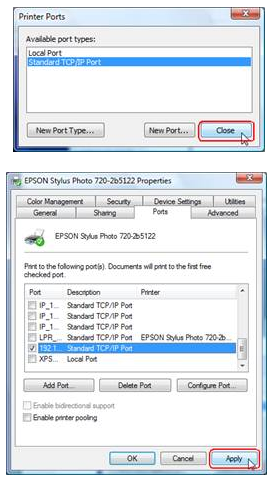
Now, the printer port has been created.
Is this faq useful?
Your feedback helps improve this site.
TP-Link Community
Still need help? Search for answers, ask questions, and get help from TP-Link experts and other users around the world.