How to setup and use the FTP Server Function on TP-Link wireless routers
This Article Applies to:
If you have Archer C7 V2/V3 with firmware published on 2014/9/29 and later, Archer C5 V1 with firmware published on 2014/9/12 and later. Please follow this instruction to set it up:
If you have Archer C2, Archer C20i, please follow this instruction to set it up:
If you have Archer C8, Archer C9, Archer C5 V2, please follow this instruction to set it up:
You may also refer the below articles to know:
How to access my USB storage device on the TP-Link Routers from my Android and iOS phone
How to access USB storage device on the TP-Link Routers from Windows or Mac OS
Step 1 Plug a USB Storage device into the USB port, make sure the USB light lit up on the router.
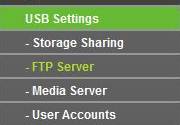
Step 3 Click USB Settings -> FTP Server on the left side menu.
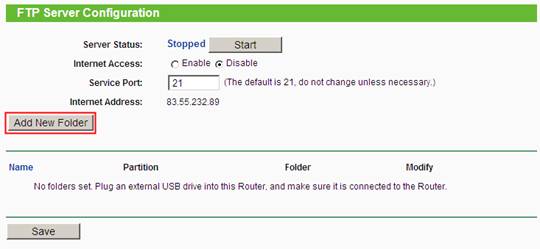
Step 4 Before configuring the FTP Server, the USB storage device must be recognized first. Click Add New Folder button.
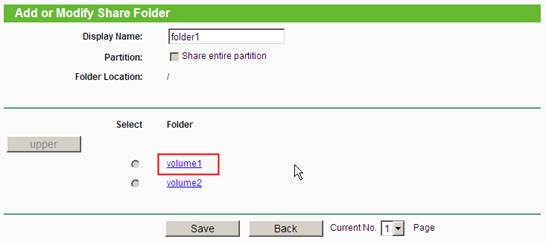
Step 5 Click on the volume you want to share.
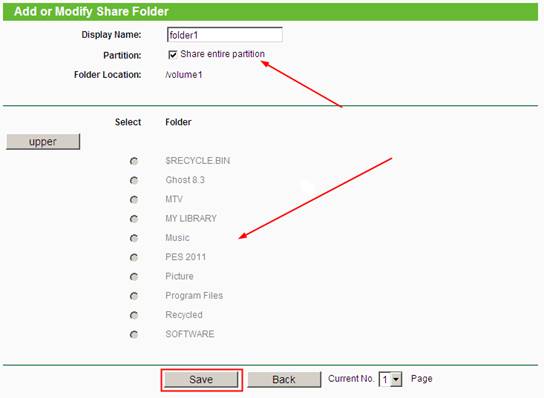
Step 6 Select the subfolder. You can select some of them or all, by yourself. Create a display name for you folder and then click Save.
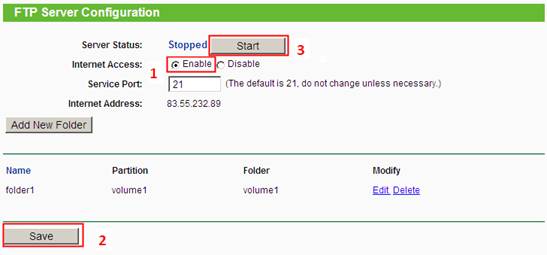
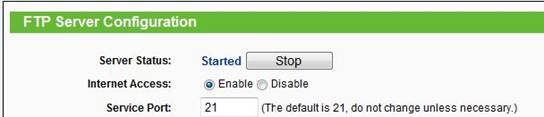
Step 7 Your shared folders will be listed on the FTP home page. If you want to use the Internet Access, please select Enable. Then click Save. At last, click Start to start the FTP function.
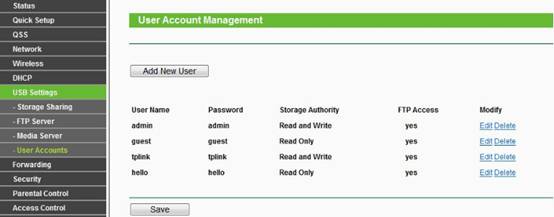
Step 8 Click USB Settings -> User Accounts to edit or create a new account.
The default two accounts are admin and guest.
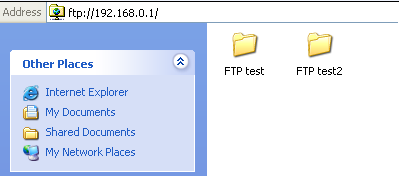
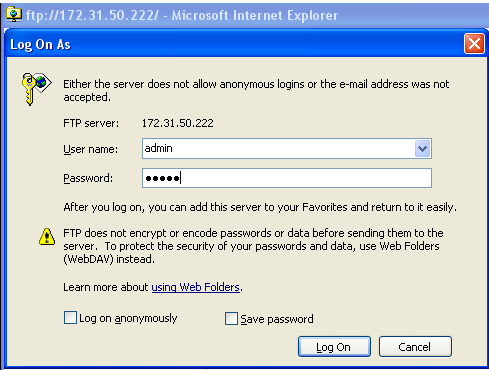
Step 9 Now the FTP server can be accessed by local network and external network. Please open the web browser and type in address ftp://LAN IP, press enter. Then type in your account to access to the FTP server. Here the IP address of the router is 192.168.0.1.

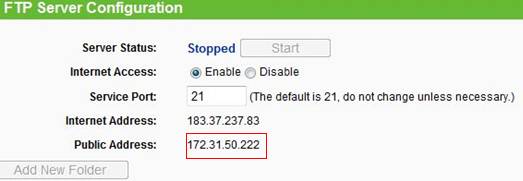
Step 10 You can also access the FTP server by external network. Please type in address ftp://wan IP to access to it.
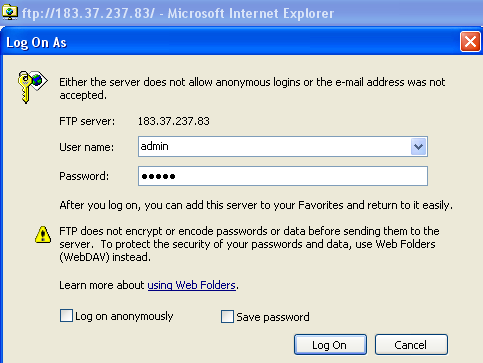
You may have dual WAN access to the internet, so you can see a public IP in the FTP server configuration page. And you can also access to the FTP server by this public IP.
Notes:
If the FTP server can’t take effect immediately, please wait a few minutes.
Or restart the service by clicking stop/start button.
Get to know more details of each function and configuration please go to Download Center to download the manual of your product.
Is this faq useful?
Your feedback helps improve this site.