Cómo configurar la cámara Tapo
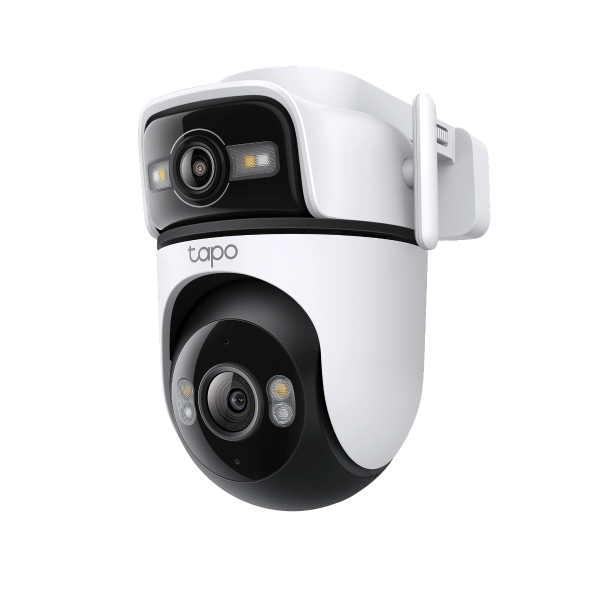
Siga los pasos a continuación para comenzar con su nueva cámara. Aquí tomamos Tapo C211 como ejemplo.
Paso 1. Descarga la APLICACIÓN Tapo
Obtenga la APLICACIÓN Tapo en APP Store o Google Play, o escaneando el código QR a continuación.

Paso 2. Iniciar sesión
Abra la aplicación e inicie sesión con su ID de TP-Link. Si no tiene una cuenta, cree una primero.

Paso 3. Configura la cámara
Siga las instrucciones de la APLICACIÓN para completar la configuración.
Nota: El permiso de ubicación es necesario para encontrar y conectarse a su cámara durante la configuración. Otorgue el permiso de ubicación cuando se le solicite y podrá desactivarlo después de la configuración.
Para iOS:
1. Toque Agregar dispositivos o toque  y seleccione Agregar dispositivo en la aplicación. Luego busque Tapo C211 (el modelo de su dispositivo).

2. Conecte su cámara y espere unos 30 segundos hasta que el LED parpadee en rojo y verde. Haga clic en Ya rojo y verde y vaya al siguiente paso.

3. Ve a la configuración de Wi-Fi de tu teléfono o tableta y únete a la red de tu cámara: Tapo_Cam_XXXX . Luego regrese a esta APLICACIÓN.

4. Comenzará a buscar tu cámara. Esto puede tardar uno o dos minutos.

5. Una vez encontrada la cámara, conéctela a la red Wi-Fi de su hogar e ingrese la contraseña.

6. Haga clic en Unirse en la ventana emergente y comenzará a emparejar su cámara. Asegúrese de que el LED permanezca encendido durante el emparejamiento.

7. Cuando se complete el emparejamiento, asigne a su cámara un nombre único y establezca una ubicación para una fácil identificación. Haga clic en Siguiente para completar la configuración.

8. La página "Completar" significa que la cámara se agregó correctamente y toque Listo para comenzar a usar su cámara.

Para Android:
1. Toque Agregar dispositivos o toque  y seleccione Agregar dispositivo en la aplicación. Luego busque Tapo C211 (el modelo de su dispositivo).

2. Conecte su cámara y espere unos 30 segundos hasta que el LED parpadee en rojo y verde. Haga clic en Siguiente .

3. Otorgue acceso a la ubicación y permita que la ubicación encuentre y se conecte a su cámara. Puede desactivarlo después de la configuración. Luego comenzará a buscar tu cámara.

4. Una vez encontrada la cámara, conéctela a la red Wi-Fi de su hogar e ingrese la contraseña. Haga clic en Siguiente .

5. Comenzará a emparejar tu cámara. Asegúrese de que el LED permanezca encendido durante el emparejamiento.

6. Cuando se complete el emparejamiento, asigne a su cámara un nombre único y establezca una ubicación para una fácil identificación. Haga clic en Siguiente para completar la configuración.

7. La página "Completar" significa que la cámara se agregó correctamente y toque Listo para comenzar a usar su cámara.

Si aún falla, consulte la solución de problemas: ¿ Qué debo hacer si no puedo configurar Tapo Camera?
Para conocer más detalles de cada función y configuración por favor vaya al Centro de Descargas para descargar el manual de su producto.
¿Es útil este artículo?
Tus comentarios nos ayudan a mejorar esta web.