How to Install a TP-Link Adapter Driver Manually on macOS
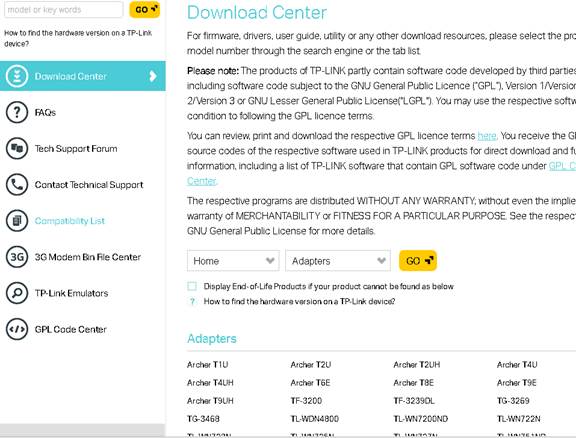
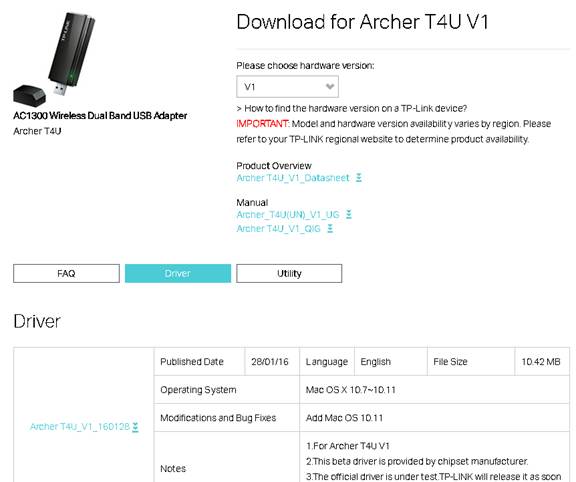
This guide covers how to manually install a TP-Link adapter driver on macOS. Before you begin, complete two steps: download the correct driver from the TP-Link Download Center for your specific adapter model, and plug the adapter into your Mac.
Note: If a previous driver is already installed but not working, uninstall it before proceeding. Go to Finder > Downloads, open the old driver folder you downloaded previously, and run the uninstall file to remove it.
The screenshots below use the Archer T4U as an example. The steps apply to all TP-Link wireless adapters that have a Mac driver available.
Key Takeaways
- To install a TP-Link adapter driver on macOS, download the correct driver from the TP-Link Download Center, double-click to extract the file, then open the folder and run the .pkg install file.
- During installation, macOS may block the installer with a security warning ("can't be opened because it is from an unidentified developer"). Go to System Preferences (or System Settings on macOS Ventura or later) > Security and Privacy and click "Open Anyway" to proceed.
- The installation will prompt for your Mac's administrator username and password. This is the admin account for your Mac, not your TP-Link account.
- After clicking "Continue Installation" and completing the installer, restart your Mac to finish the driver installation.
- Once your Mac restarts, click the Wi-Fi icon, then select "Open Wireless Utility" to scan for and connect to your Wi-Fi network. Allow up to one minute for the utility to detect available networks.
Note: If there already is a driver, but it's not working, you need to uninstall it first before installing the new driver. (Finder > download > open the old driver we downloaded before > click the uninstall APK and run it to uninstall the driver)
Then please follow the steps below:
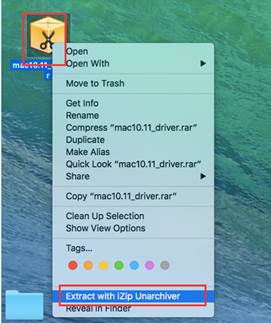
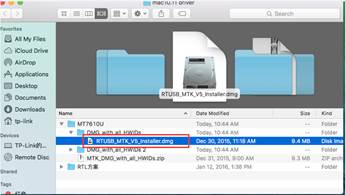
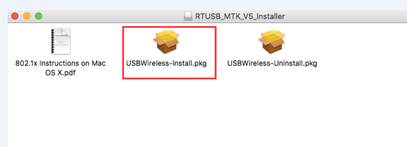
Step 1: Download and Extract the Driver
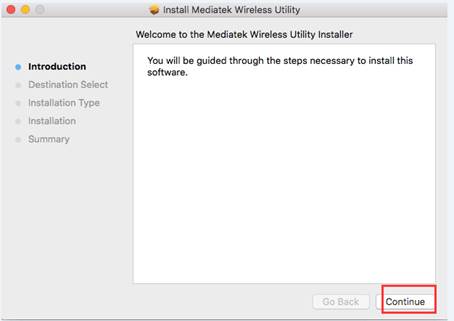
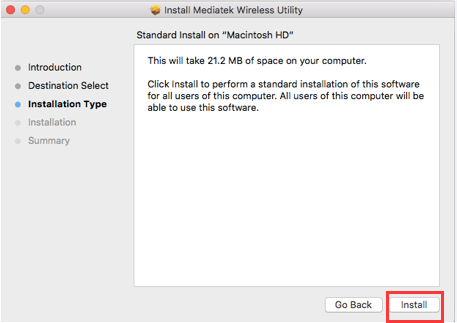
Please double-click on the driver and extract it, then open the folder and run the pkg install file.
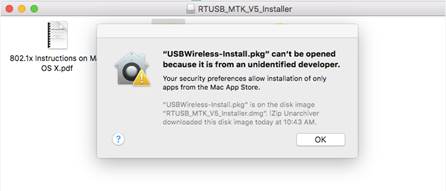
Step 2: Allow the Driver in macOS Security Settings
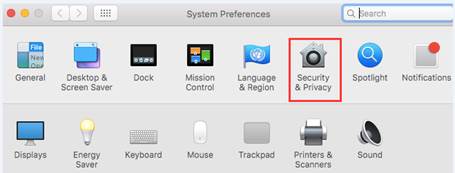
A warning message will pop up as shown below. To solve this problem, please go to System Preferences (or System Settings on macOS Ventura or later) > Security and Privacy, then click “Open Anyway” to identify the driver.
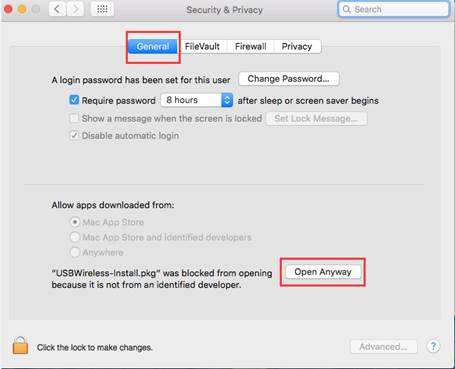
Note: if “Allow apps downloaded from” is “Anywhere”, the warning message won’t pop up.
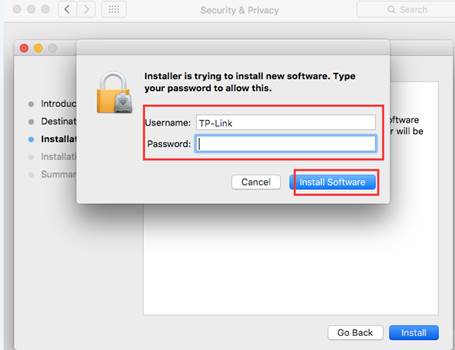
Step 3: Enter Your Mac Admin Password
After the driver is identified, it will be installed automatically. During the process, an authentication window will pop up to request a username and password, which is the administrative account for your Mac (if you have no idea what it is or how to find it, please contact Apple support for help). Then please click “Install Software” to continue.
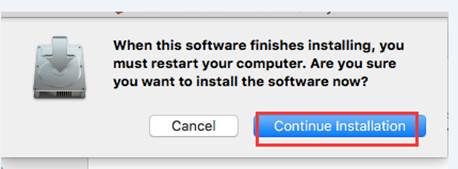
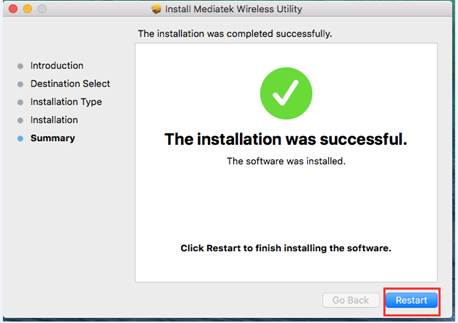
Step 4: Complete Installation and Restart
Now, please click “Continue Installation,” then “Restart” to finish the installation.
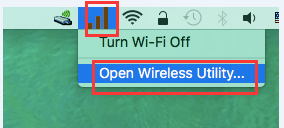
Step 5: Connect to Wi-Fi Using the Wireless Utility
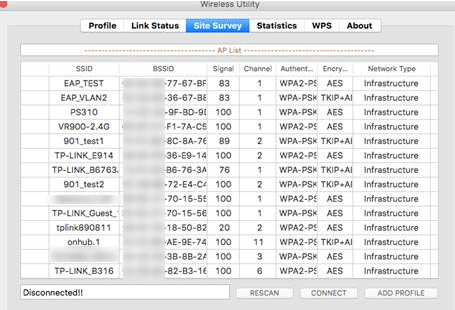
After the Mac is rebooted, please click the Wi-Fi icon to “Open Wireless Utility”, then you can choose your Wi-Fi and connect to it.
Note: Allow up to one minute for the Wireless Utility to scan for available networks.
Now, enjoy your Wi-Fi.
À procura de Mais
Este guia foi útil?
A sua resposta ajuda-nos a melhorar o nosso site.


TP-Link Community
Still need help? Search for answers, ask questions, and get help from TP-Link experts and other users around the world.