How to set up Patrol Mode on Tapo cameras
Introduction
The Patrol Mode feature allows the Tapo camera to move between your marked positions.
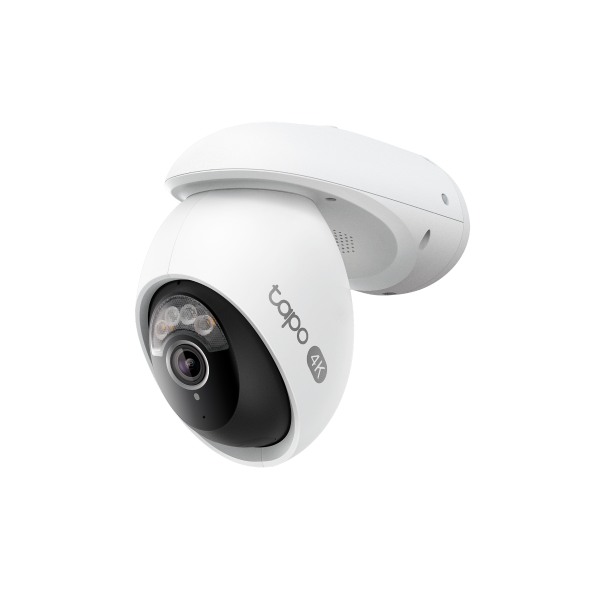
This article introduces how to set up Patrol Mode on Tapo cameras. Here we take Tapo C225 as an example.
Requirement
- Pan/Tilt cameras
Note: Non-stop patrolling may affect the motor life of your Tapo camera.
Configuration
Step 1. After setting up your Tapo camera successfully, tap the device card to enter the camera page.

Step 2. Tap the gear icon to enter the camera settings page.

Step 3. Tap Pan & Tilt to enter the page. You can set a Pan & Tilt Angle and tap Pan & Tilt Correction to reset your camera to the default position before entering the Patrol Mode page,


Step 4. Tap Patrol Mode to enter the page. At least two marked positions are required before toggling on Patrol Mode.


Step 5. Tap the arrows and control the camera to move up, down, left, or right to your desired position, then tap Add Mark. Change Layover Time as needed and tap Save.
Note: Layover time varies by model. For instance, the minimum layover time of battery-powered cameras is set to 1 hour to optimize power consumption.


Step 6. Repeat the above step to add more marks. At least two marks are required.
Step 7. After adding all marks, toggle on Patrol Mode.

Step 8. Tap Patrol Mode Schedule. You can choose a preset schedule or customize a schedule. Tap Save and the camera will move between your marked positions as scheduled.


Is this faq useful?
Your feedback helps improve this site.

TP-Link Community
Still need help? Search for answers, ask questions, and get help from TP-Link experts and other users around the world.