How to connect the cloud camera to your router's wireless network via camera’s web interface
Note: NC200 is used for demonstration in this article.
Login to the Web Interface of the camera to set it up
1. Refer to Method 2 in this link, ‘How to log in to NC200’s Web Interface’ to log in the camera’s web interface.
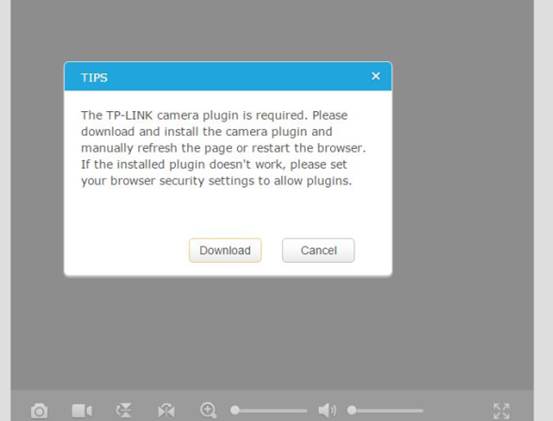
2. Once you are in, it will ask you to download a plugin to be able to view the camera; click on ‘download’ and go to install the plugin.
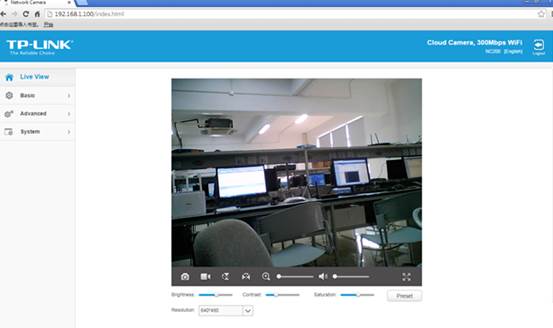
3. After the plugin is installed successfully, you might need to refresh the camera’s screen or login to the web browser again to see the camera’s live view:
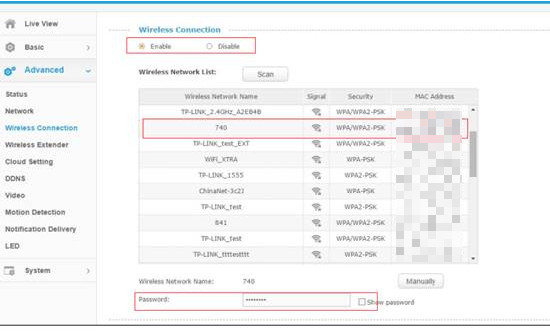
4. At the beginning, the camera shall be connected to the router by cable, if you want to connect it wirelessly to the router, please go to ‘basic’-->’wireless connection’-->choose your router’s wireless and input your router’s password-->’connect’
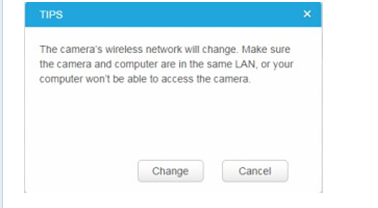
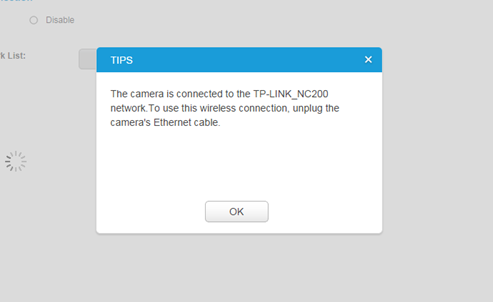
Hit ‘change’---and a ‘TIPS’ screen will come up to remind you to unplug the Ethernet cable if you want to use the camera wirelessly.
Is this faq useful?
Your feedback helps improve this site.
TP-Link Community
Still need help? Search for answers, ask questions, and get help from TP-Link experts and other users around the world.