How to use Widgets to control Tapo Devices and Tapo Shortcuts
Introduction
This article provides step-by-step instructions for configuring widgets to control your Tapo devices.
Requirement
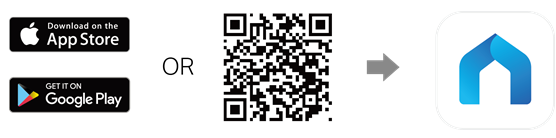
Download the Tapo app by visiting the Google Play Store, App Store, or by scanning the QR code.
Configuration
Scenario 1: For iOS
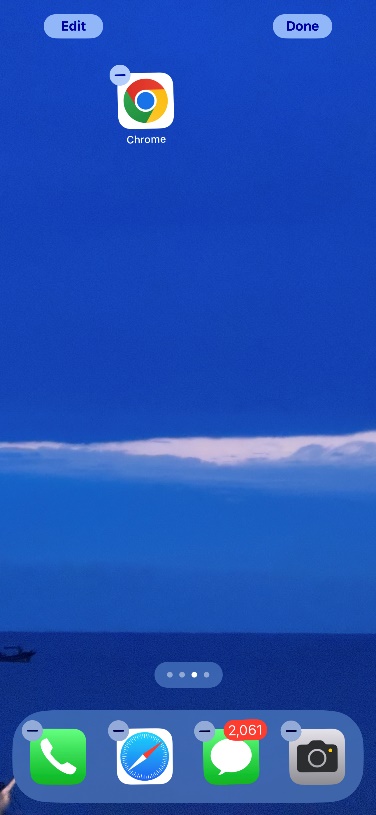
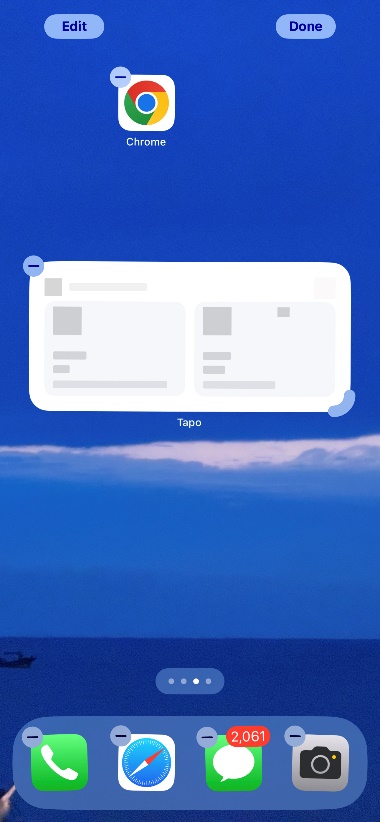
Step 1. Touch and hold a widget or an empty area until the apps jiggle.
Step 2. Tap the edit button in the upper-left corner.
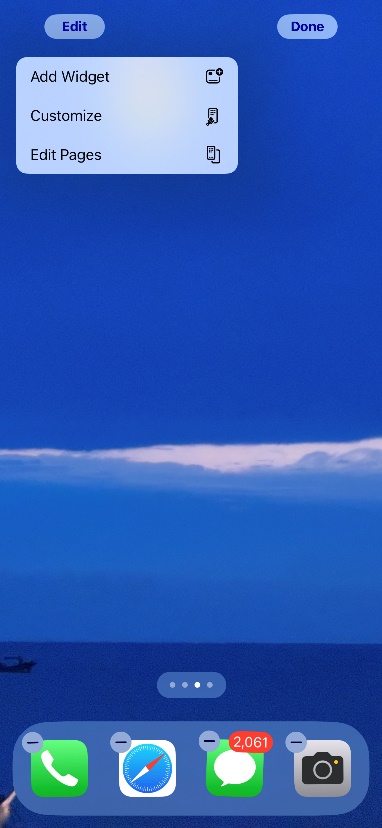
Step 3. Enter Tapo to search or scroll down to find the Tapo widget. Tap on it.
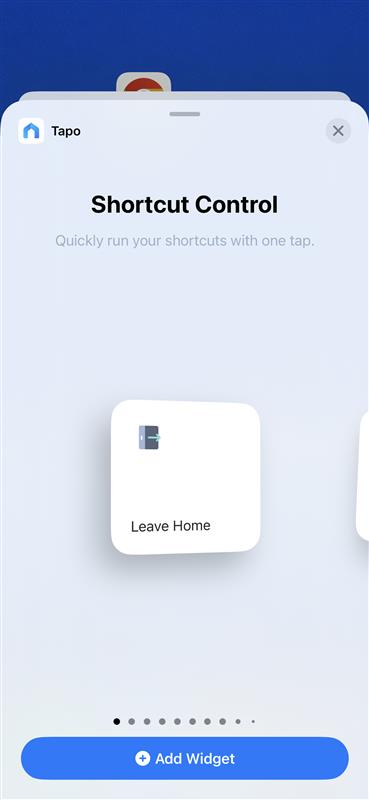
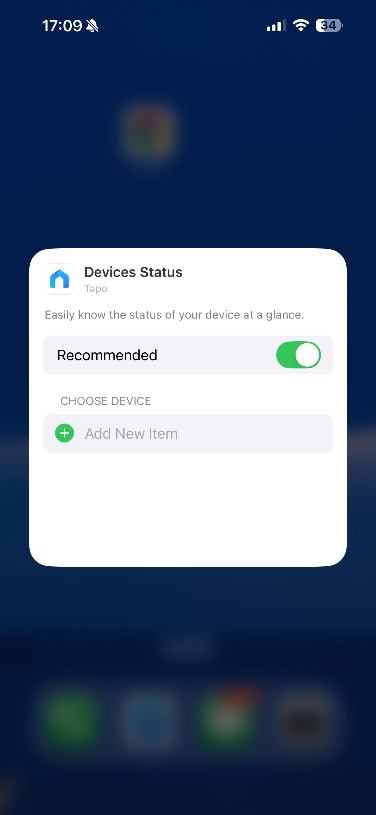
Step 4. Choose a widget size and tap Add Widget. You will see the Tapo widget on the home screen. Tap Done to complete.
Step 5. Long-press the widget card to edit, then select the devices you wish to include.
Scenario 2: For Android
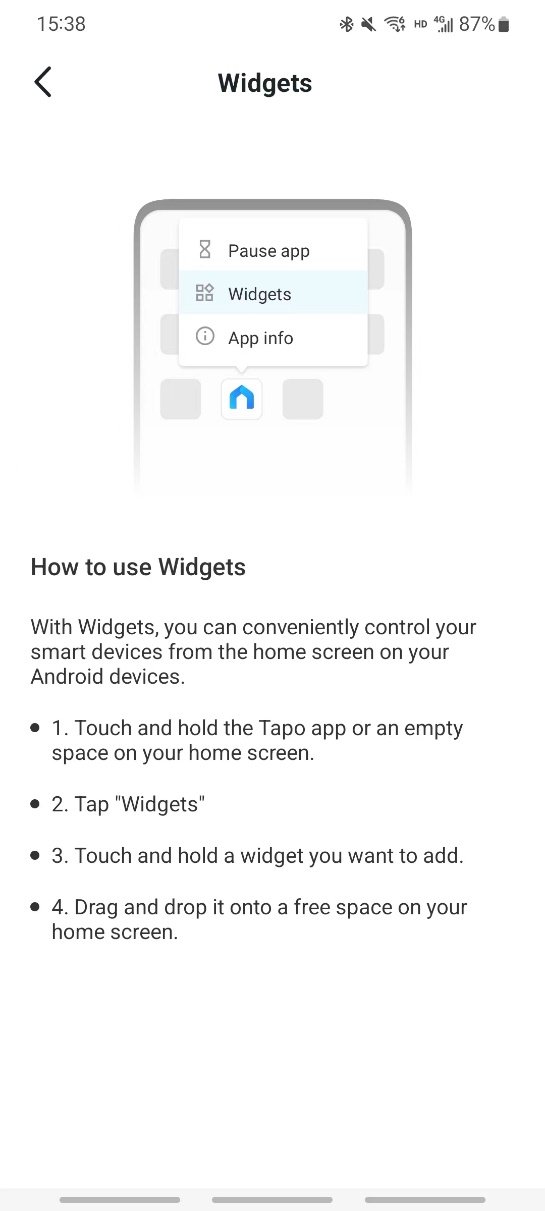
Step 1. Touch and hold the Tapo APP, or space on your home screen.
Step 2. Tap Widgets.
Step 3. Add the Tapo widget, touch and hold the widget you want to add.
Step 4. Drag and drop it onto a free space on your home screen.
Is this faq useful?
Your feedback helps improve this site.


TP-Link Community
Still need help? Search for answers, ask questions, and get help from TP-Link experts and other users around the world.