How to Setup OpenVPN on TP-Link Routers (Mac OS X)
OpenVPN is a free VPN (virtual private network) service that allows you to remotely access your Home network from anywhere with an open internet service. OpenVPN is a multiplatform service that works with both Android and iOS operating systems, allowing you to access devices and services in use through your router.
This article will take you through the steps needed to create and establish an OpenVPN connection with your TP-Link router.
Setting up OpenVPN on a TP-Link Router
(This example uses the Archer C5400)
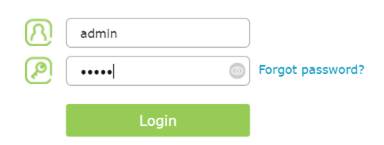
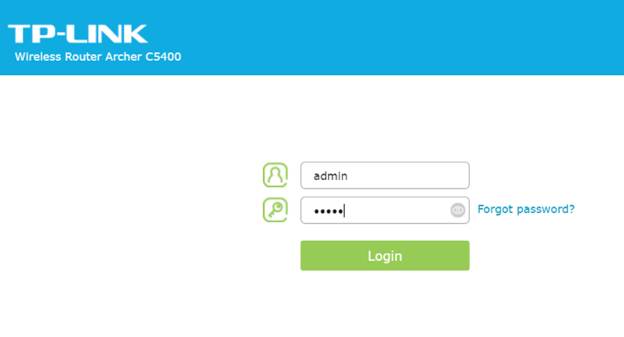
Step 1: Log into your router using tplinkwifi.net. The default username and password are admin.
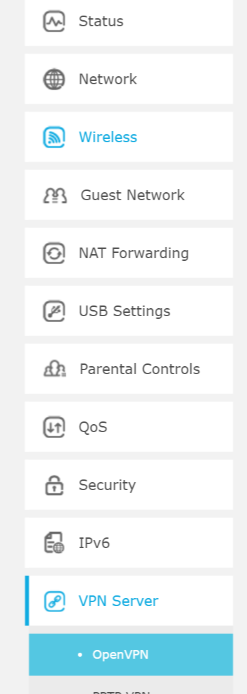
Step 2: Click Advanced on the top navigation bar.

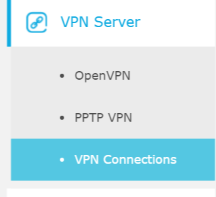
Step 3: Click VPN Server, then OpenVPN.
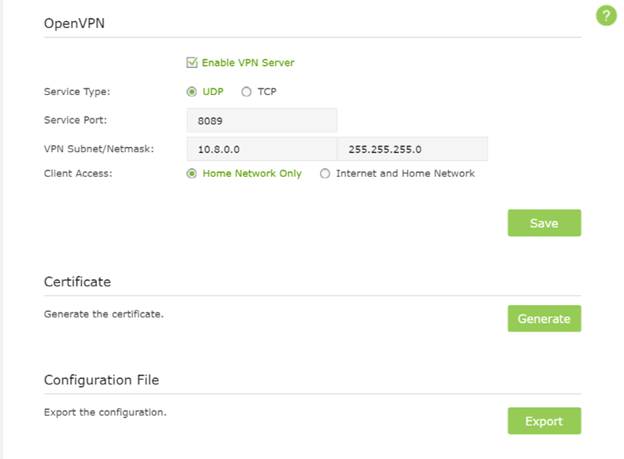
Step 4: Click Certificate to generate a certificate.
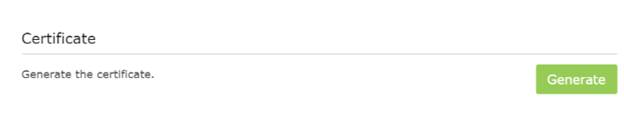
Note: This step must be completed before enabling OpenVPN.
Step 5: Check the Enable VPN Server box, then fill in the following information as prompted. Click Save.
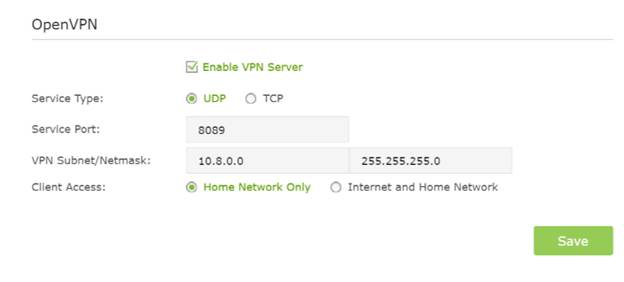
Note: What you select for Client Access will determine the content you are able to view over the VPN. Internet and Home Network will allow you to use your home internet service as well as access to your network shares. Home Network Only solely grants access to your network’s shared files and drives without home internet service accessibility.
Step 6: Click Export to download the configuration file to your computer.
Connecting OpenVPN (Mac)
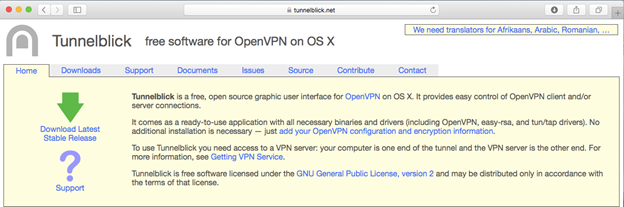
Step 1: Open your web browser and navigate to tunnelblick.net
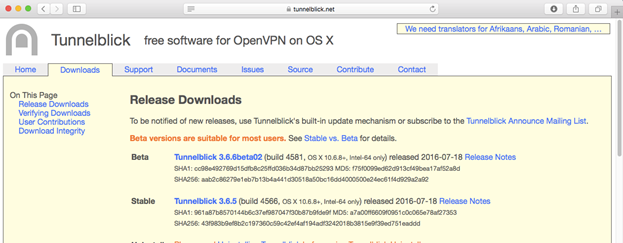
Step 2: Click on the Downloads tab, then click on the hyperlink following the Stable list.

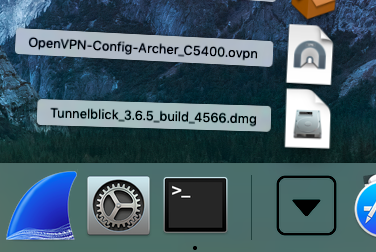
Step 3: Open your downloads folder and click on the downloaded file from Tunnelblink.
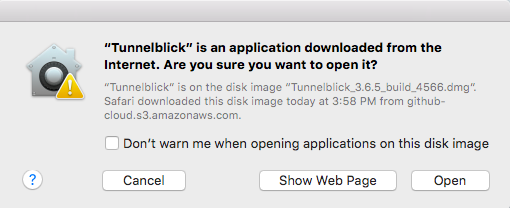
Step 4: Once your download is complete, click Open when prompted by the following window.
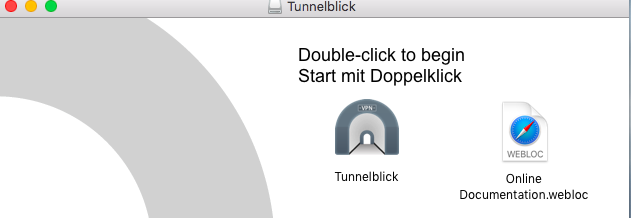
Step 5: Click on the Tunnelblink icon to launch the program.
Step 6: Open your Downloads folder, then click on the OpenVPN config file.
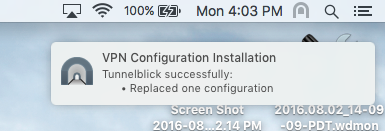
Step 7: Below the Tunnelblink icon you’ll see this message.
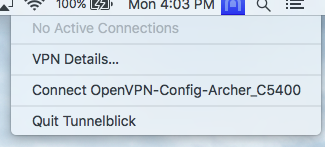
Step 8: Click on the Tunnelblink icon, then click Connect.
Step 9: If connection is successful, a window similar to the following will appear.
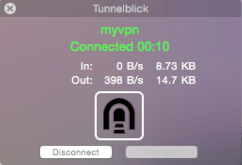
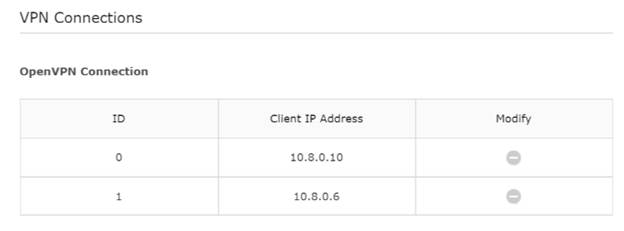
You are now connected to your home network via VPN. To verify, you can visit the VPN connections window in your router settings.
Is this faq useful?
Your feedback helps improve this site.
-3.0-package_normal_1584497266805j.png)
8.0-F_normal_20231212005905m.png)

TP-Link Community
Still need help? Search for answers, ask questions, and get help from TP-Link experts and other users around the world.