Como configurar equipamentos Tapo para funcionarem com a app SmartThings
Este artigo vai explicar como ligar os equipamentos Tapo à sua app SmartThings. Depois de estabelecer a ligação, pode controlar os equipamentos Tapo com a app SmartThings.
Antes de começar:
1. Primeiro configure os equipamentos através da app e certifique-se que podem ser controlados pela app Tapo.
2. Faça download e instale a app SmartThings, e crie uma conta SmartThings na app para iniciar a sessão.
Ligue os equipamentos Tapo ao SmartThings:
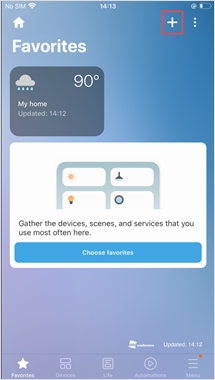
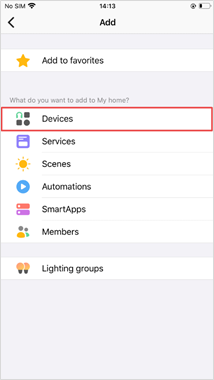
Passo 1: Abra a app SmartThings, clique no ícone "+" no canto superior direito, e escolha "Devices" (Dispositivos).
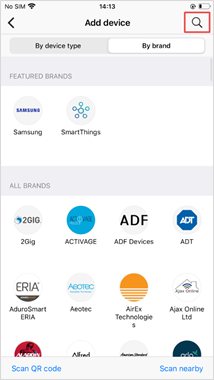
Passo 2. Encontre "Tapo" por marca, ou clique no ícone de pesquisa e escreva "Tapo" e clique em "Tapo".

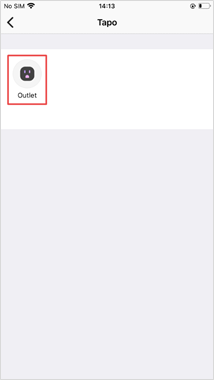
Passo 3. Clique em "Outlet" (Tomada).
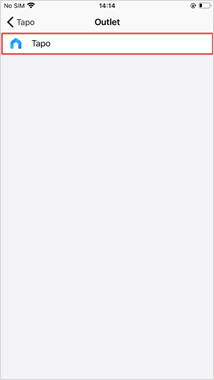
Passo 4. Clique em "Tapo" e a localização para os seus equipamentos Tapo. Clique em "Next" (Seguinte).

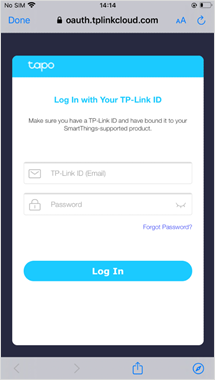
Passo 5. Introduza o seu ID TP-Link e palavra-passe, depois clique em "Authorize" (Autorizar).

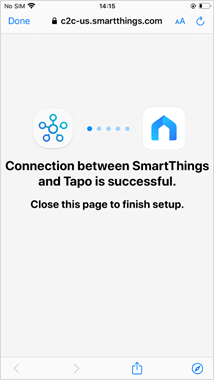
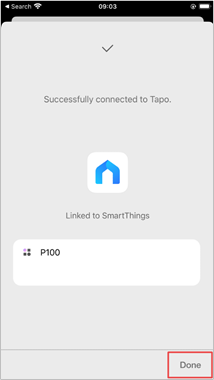
Passo 6. Feche a página quando a ligação for bem sucedida. Clique em "Done" (Concluído), para completar a configuração de ligação.
Passo 7. Vá à página "Devices" (Dispositivos), para encontrar todos os seus equipamentos Tapo. Agora pode controlar os equipamentos Tapo com a app SmartThings.

Nota: Se quiser parar a ligação Tapo com o SmartThings, pode ir a “Menu > Settings > Linked services” (Menu > Definições > Serviços ligados).
Para conhecer mais detalhes de cada função e configuração, dirija-se ao Centro de Downloads para fazer download do manual do seu produto.
Este guia foi útil?
A sua resposta ajuda-nos a melhorar o nosso site.