How to Configure Range Extender Mode on the TL-WR902AC
Repeat signal from an existing wireless network. This mode is suitable to extend wireless coverage, reaching devices that were previously too far from your Host AP to maintain stable wireless connection.
1. Switch the operation mode to AP/Rng Ext/Client and plug the router’s adapter into an electrical outlet near your host AP.
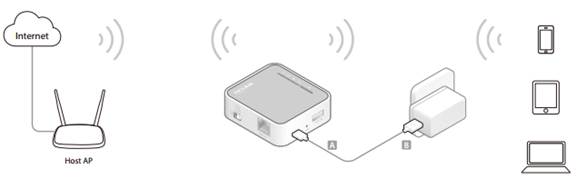
2. Connect your device to the router wirelessly or via an Ethernet cable. The Wi-Fi network name and password are on the router’s label.
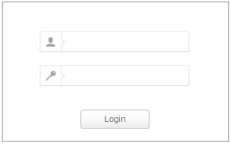
3. Set up the TCP/IP Protocol in Obtain an IP address automatically mode on your computer. Visit http://tplinkwifi.net, and log in with the username and password you set for the router. The default one is admin (all lowercase) for both username and password.
4. Go to Quick Setup, select your time zone and click Next to continue.
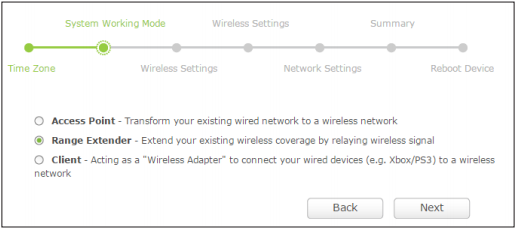
5. Select Range Extender as the operation mode on the System Working Mode page.
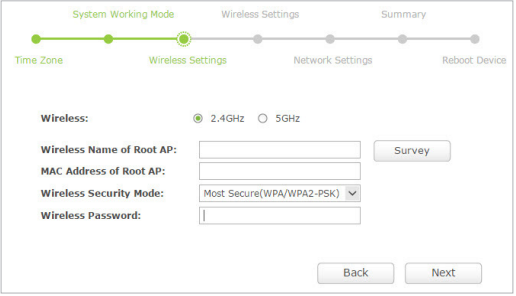
6. Select 2.4GHz OR 5GHz, click Survey to find the corresponding host network and click Choose. Enter the host network’s password in the Wireless Password field, and then click Next.
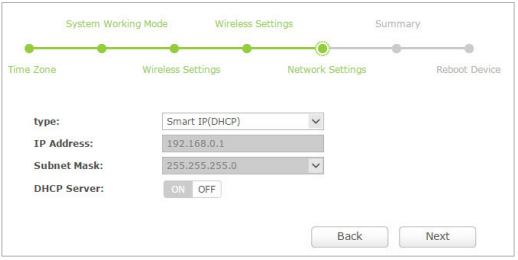
7. Select the LAN IP type of the router or leave the default setting Smart IP for most cases, and then click Next.
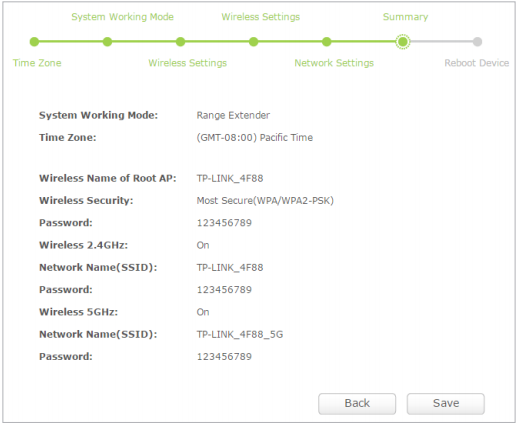
8. Click Save to complete the configuration.
9. Relocate the router about halfway between your host AP and the Wi-Fi dead zone. The extended networks share the same passwords as those of your host networks, but a suffix (e.g. _2.4G or _5G) will be added for one of the two extended SSIDs.
Get to know more details of each function and configuration please go to Download Center to download the manual of your product.
Este guia foi útil?
A sua resposta ajuda-nos a melhorar o nosso site.