Using HomeCare parental controls on a TP-Link Router
This guide will walk you through the steps for setting up and using parental controls on a HomeCare enabled TP-Link router.
Step 1: Launch a Web Browser (Example: Internet Explorer, Google Chrome, or Safari) and click on the address bar and type either “tplinkwifi.net” or “192.168.0.1”


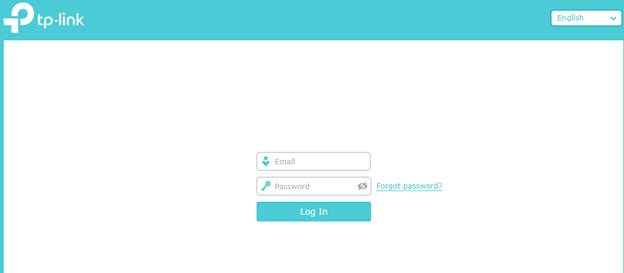
Step 2: Log into your router using your TP-Link cloud account.
Step 3: Click on Basic – HomeCare – Parental Controls
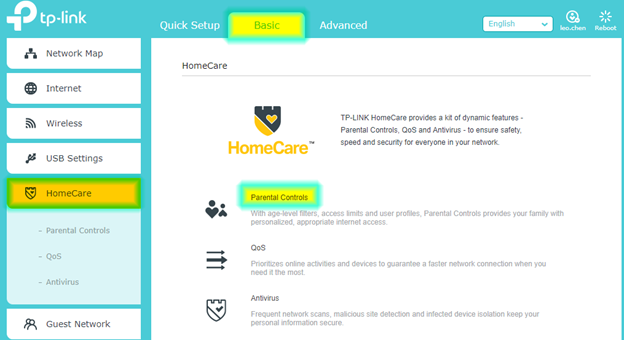
*Note: You may also use the path Advanced – Parental Controls
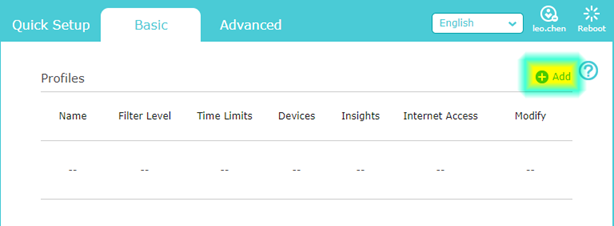
Step 4: Click ‘Add’
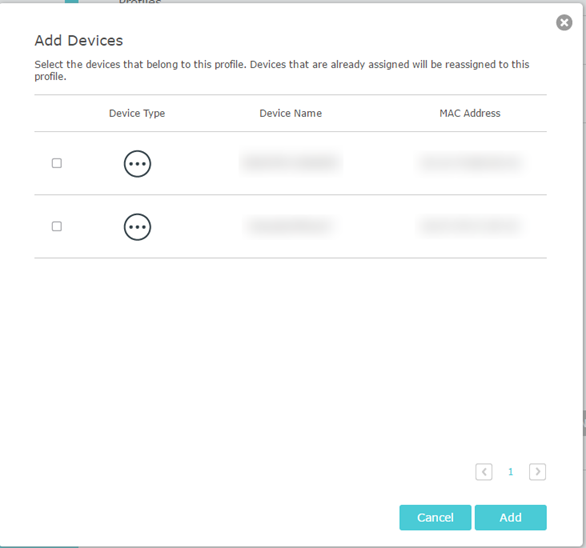
Step 5: Give the profile a name, then click the “+” under devices
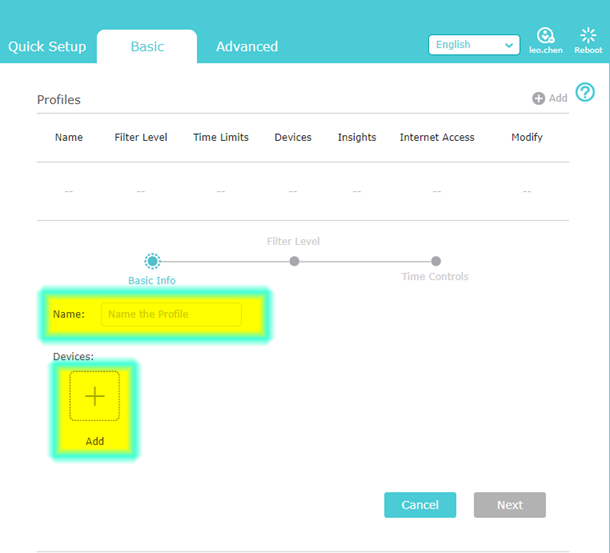
Step 6: Select the devices you want to add and then click “Add”
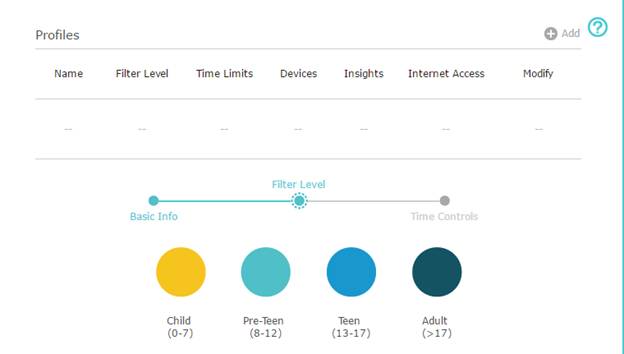
Step 7: Verify the information is valid and click “Next”

Step 8: Choose a filter preset
Step 9: Once you select a filter level, a drop-down menu will appear. Here you can add or remove categories. Once you have completed the configuration click “Next”.
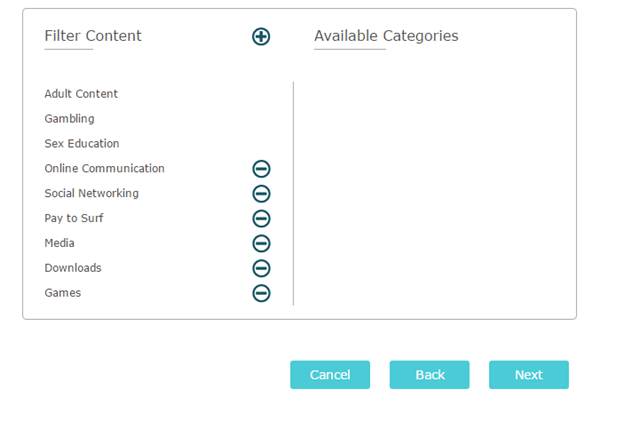
*Note: Each filter level, Child through Teen, will have presets that cannot be deselected.
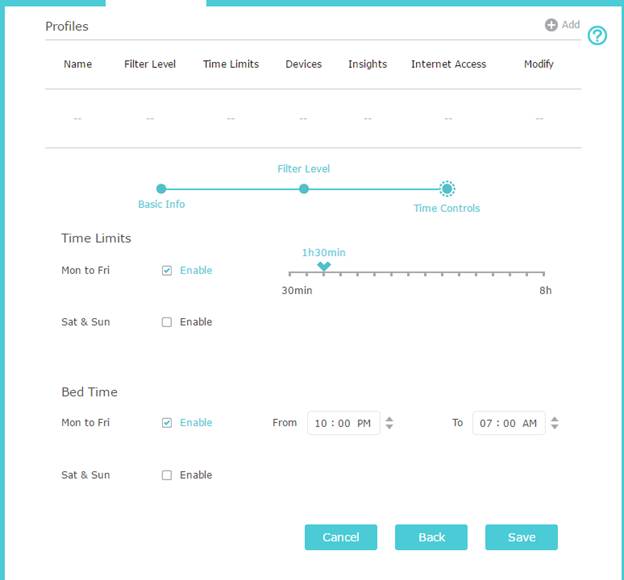
Step 10: Choose the desired time limits and bed time settings. Each time setting notch is a increment of 30 minutes. Once done click “Save”
Get to know more details of each function and configuration please go to Download Center to download the manual of your product.
Is this faq useful?
Your feedback helps improve this site.
