Cómo cambiar los servidores DNS en el router inalámbrico y el router módem DSL (nueva interfaz de usuario)
Esta guía le mostrará cómo cambiar la dirección DNS en su enrutador inalámbrico TP-Link en nuestra interfaz de usuario más nueva.
Para enrutador inalámbrico (GUI azul)
Paso 1: utilizando cualquier navegador web como IE, Firefox o Google Chrome, inicie sesión en el enrutador.
 -o-
-o- 
Paso 2: Inicie sesión en el enrutador. El nombre de usuario y la contraseña predeterminados son "admin".
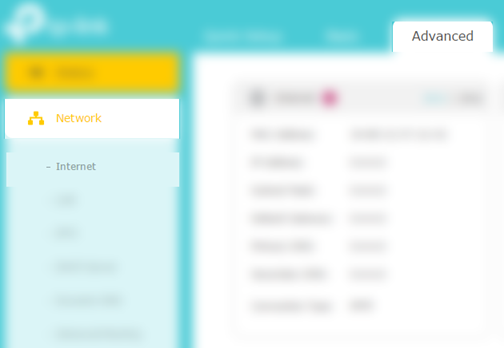
Paso 3: Haga clic en "Avanzado", luego en "Red", luego en "Internet".
Paso 4: Haz clic en el menú desplegable de "Avanzado", luego haz clic en la radio de "Usar la siguiente dirección DNS". Ingrese sus direcciones DNS y luego haga clic en "Guardar".

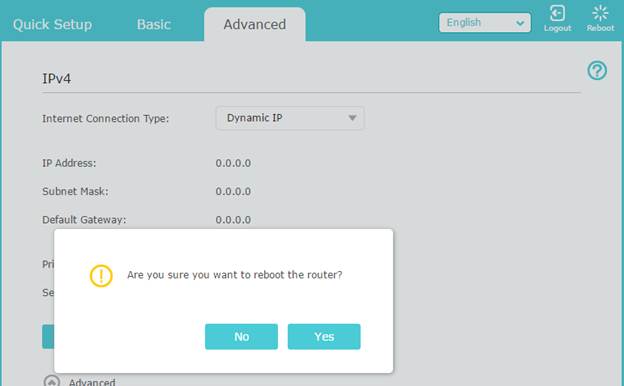
Paso 5: Haz clic en "Reiniciar" en la esquina superior derecha, luego en la ventana emergente haz clic en "Sí".
Para el enrutador de módem DSL (tome Archer VR600 como ejemplo):
Paso 1: Inicie sesión en la página web siguiendo las preguntas frecuentes: ¿Cómo iniciar sesión en la interfaz basada en la web del módem router AC VDSL/ADSL (nuevo logotipo)?
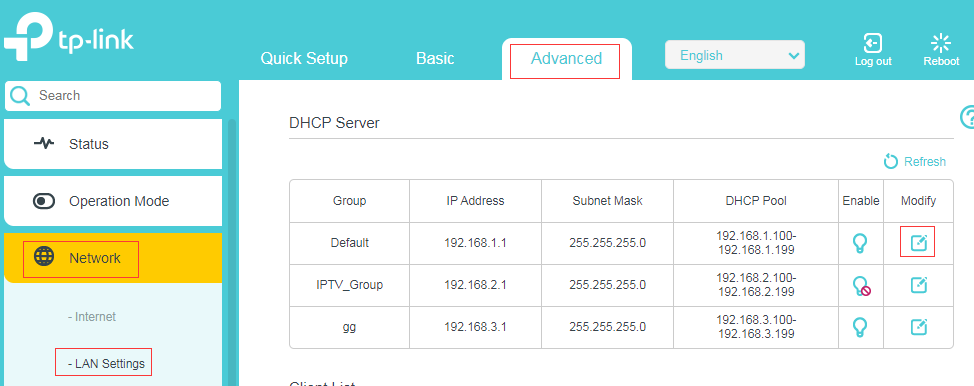
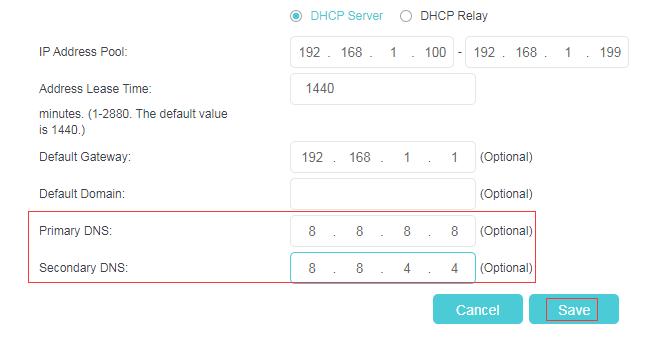
Paso 2: Vaya a Configuración avanzada de >> red >> LAN, haga clic en Modificar, luego puede cambiar el DNS a uno que necesite y reiniciar el módem enrutador.
Para conocer más detalles de cada función y configuración, vaya al Centro de descargas para descargar el manual de su producto.
¿Es útil este artículo?
Tus comentarios nos ayudan a mejorar esta web.
_normal_20250418093949d.png)