How to use Camera Control tool
Note:
- This FAQ is suitable for all TP-Link cloud cameras including NC200, NC220, NC250 and so on. Here we take NC200 as example.
- This tool is Windows compliant only.
- This tool must be used in local mode, which means that camera and PC must be in the same LAN.
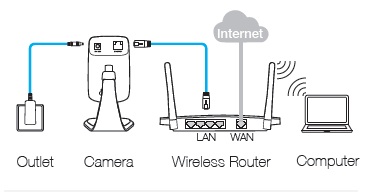
Step 1. For example, connect NC200 and a Windows computer to your router via network cable.
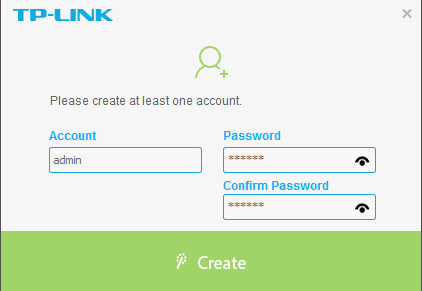
Step 2. Run TP-Link Camera Control tool on the computer(Go to Support, type in the model No. of your camera, then it will display Management Utility). If this is your first time to use it, you need to create an account firstly. Then click “Create” button, you can enter its management interface.
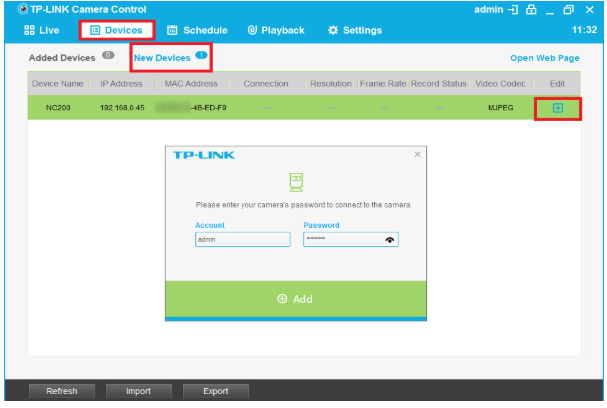
Step 3. Select Device-> New Device. In this interface, Camera Control tool can detect all of the cameras in the LAN directly. Click “ ” button to choose the camera which you want to add to Camera Control tool. You need to enter your camera’s password to connect to the camera before you click “Add” button.
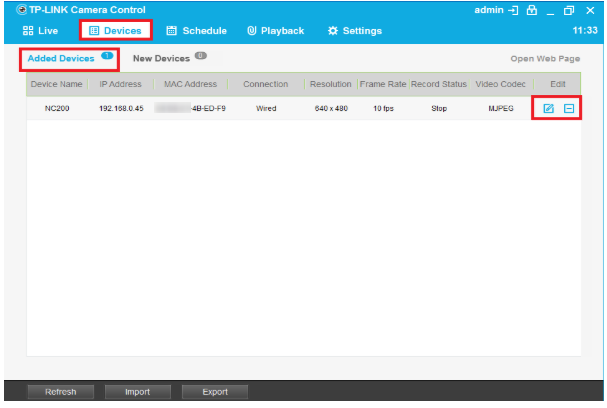
Step 4. You can select Devices -> Added Devices to check all of the added cameras. Besides, you can click “  ” button to modify some settings of camera or “
  ” button to delete camera.
Step 5. In the modify interface, you can modify camera’s Device Name and Resolution. Click “ ” button to confirm the change or “
  ” button to restore the original Settings.

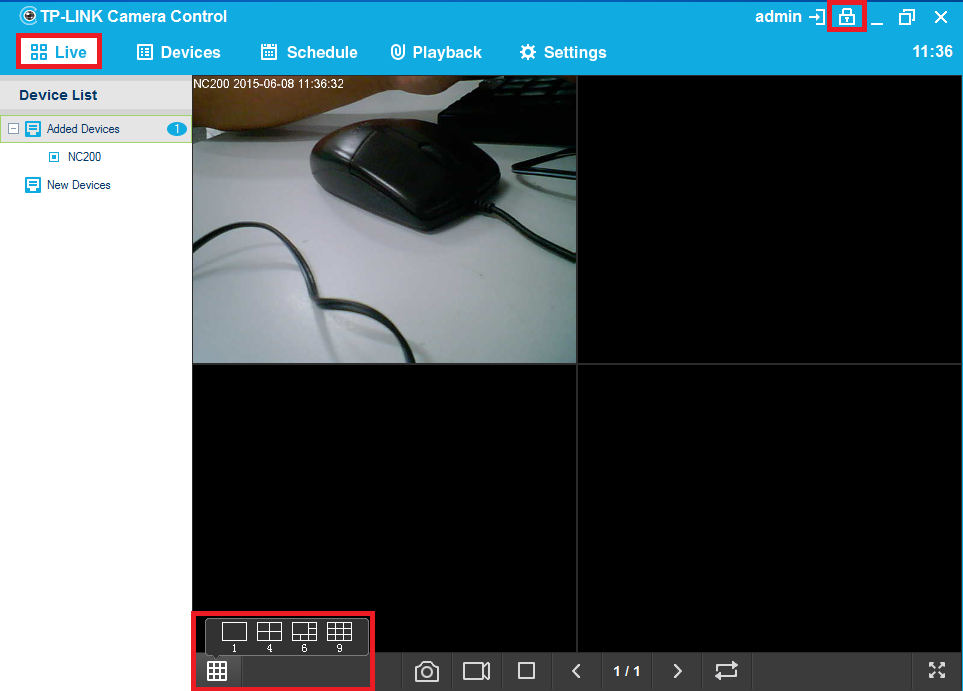
Step 6. Select “Live“, you can view all added cameras in this interface at the same time. According to the number of cameras, you can set grid number to 1/4/6/9. Besides, you can click “  ” button to lock screen to prevent others from operating.
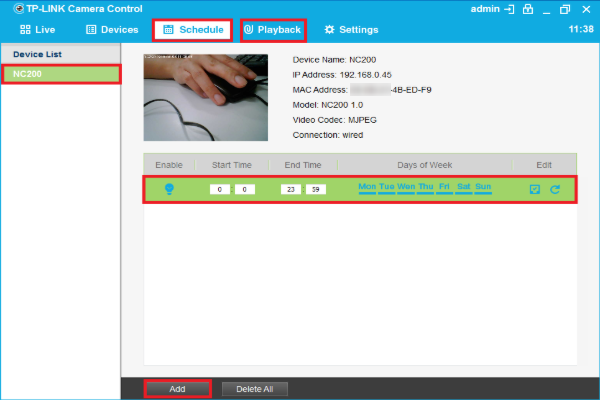
Step 7. Select “Schedule“, click “Add” button you can set the video recording Settings. And select “Playback“, you can play recorded video files.
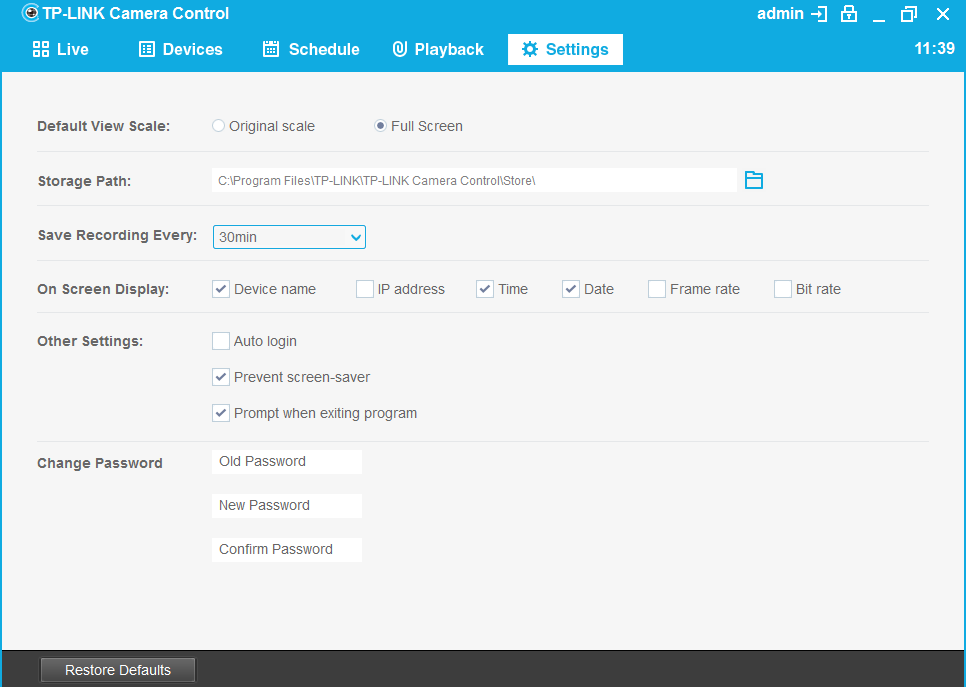
Step 8. Select “Settings“, you can do the Settings in the diagram below.
Is this faq useful?
Your feedback helps improve this site.
TP-Link Community
Still need help? Search for answers, ask questions, and get help from TP-Link experts and other users around the world.