Como adicionar uma conta de administrador para um roteador TP-Link personalizado pelo provedor de internet
Introdução
Cada rede possui apenas um proprietário (owner) com autoridade total para gerenciar a rede, incluindo alterar configurações e adicionar ou remover dispositivos. Se você deseja criar outra conta para que familiares ajudem a gerenciar o sistema de rede, a função Gerenciador (Manager) pode atender a esses requisitos.
Configuração
Método 1: Via Aginet app
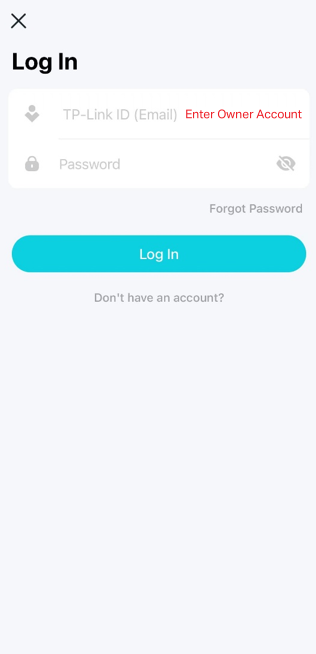
Passo 1. Faça login no app Aginet com a conta do proprietário.
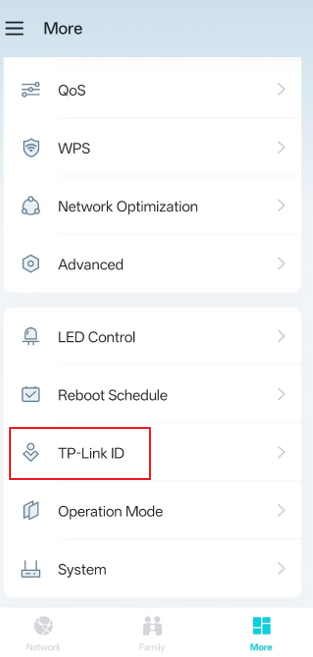
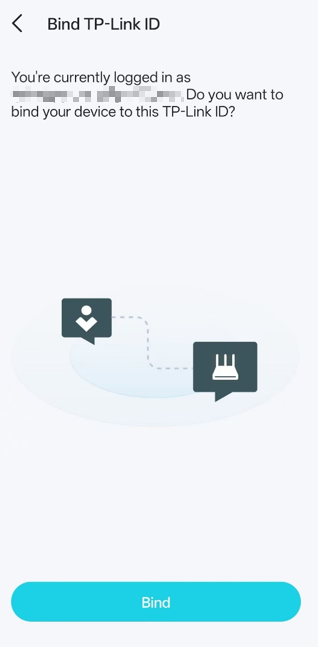
Passo 2. Vá em Mais (More) > TP-Link ID, e vincule seu dispositivo ao seu TP-Link ID primeiro.
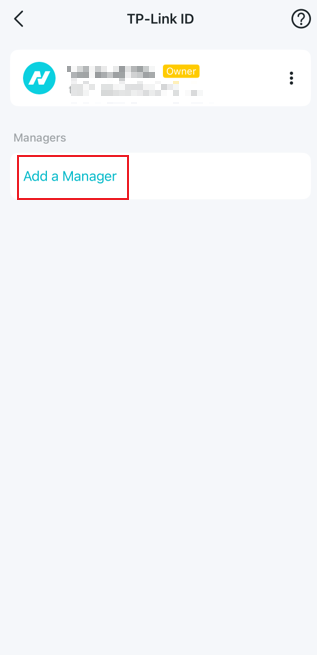
Passo 3. Selecione Adicionar um Gerenciador (Add a Manager) e insira o TP-Link ID registrado (e-mail).
Método 2: Via Página de Interface Web
Passo 1. Certifique-se de que seu dispositivo esteja conectado ao roteador via Wi-Fi ou cabo Ethernet. Abra um navegador e insira um destes endereços na barra de endereços para acessar a interface web:
- Para modelos começando com E/H: http://tplinkwifi.net
- Para modelos começando com V/N/M: http://tplinkmodem.net
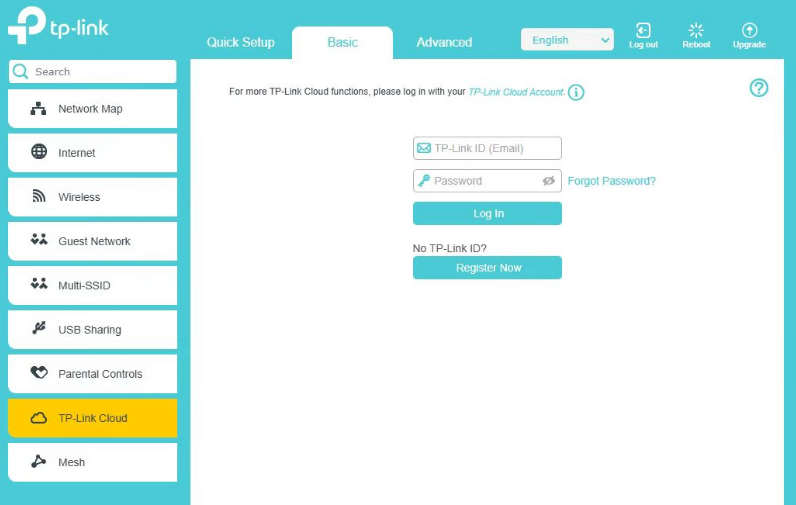
Passo 2. Vá em Básico (Basic) > TP-Link Cloud e vincule seu dispositivo ao seu TP-Link ID.
Passo 3: Vá em Contas Vinculadas (Bound Accounts), clique em Vincular (Bind), insira outro TP-Link ID conforme necessário e salve.
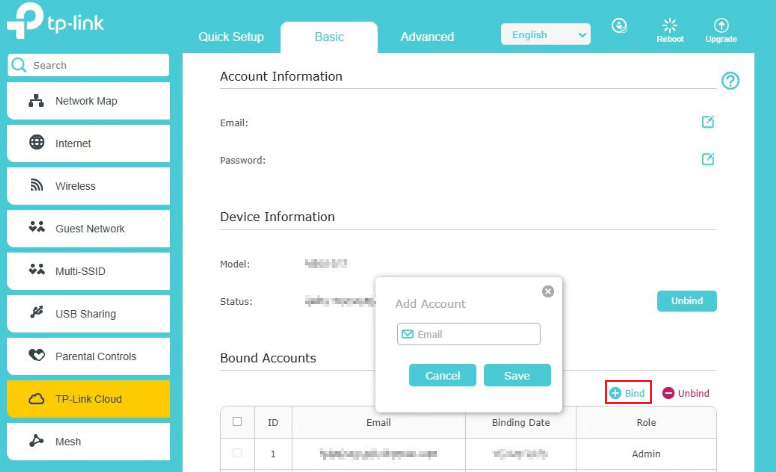
O novo TP-Link ID será exibido na tabela de Contas Vinculadas como um Usuário (User).

Perguntas Frequentes (QA)
P1: Qual é a diferença entre uma conta de proprietário e uma conta de gerenciador?
R1: Os gerenciadores têm as mesmas permissões que o proprietário para modificar as configurações de rede, mas não possuem privilégios para adicionar ou remover contas de gerenciadores, nem para remover dispositivos Aginet.
P2: Quantas contas de gerenciador podem ser adicionadas a uma única rede?
R2: O proprietário pode atribuir até oito contas de gerenciador para uma única rede.
Para saber mais detalhes de cada função e configuração, acesse o Centro de Download para baixar o manual do seu produto.
Esta FAQ é útil?
Seu feedback ajuda a melhorar este site.