How to connect computers/phones to a wireless network
Introduction
This article provides instructions for connecting to a wireless network on various operating systems.
Requirements
- A device (computer, tablet, smartphone, or iPad) with a functioning wireless network adapter.
- Access to a wireless network (Wi-Fi) and its security key (password), if applicable.
Configuration
Method 1
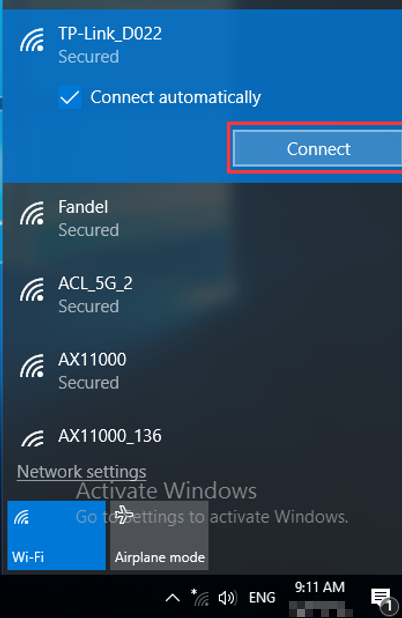
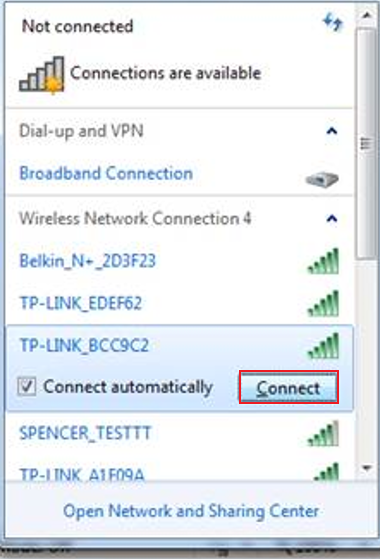
Step 1. Locate and click the Wi-Fi icon (typically a Wi-Fi signal) on the taskbar.

Step 2. The available Wi-Fi networks will appear on the Wi-Fi list. Select the one you would like to connect, double-click it, or click the Connect button.
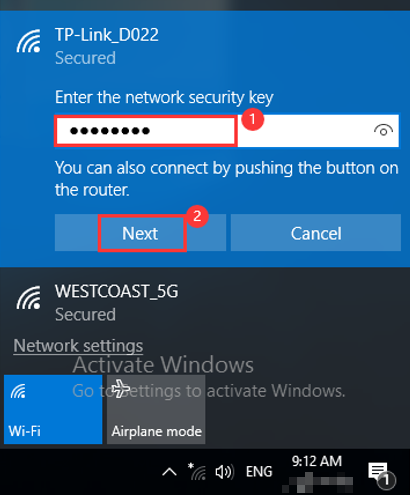
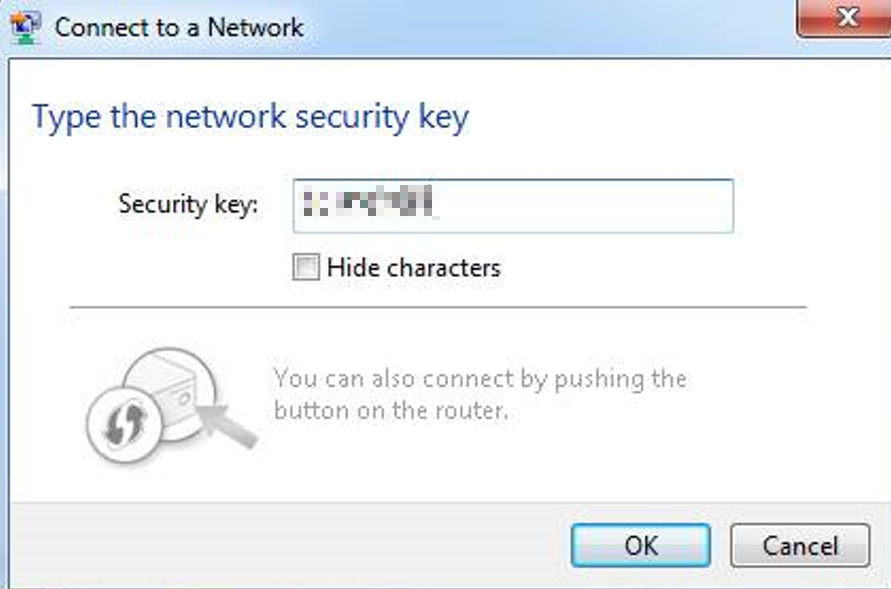
Step 3. If the network is secured, you will be prompted to enter the network security key (password). Enter the correct credentials and select Next or Connect to proceed. The connection will be established shortly.
Method 2
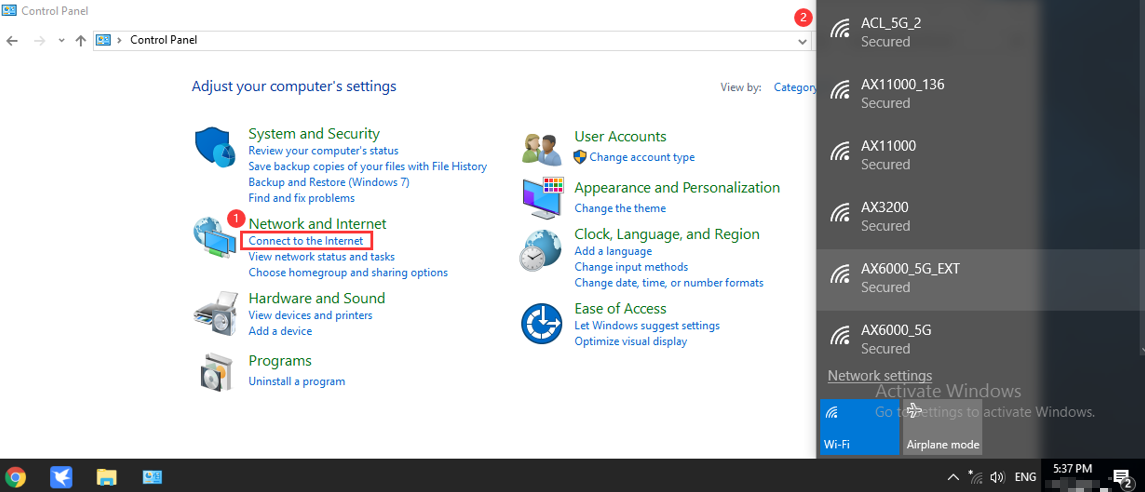
Step 1. Click the Search symbol and then type Control Panel in the search bar and select it.

Step 2. Click on Connect to the Internet under Network and Internet. The available networks will display in the right corner.
Step 3. Select the desired network, then double-click it or click the Connect button.
Step 4. If the network is secured, you will be prompted to enter the network security key (password). Enter the correct credentials and select Next or Connect to proceed. The connection will be established shortly.
Method 3
Step 1. Click the Windows symbol and then choose the Settings button in the bottom-left corner. It will pop up on the Settings page, go to Network & Internet.


Step 2. Click Wi-Fi > Show available networks. The available networks will display in the right corner.

Step 3. Select the desired network, then double-click it or click the Connect button.
Step 4. If the network is secured, you will be prompted to enter the network security key (password). Enter the correct credentials and select Next or Connect to proceed. The connection will be established shortly.
Method 1
Step 1. Click the Wi-Fi icon in the system tray (located in the lower-right corner of the taskbar) to view all available wireless networks.

Step 2. Choose your Wi-Fi network, then press Connect.
Step 3. If the network is secured, a security key will be required. Type in your wireless password and press Next. The connection will be established shortly.

Note: If your Wi-Fi network is open, you may see a box like below, and you can select “No, just connect”.


Method 2
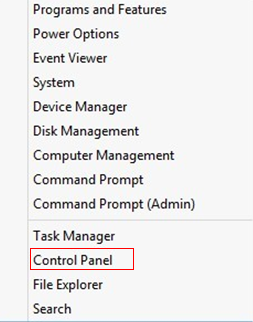
Step 1. Open the Control Panel by pressing Windows key + X and then selecting it from the menu.
Step 2. Click on Network and Internet > Network and Sharing Center > Change Adapter Settings (on the left).


Step 3. Right-click Wi-Fi, then tap Connect/Disconnect.

Now you can see all available wireless networks. Please continue as mentioned in Method 1 above.
The process for wireless connections is quite similar on both platforms.
Step 1. Click Start > Control Panel, select and click Network and Sharing Center (or Network and Internet > View network status and tasks)
Step 2. On Windows 7, within the Network and Sharing Center, locate and click Change adapter settings on the left side of the window.

On Windows Vista, click Manage network connections.

Step 3. Select the wireless network connection, right-click it, and select Connect/Disconnect.

Step 4. In the lower-right corner, a window pops up showing nearby Wi-Fi signals. Click the Refresh button  to view wireless networks. Choose the one you want to connect to, then double-click it or click Connect.
Step 5. If the network is secured, a password or security key will be requested. Put in your Wi-Fi password and click OK.
In a short while, you can see the Wi-Fi icon in the taskbar showing that it is connected.
Step 1. Open the Control Panel, select and double-click Network Connections.
Step 2. Right-click on Wireless Network Connectionand select View Available Wireless Networks from the context menu.

Step 3. Click Refresh Network list to view available wireless networks. Select the one you would like to connect, double-click it, or click the Connect button.

Step 4. If the wireless network is secured, you will be prompted to enter the security key or password.

Step 5. Enter the correct Key/Password, then click Connect. In a short while, a wireless connection is set up.
Method 1
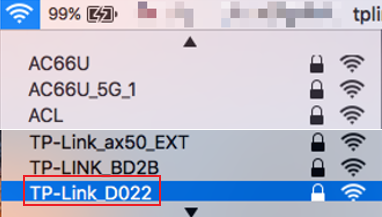
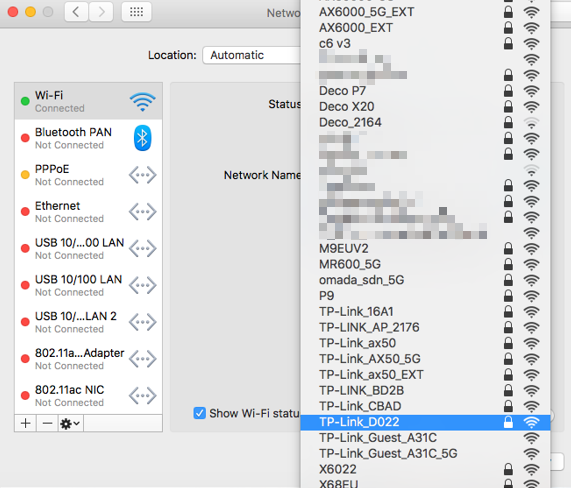
Step 1. Click the Wi-Fi icon at the very top of your MacBook's taskbar, then choose your Wi-Fi network.
Step 2. Put in your Wi-Fi password and click Join.

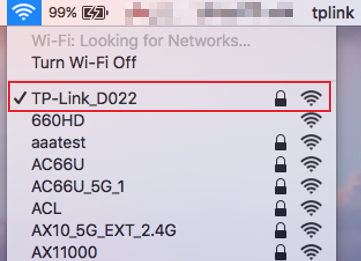
Step 3. In a short while, a wireless connection is set up.
Method 2
Step 1. Click the Apple icon, from the Apple drop-down list, select System Preferences, or click the System Preferences button at the bottom.


Step 2. Click the Network icon.

Step 3. In the left column, select Wi-Fi.

Step 4. Click Network, then select your Wi-Fi network from the list.

Step 5. Enter the password, which is case sensitive, and press Join. The connection is completed when the Wi-Fi status shows Connected.

Step 1. From your iPhone’s home screen, navigate to Settings and select WLAN. A list of available networks will appear. Select your desired network. And tap Join or double-tap the network name to initiate the connection. If the network is secured, you will be prompted to enter the password.
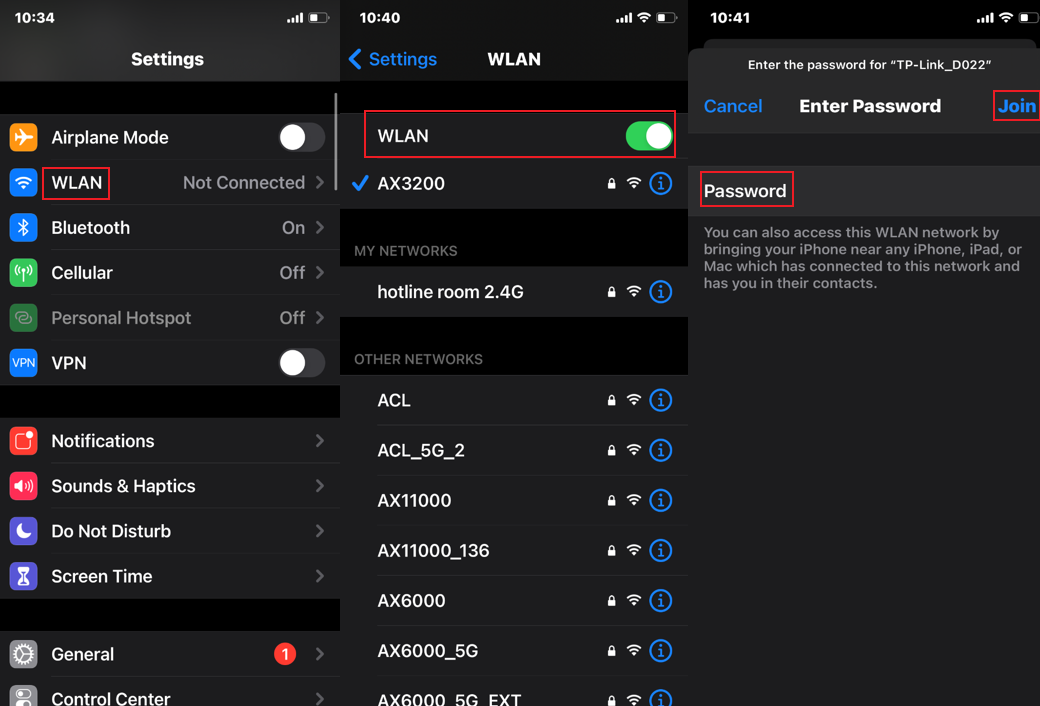
Step 2. Enter the correct Password then click Join. In a short while, a wireless connection is set up.
Method 1
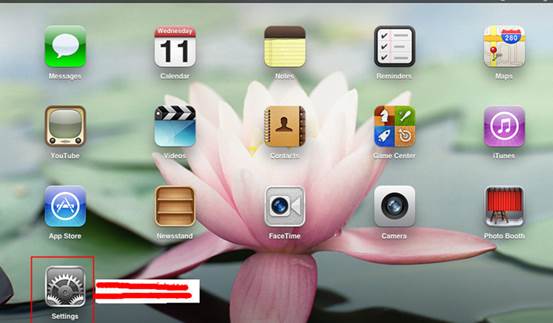
Step 1. Start the iPad. Tap on Settings.
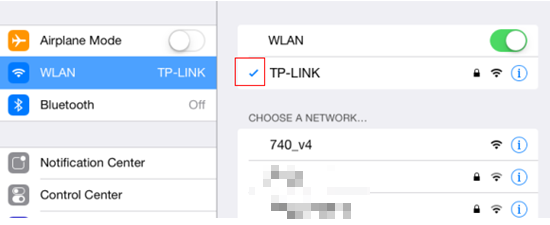
Step 2. Tap on the WLAN. Make sure the WLAN icon is Green On, then tap your own Wi-Fi network.

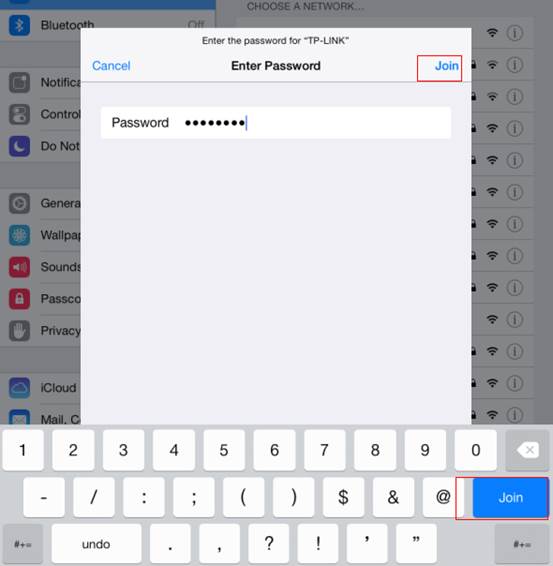
Step 3. Enter the Wi-Fi password, then tap Join.
Step 4. Once the Wi-Fi is connected, a checkmark will appear beside the Wi-Fi network.
Method 2
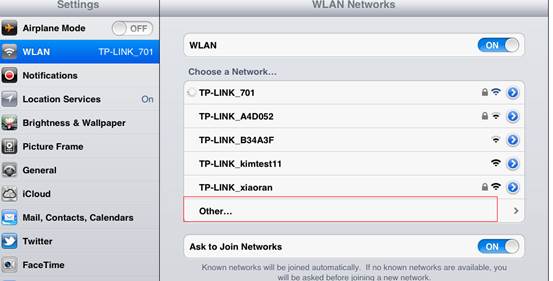
If your Wi-Fi network name is not visible in the list (e.g., because SSID broadcasting is disabled), you can manually add it. Please follow the steps below.
Step 1. On your iPad, navigate to Settings > WLAN, then select Other…
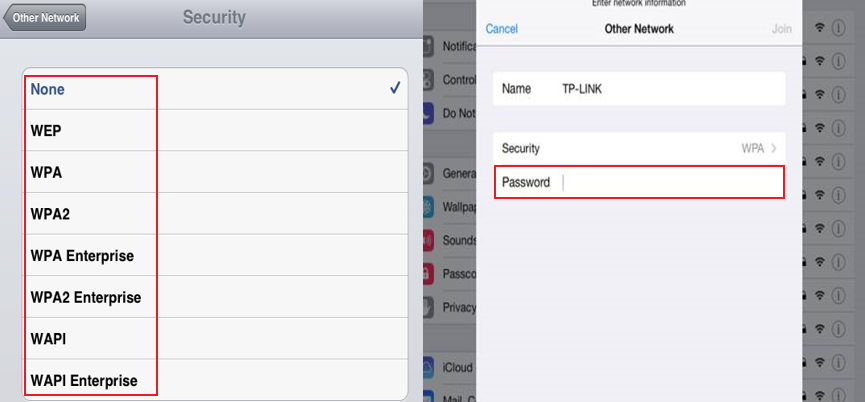
Step 2. Enter the SSID (Network Name) of your Wi-Fi network.
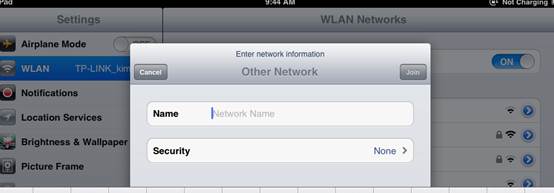
Step 3. Under Security, select your router’s encryption type and enter the password. The Wi-Fi network will have a checkmark after it’s connected.
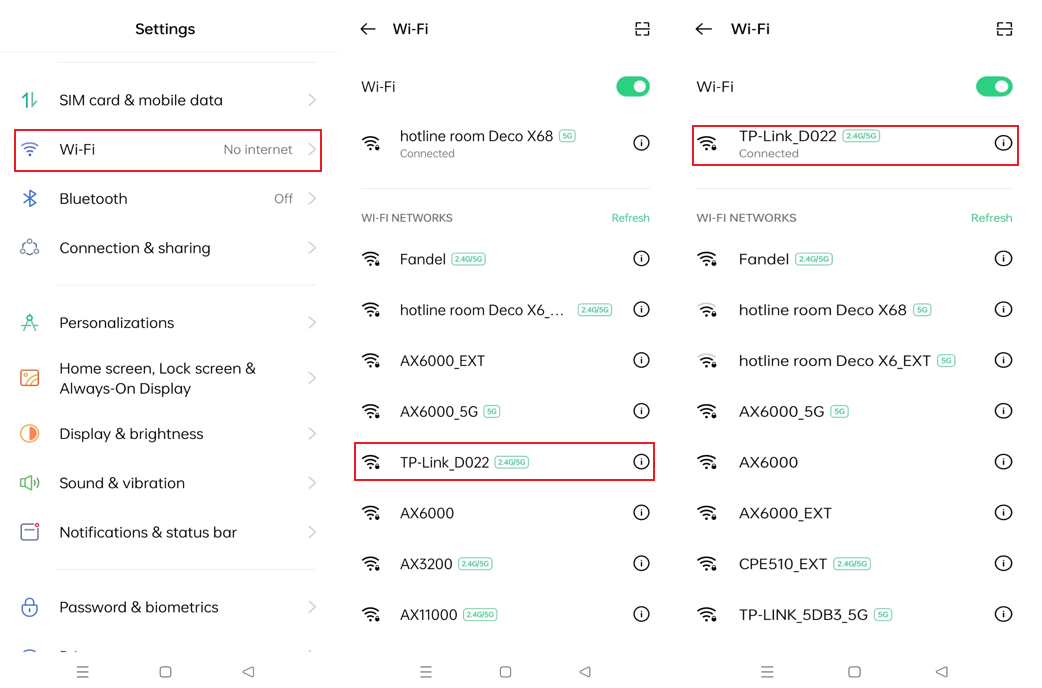
Step 1. On your phone, open Settings and tap Wi-Fi.
Step 2. The available networks will display on the Wi-Fi list.
Step 3. Select the target network and initiate the connection by clicking Join/Connect or double-clicking its name. For secured networks, a prompt will request the password. Enter the correct credentials and confirm by clicking Join/Connect. The connection will be set up shortly upon successful authentication.
Полезен ли беше този ЧЗВ?
Вашите отзиви помагат за подобряване на този сайт.
_Overview_normal_20230724014922u.png)

