How to Configure the TL-WPS510U Working on Infrastructure Mode Through Its Web Page on MAC OS 10.12?
For better guidance, let's assume there is a following demand for the network:
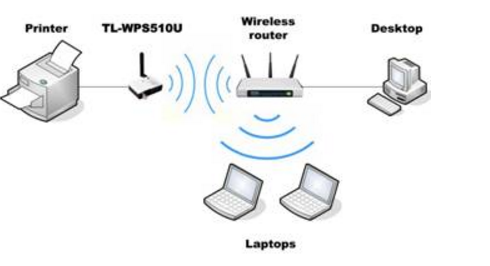
The wireless router is the center of the wireless network and every host (client) will communicate with the TL-WPS510U through the wireless router. The local network is 192.168.1.0/255.255.255.0 with a wireless router 192.168.1.1, and the TL-WPS510U is required to set its IP to 192.168.1.10.
Step 1
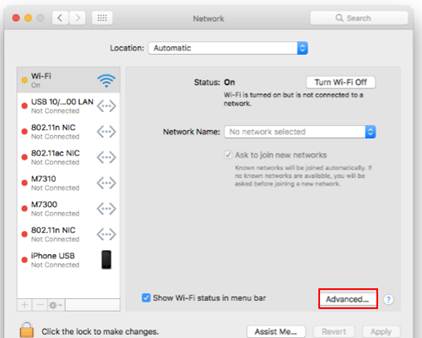
On the MacBook, change the Wi-Fi’s IP to 192.168.0.100/255.255.255.0. Since the default IP address of the TL-WPS510U is 192.168.0.10, you need to set the MacBook Wi-Fi’s IP to the same subnet of the print server.
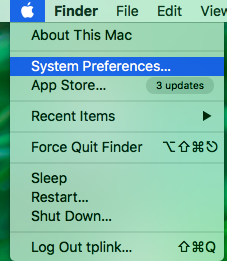
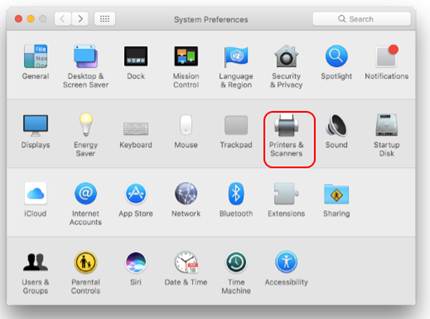
Click the Apple Icon on the left side of the top-bar, and then choose System Preferences.
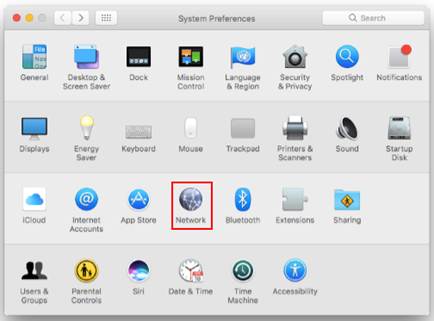
On the new window, please choose Network.
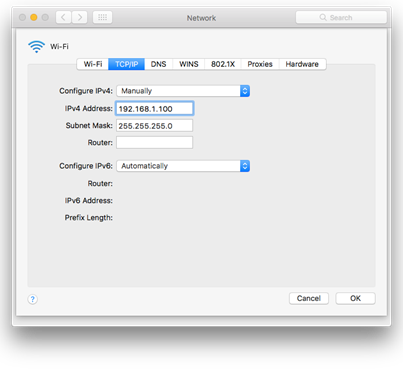
Follow the steps to set the Wi-Fi’s IP address.
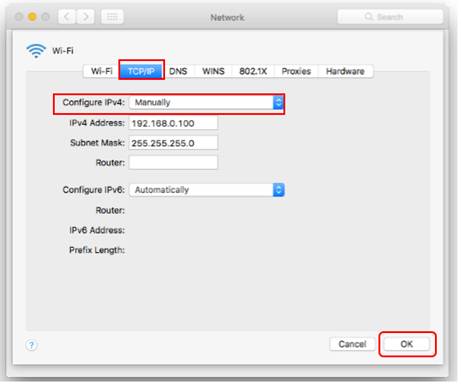
Note: Remember to click OK then click Apply on the previous window to save your settings.
Step 2
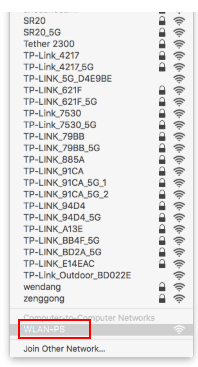
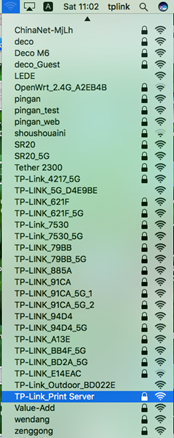
Connect your MacBook to the TL-WPS510U. The print server will work on Ad-Hoc mode, with the SSID WLAN-PS in factory default. So please select the wireless network WLAN-PS to connect. If you need to reset the TL-WPS510U but don’t know how to do, please refer to the FAQ 236( How to Reset the TL-WPS510U to Factory Default)
Step 3
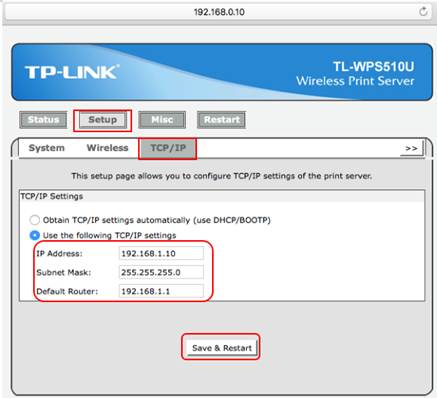
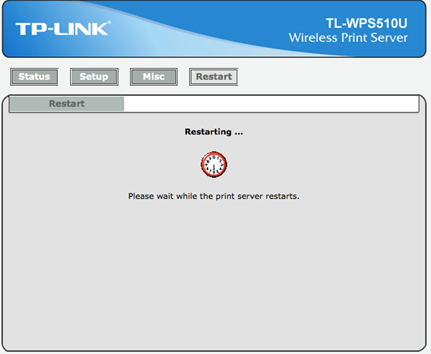
Open the Safari and log into the TL-WPS510U by using 192.168.0.10 and change its IP address to 192.168.1.10/255.255.255.0, Default Router is 192.168.1.1. The TL-WPS510U will save and reboot after the configuration.
Step 4
On the MacBook, change the Wi-Fi’s IP to 192.168.1.100/255.255.255.0, and connects to the Ad-Hoc network WLAN-PS again.
Step 5
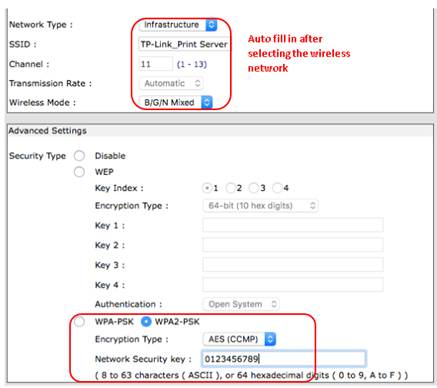
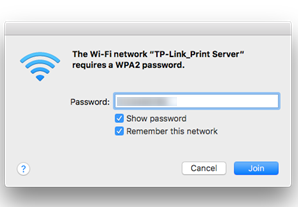
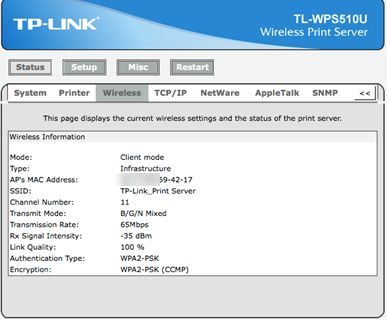
Log into the TL-WPS510U and configure the wireless parameters according to your wireless network. In this example, the SSID is TP-Link_Print Server, and the security type is WPA2-PSK, with the password set to 0123456789. After the configuration, the TL-WPS510U also need to save and reboot again.
If you are not sure the wireless security settings, please check it on your wireless router.
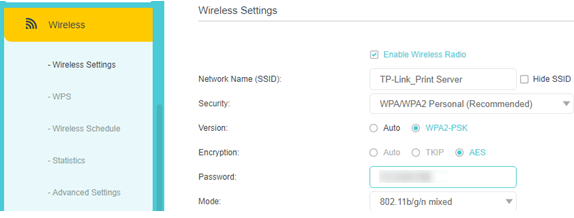
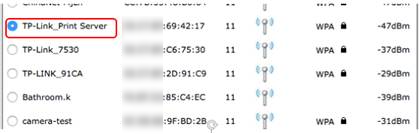
Log into the TL-WPS510U with http://192.168.1.10, click Setup and then Wireless. Scroll down and select the TP-Link_Print Server wireless network and set the wireless security.

Step 6
On MacBook, go back to TCP/IP settings as shown in step 4, and change "Configure IPv4" back to "Using DHCP" and save the change. Then connect router's wifi, which is TP-Link_Print Server and the password is 0123456789, as mentioned in step 5.
Step 7
Try to access the TL-WPS510U and can see it in the wireless router’s host list. This means the TL-WPS510U is working on Infrastructure mode and can communicate with the wireless router and your MacBook.
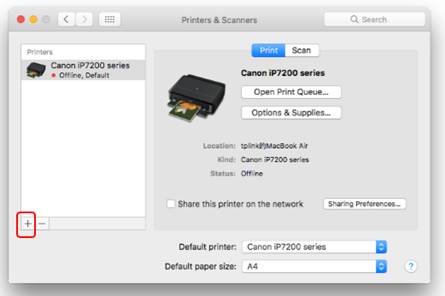
Step 8 Click Apple icon, go to System Preferences -> Printers & Scanners.
In the new window, please click “+” to add a printer.
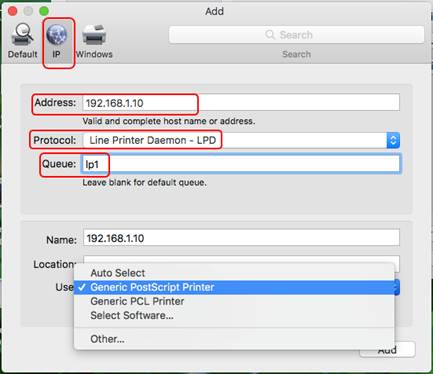
Step 9 Choose IP at the top bar and configure the options as the following:
Ø Protocol: Line Printer Daemon - LPD
Ø Address: 192,168.1.10 (The IP of printer server)
Ø Queue: lp1
At last, select the driver of your printer and click Add to finish the process.
If you can´t find the driver of your printer, you can try Generic PostScript Printer / Generic PCL Laser Printer or Auto Select.
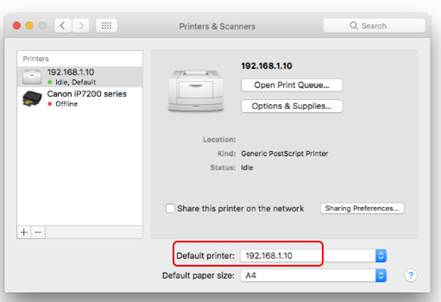
Step 10 Your printer will be displayed in the box. If you want to set it as default printer, please select 192.168.1.10 as the default printer.
Get to know more details of each function and configuration please go to Download Center to download the manual of your product.
Полезен ли беше този ЧЗВ?
Вашите отзиви помагат за подобряване на този сайт.