Deco USB Sharing: Full Setup Guide for Your Deco USB Port
This page covers how to use the Deco USB sharing feature by inserting a USB storage device into the Deco's USB port and configuring it in the Deco app. You will learn how to manage connected devices, set up access authentication, use Time Machine for macOS backups, and customize USB settings, including media sharing and network access. Note that the USB port is only available on select Deco models — check that your model is in the "This Article Applies to" list before proceeding. To access Deco USB sharing, open the Deco app and go to More > Advanced > USB Sharing.
Key Takeaways
- To access Deco USB sharing, insert a USB storage device into the USB port on your Deco, then open the Deco app and go to More > Advanced > USB Sharing.
- From the USB Sharing screen, you can view all connected USB devices, check available storage capacity, and remove devices.
- For data security, set up access authentication so that anyone accessing the USB device on your network must enter a username and password.
- The Time Machine feature allows macOS devices to use the connected USB storage as a backup disk directly through the Deco.
- Additional USB settings let you enable media sharing via DLNA (Digital Living Network Alliance), set up network neighborhood access, and configure FTP (File Transfer Protocol) access both locally and remotely via the Internet.
You can insert your USB storage device into a USB port on your Deco to access and share the files stored locally or remotely through the internet.
How to Set Up Deco USB Sharing
Here, take Deco BE95 as an example. The actual app screen may vary slightly from the product model.
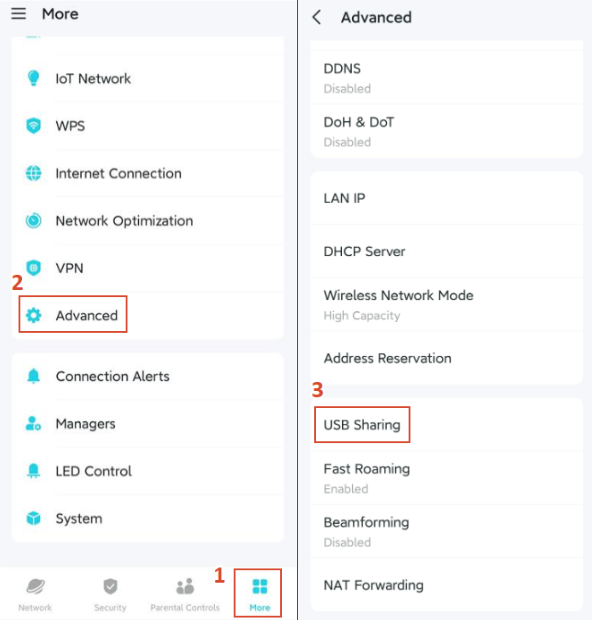
Open the Deco app. Go to the More tab and select Advanced > USB Sharing.
Then you can configure the following settings:
Feature 1: Manage Your Connected USB Devices
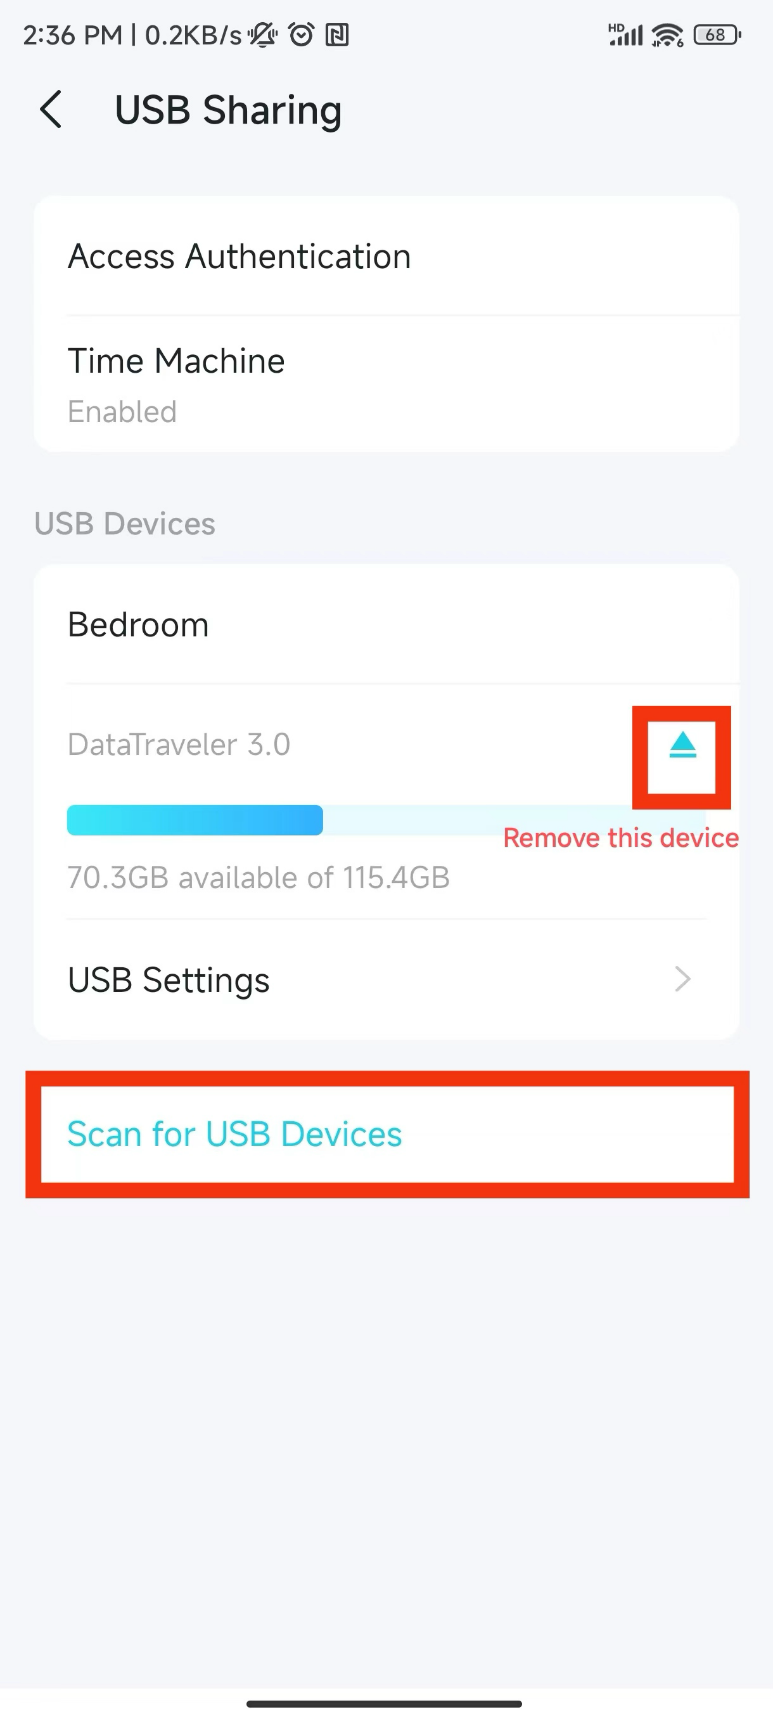
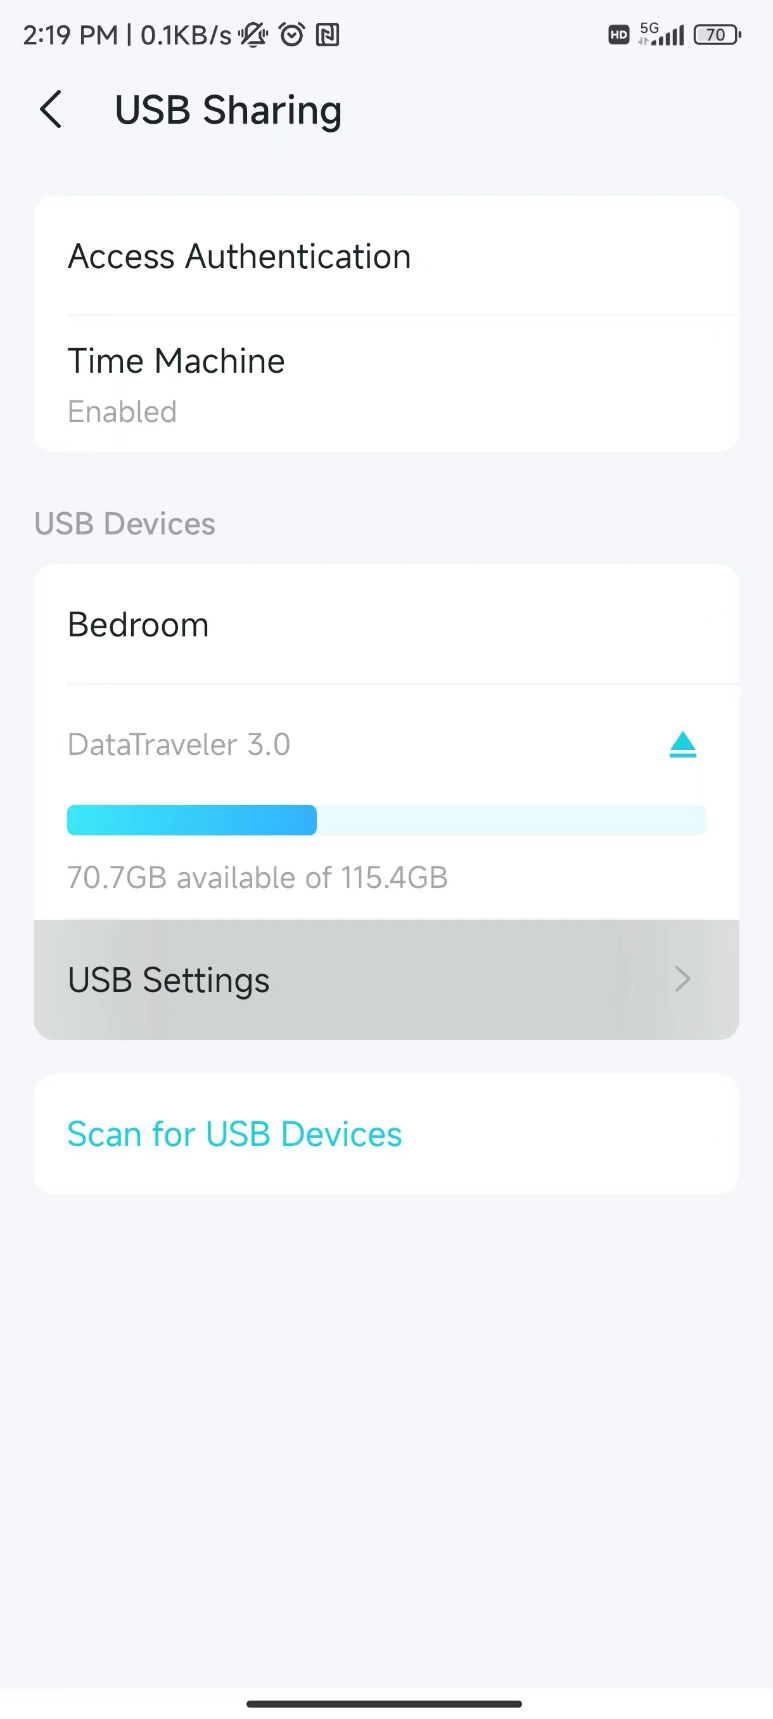
You can find all your connected USB devices here, check their available capacity, or remove them.
Feature 2: Set Up Access Authentication
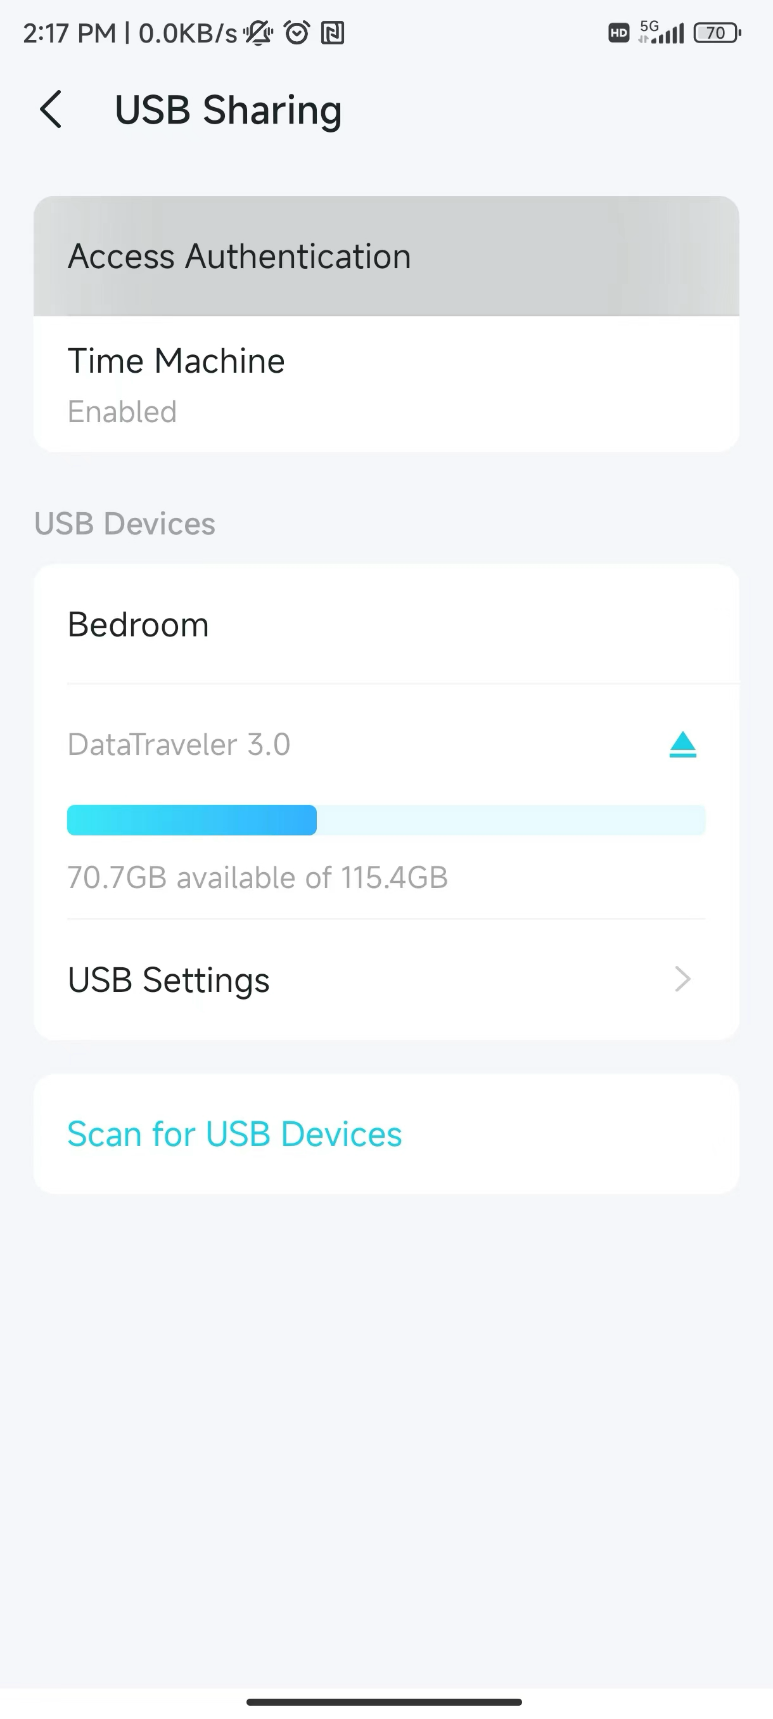
For data security, set up access authentication for your USB device so that network clients must enter a username and password to access it. The username is admin by default, and the password is generated randomly. Please tap Access Authentication to get your password.
Feature 3: Time Machine Backup
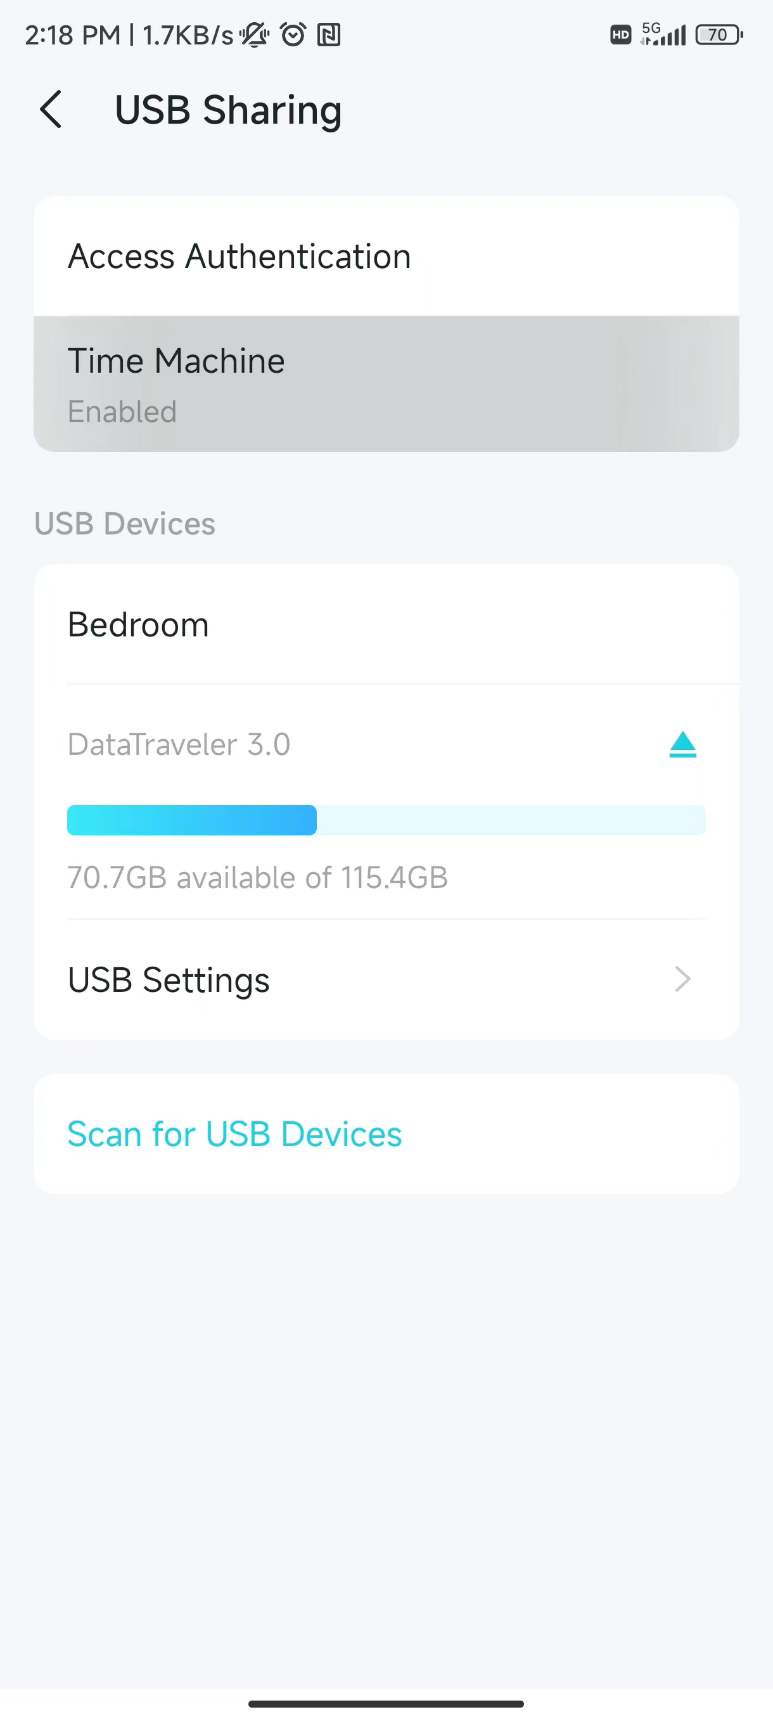
When enabled, the USB devices connected to your Deco can be set as Time Machine backup disks on your Mac devices.
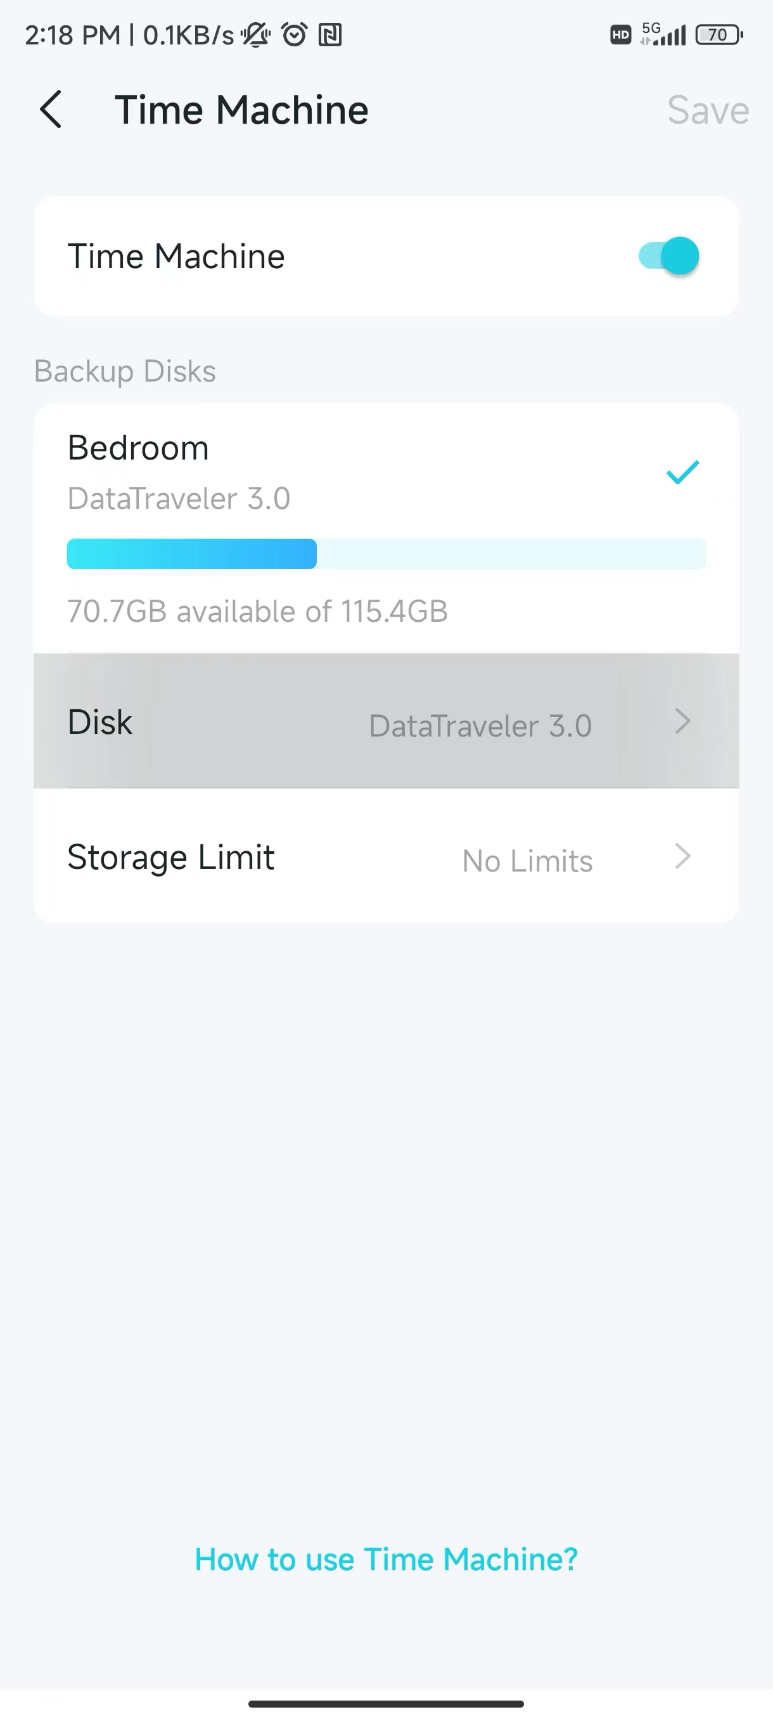
You can select which device to use as the Time Machine backup disk on the Time Machine screen.
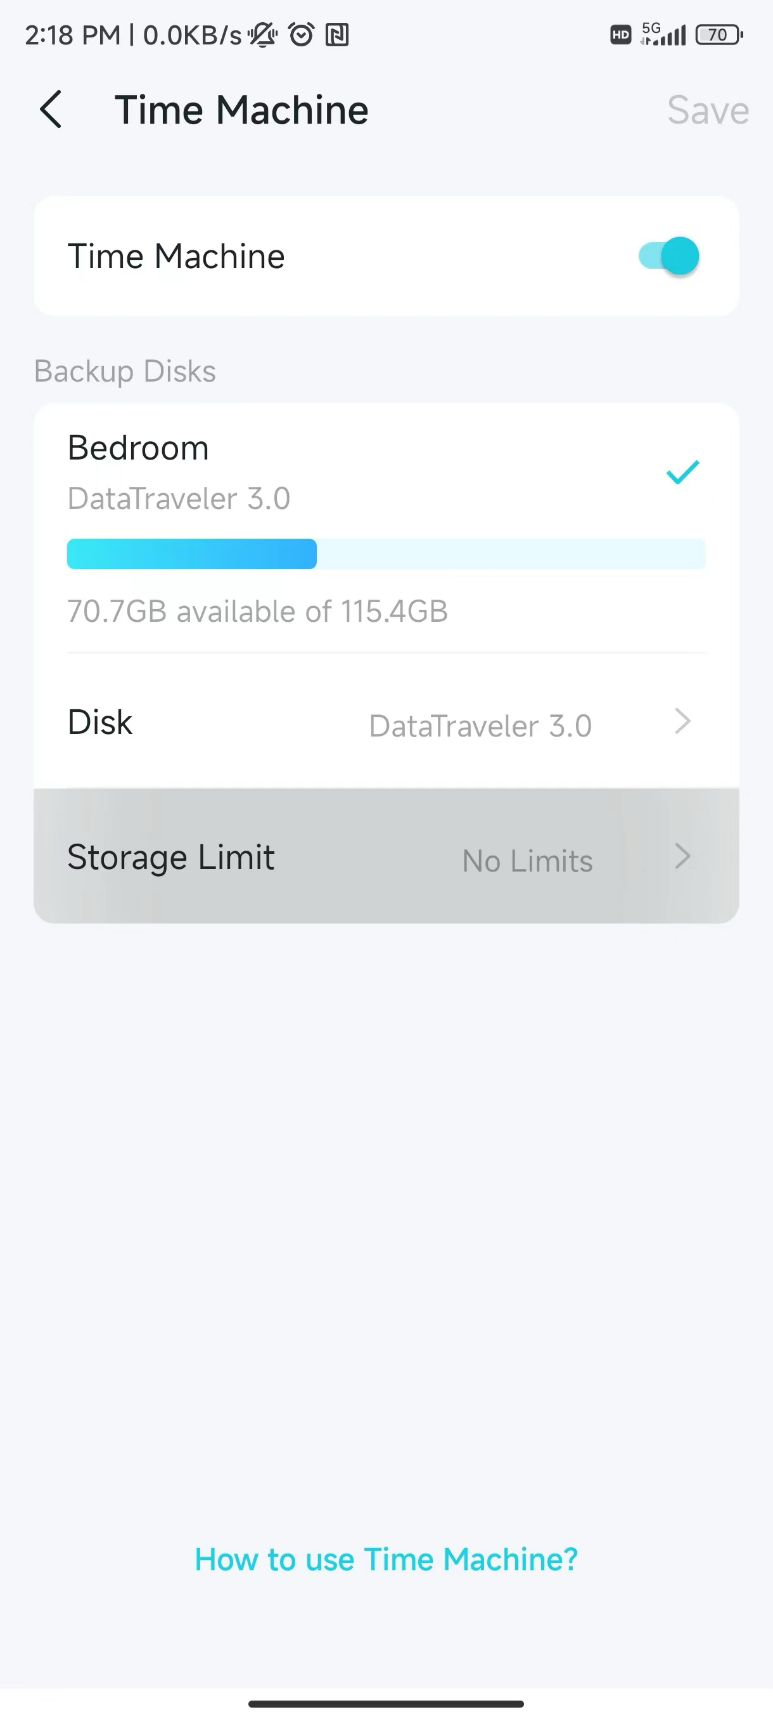
You can also limit the storage used for the Time Machine feature.
When using Time Machine on macOS, you will be prompted to enter a username and password. Please refer to Feature 2: Set up Access Authentication for data security to find the correct credentials.

Feature 4: USB Settings
USB 3.0 Interference Reduction (Only Deco X73-DSL Supports)
When enabled, USB 3.0 will affect 2.4GHz Wi-Fi performance. Enabling USB 3.0 interference Reduction will improve 2.4GHz Wi-Fi performance but reduce USB 3.0 data transfer speed.
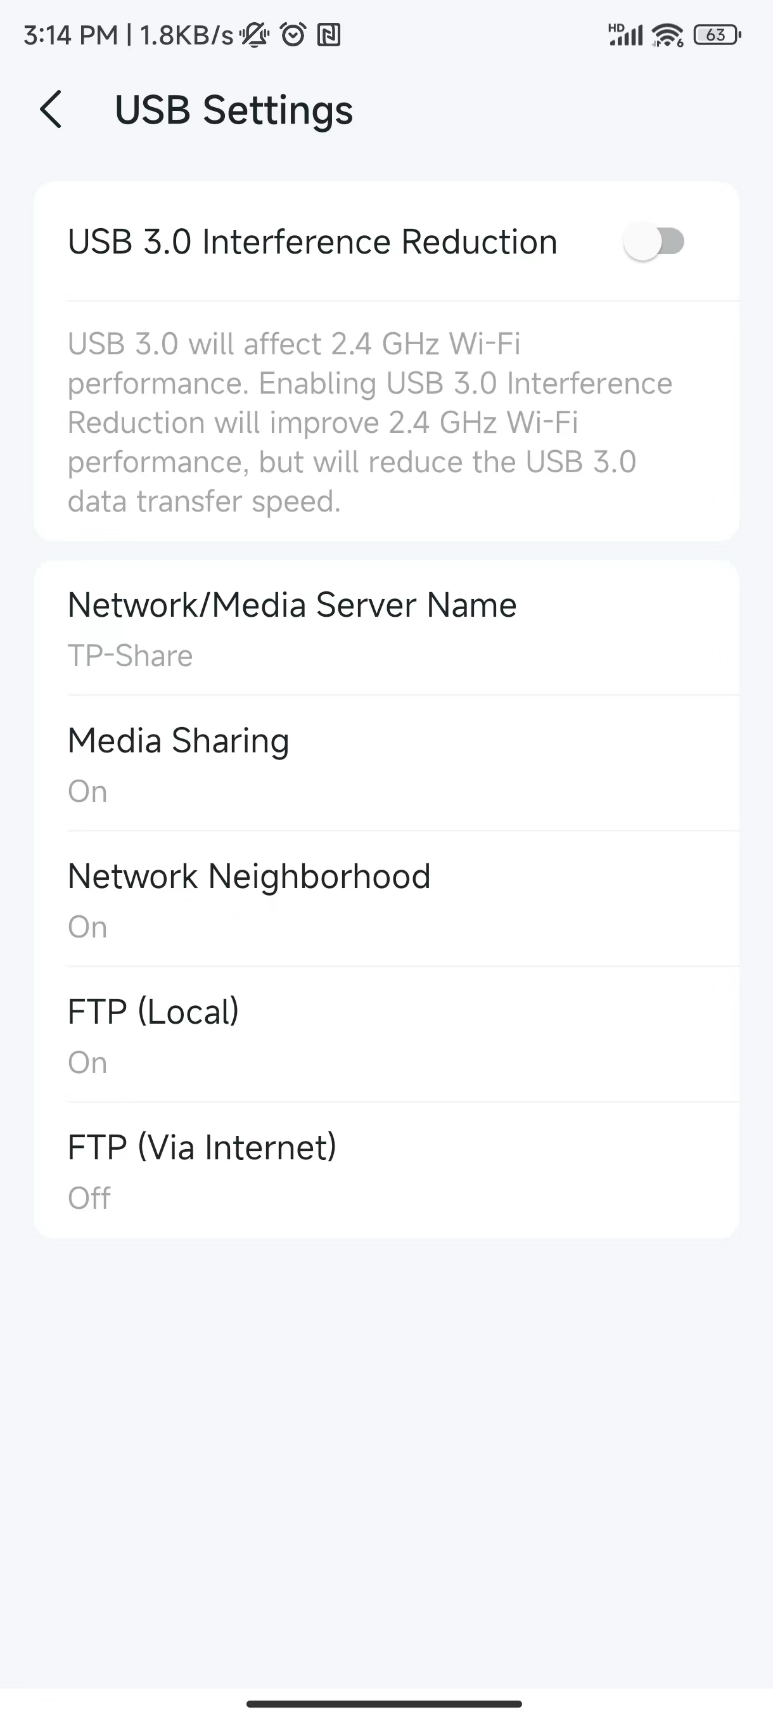
Customized Network and Media Server Name
Set a name for your Network/Media Server so you can find it easily when sharing the files.
Media Sharing
Media Sharing allows you to access and share photos, songs, and videos stored on the USB device directly from DLNA-supported devices, such as your tablet, smart TV, Xbox, or PlayStation.
When your USB device is inserted into your Deco, your DLNA-supported devices, such as your computer connected to the Deco, can detect the USB device, and then you can let it play the media files stored on it.
Network Neighborhood
Enable Network Neighborhood, then users on your network can access the USB device via the address \\TP-Share (Windows) or smb://TP-Share (Mac).
Note: TP-Share is the name of the network/media server you have set.
FTP (Local)
FTP (Local) allows FTP clients and users on your network to access the USB device via the FTP (Local) address.
FTP (Via Internet)
FTP (Via Internet) allows FTP clients and users to remotely access, download, or upload files to the shared USB device through the FTP (Via Internet) address. You can set the port as needed.
Looking For More
Is this faq useful?
Your feedback helps improve this site.
TP-Link Community
Still need help? Search for answers, ask questions, and get help from TP-Link experts and other users around the world.