Network Video Recorder User Guide
This chapter guides you on how to configure the event settings and alarm actions when your cameras detect different types of events. VIGI NVR monitors the user-defined areas and you’ll be automatically alerted to any suspicious activity in your home and office. This chapter includes the following sections:
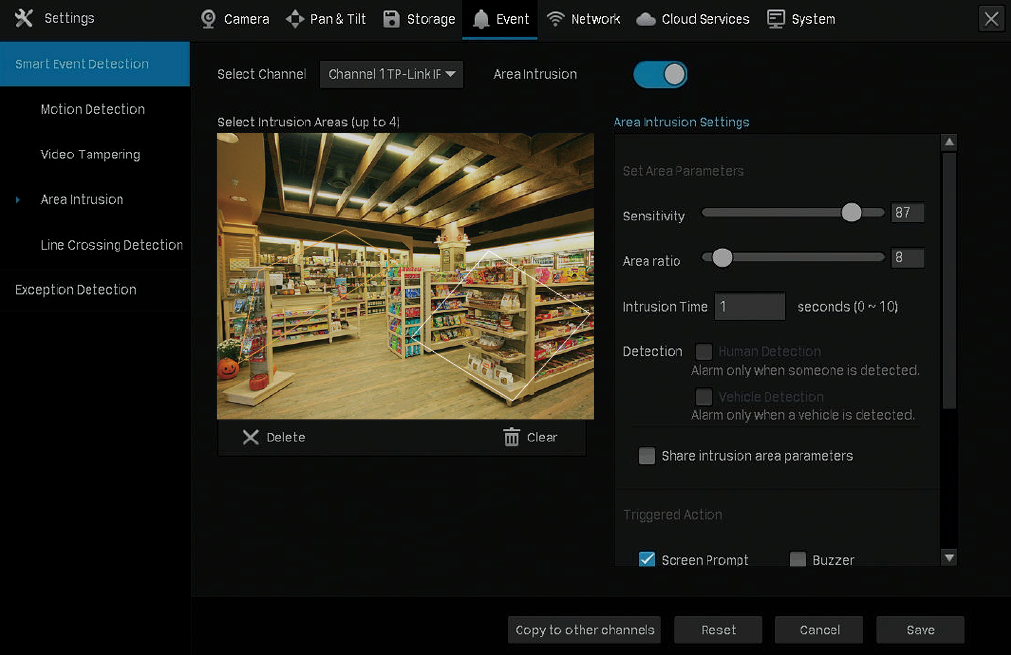
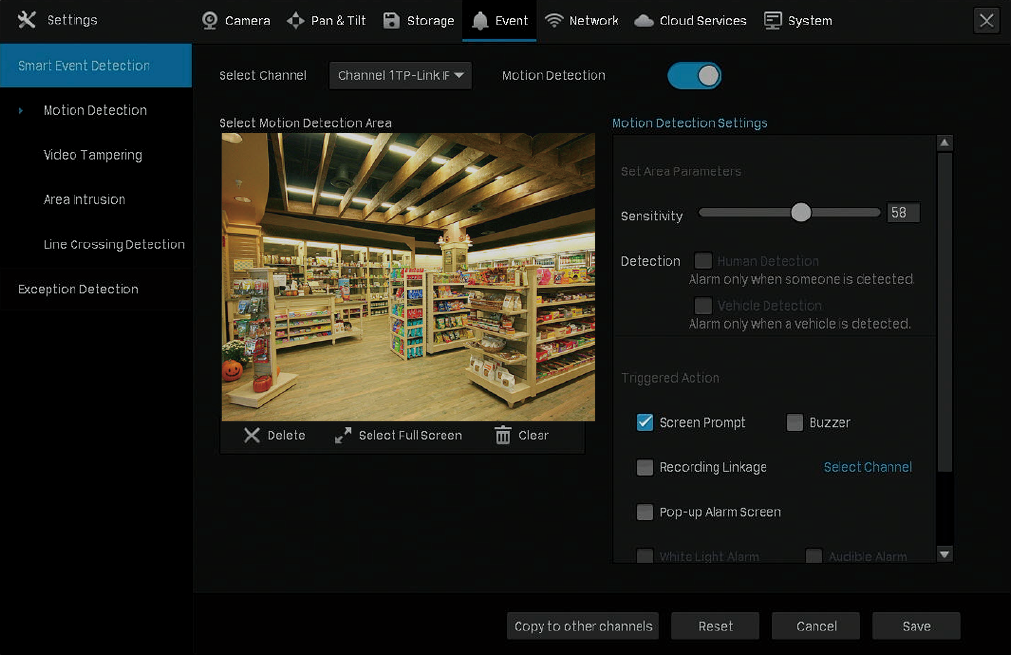
Motion detection allows cameras to detect the moving objects in the monitored area and triggers alarm actions. You can customize the motion detection settings, select the triggered actions and set the alarm schedule for cameras. Follow the steps below to finish the configuration.
1. Right click on the Live View screen and click Settings in the pop-up main menu, then go to Event > Smart Event Detection > Motion Detection.
2. Select the channel you want to detect and enable Motion Detection .
3. Draw rectangles for motion detection on the preview screen. The whole region is selected by default. Then configure the motion detection settings.
|
Sensitivity |
|
Detection |
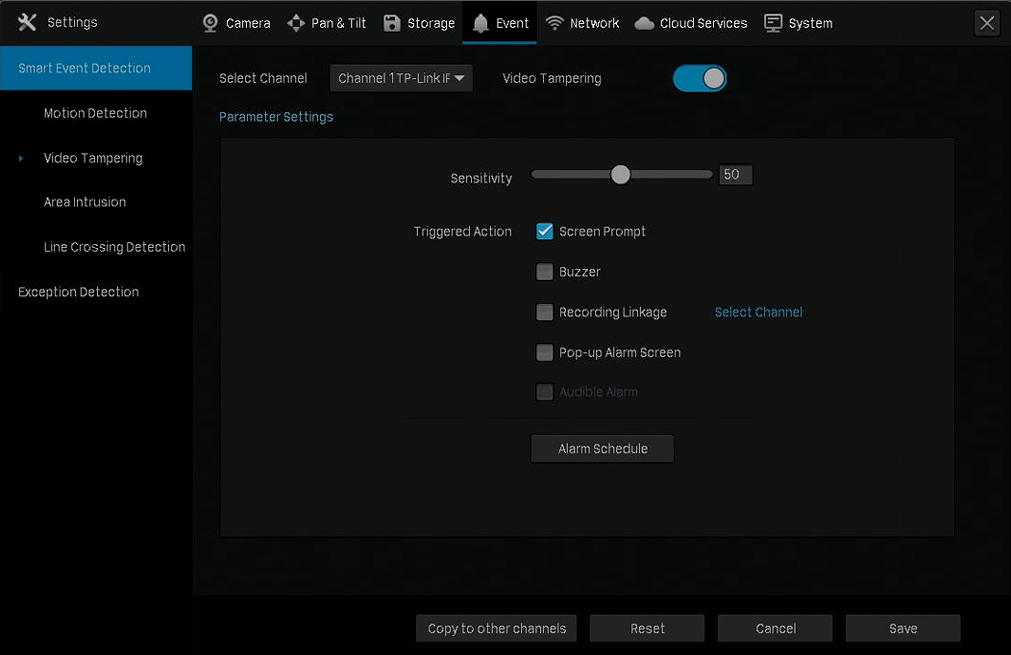
4. Select the triggered actions according to your needs.
|