How to Set Up Your Tapo Camera Using the Tapo App
This guide walks you through Tapo camera setup for any TP-Link Tapo security camera, including indoor and outdoor models. You will use the Tapo camera app to connect your Tapo camera to Wi-Fi and get your live view up and running in just a few minutes.
Key Takeaways
- You need the Tapo app (available for iOS and Android) and a TP-Link ID to complete setup.
- The camera must display a blinking red and green LED before you can begin pairing. This indicates it is ready for setup.
- During Tapo camera setup, the camera connects to your 2.4GHz Wi-Fi network through the app.
- Setup takes approximately five minutes from power-on to live view.
- If the LED is not blinking red and green, press and hold the camera's reset button for at least five seconds to put it back into pairing mode.
Before You Begin
Make sure you have the following ready before starting your Tapo camera setup:
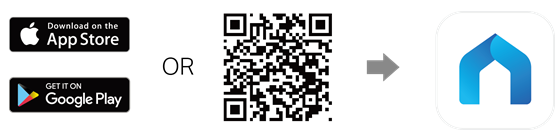
- Tapo app installed: Download the Tapo app from the App Store or Google Play, or scan the QR code in your camera's packaging.
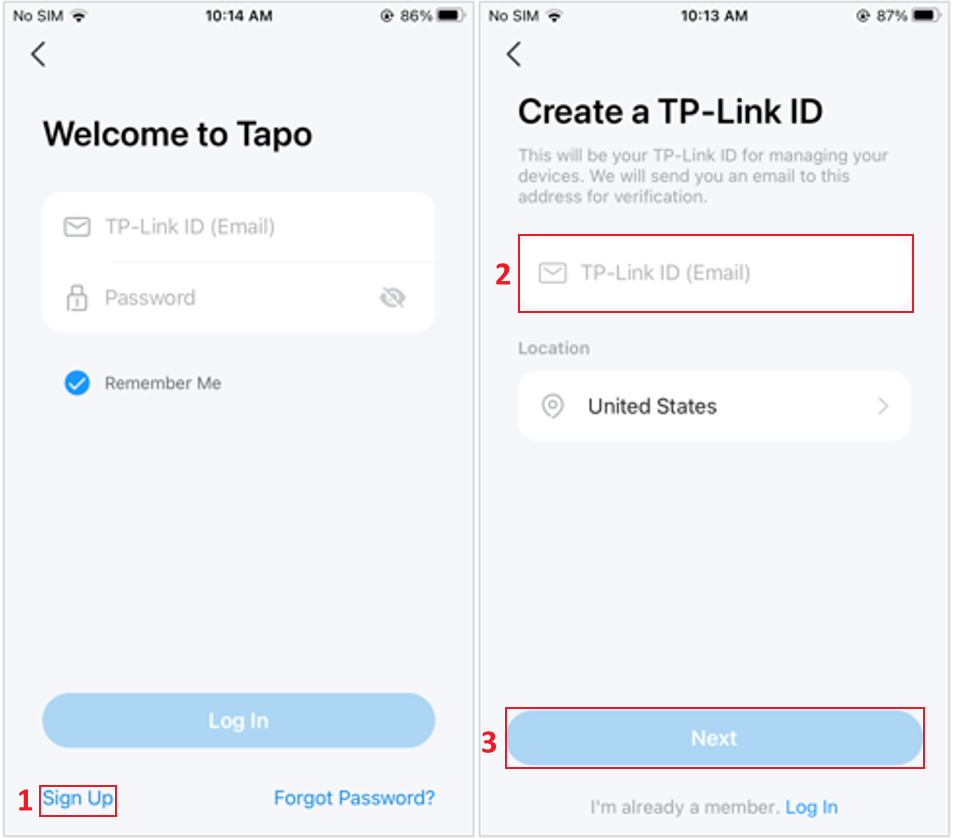
- TP-Link ID created: Open the app and log in. If you don't have an account yet, tap Sign Up to create one.
- Wi-Fi credentials on hand: Know your 2.4GHz network name and password.
- Camera powered on and in pairing mode: The LED should blink red and green. See Step 2 below for details.
Step 1: Add Your Camera in the Tapo App
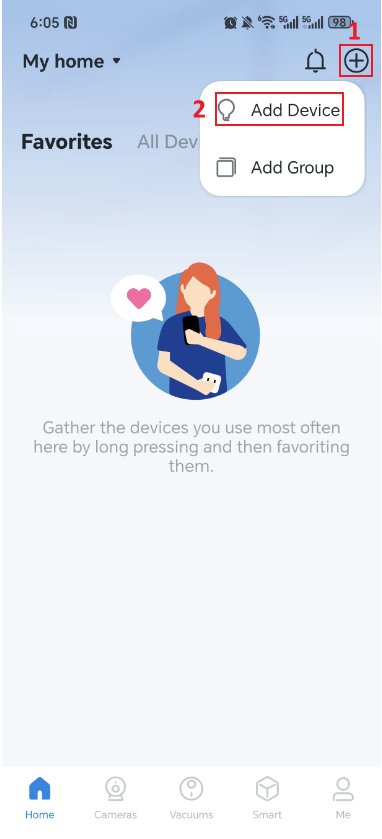
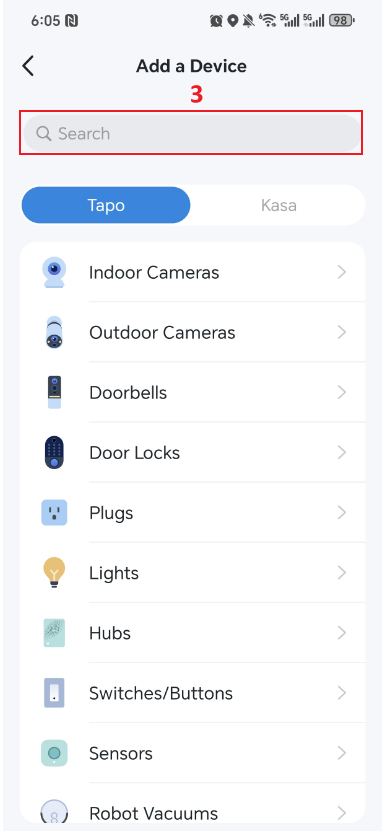
Open the Tapo app and tap the + icon, then select Add Device. From the device list, search for your camera model or select it by choosing the appropriate product type, such as Indoor Cameras or Outdoor Cameras.
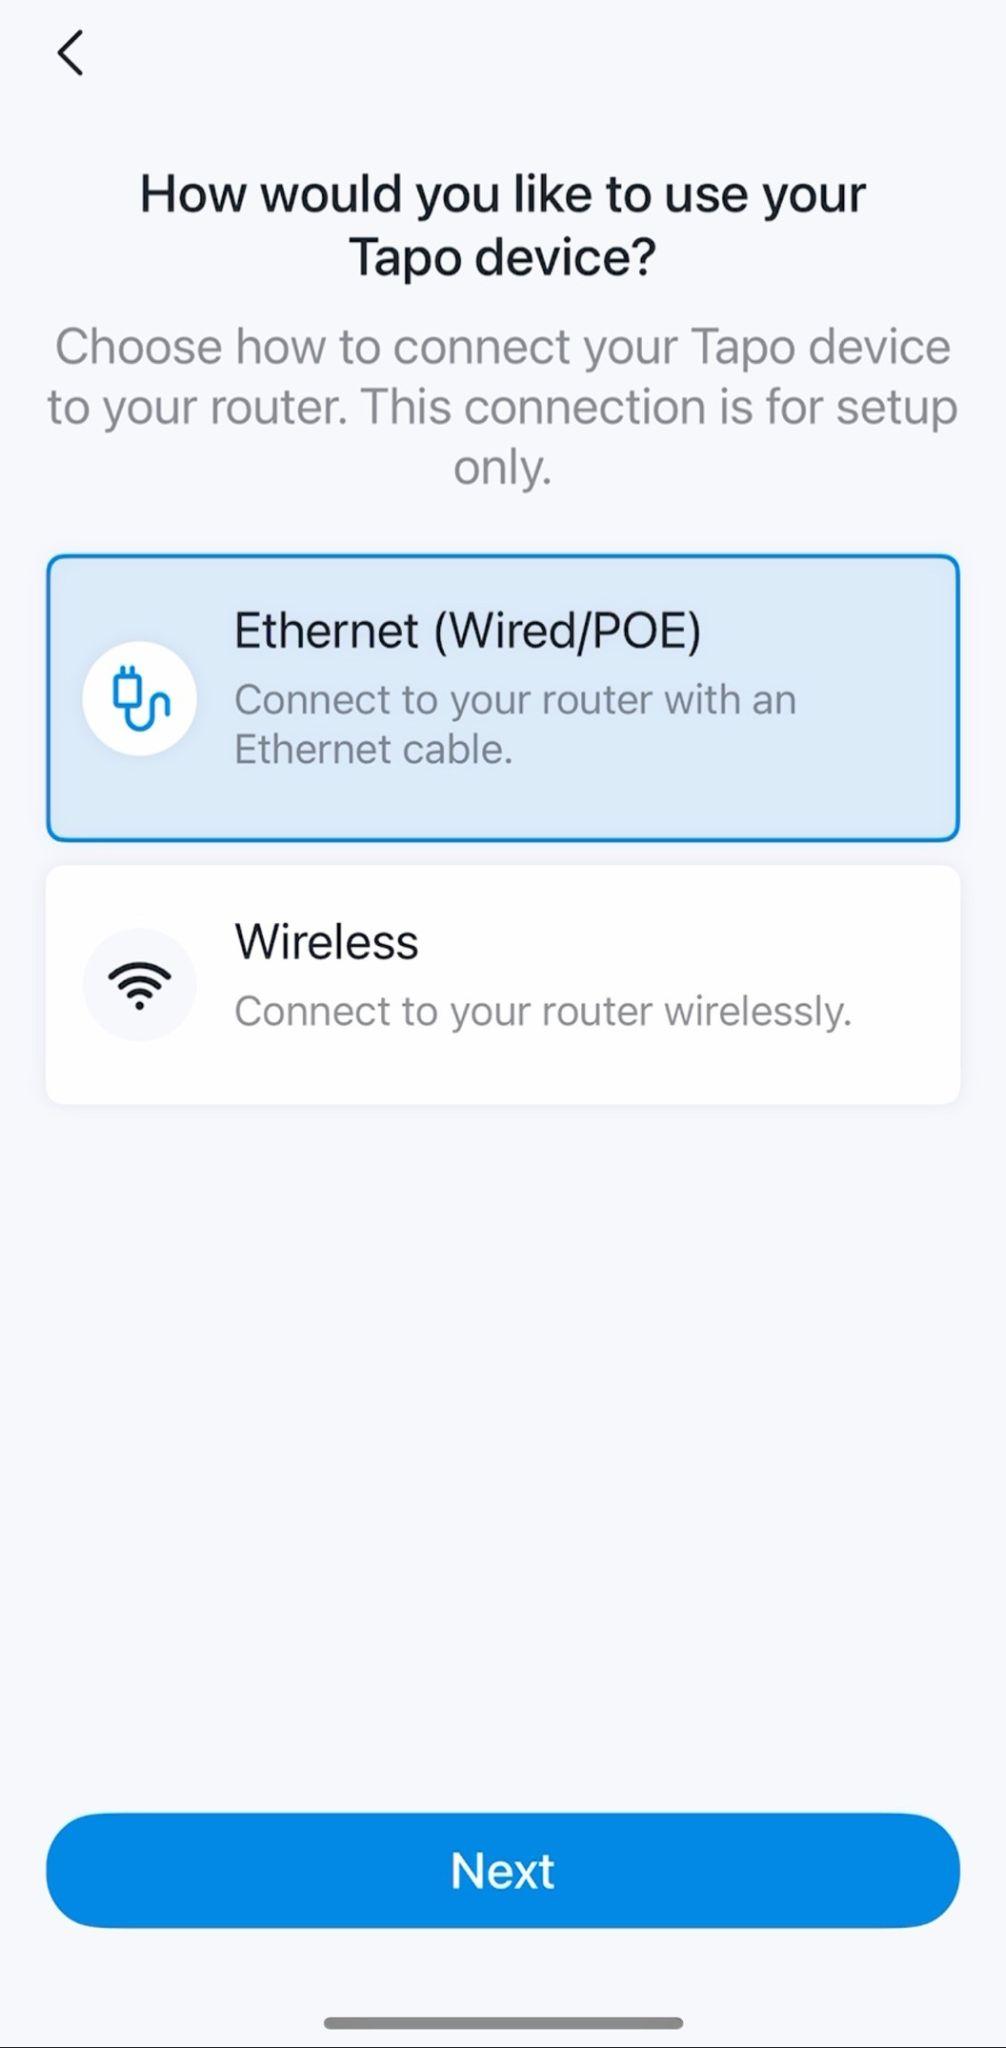
Step 2: Select Your Connection Method (Ethernet-Capable Models Only)
If your camera has an Ethernet port, the app will ask how you want to connect it to your router during setup. You can choose either Ethernet (Wired/PoE) or Wireless. This connection method applies to the setup process only.
If your camera does not have an Ethernet port, skip this step. The app will move you past it automatically.
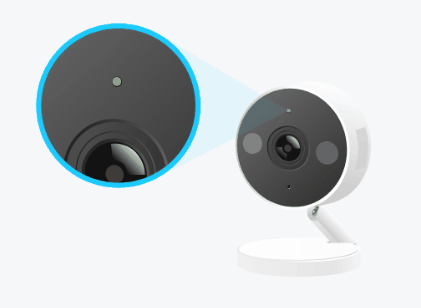
Step 3: Power On and Confirm Pairing Mode
Plug in your Tapo camera to power it on. For a battery-powered camera, press and hold the Power button for three seconds to turn it on. Wait about 30 seconds for the camera to start up.
Check the LED status. When the camera is ready for setup, most Tapo cameras will display a red and green blinking pattern. If the LED is not blinking red and green, press and hold the camera's reset button for at least five seconds to reset it.
Tip: Keep your phone close to the Tapo camera throughout the setup process. LED behavior and reset methods may vary by model. Refer to your camera's Quick Start Guide or User Guide for model-specific details.
Step 4: Connect to Your Camera
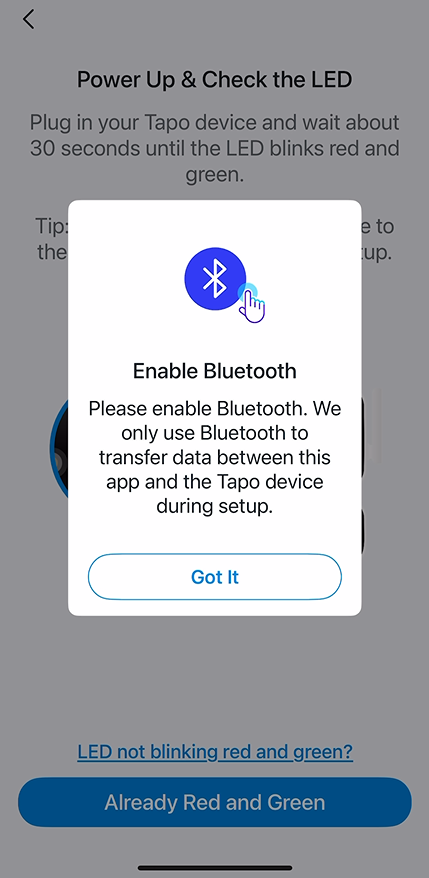
The app will guide you to connect to your camera via Wi-Fi or Bluetooth. Follow the on-screen instructions for your device.
For cameras that support Bluetooth setup: Enable Bluetooth on your phone or tablet before continuing. Go to your phone's Settings, find Bluetooth, and turn it on. Bluetooth is used only during this step and can be turned off afterward.
If the app prompts you to connect to the camera's Wi-Fi network, the process differs slightly between iOS and Android:
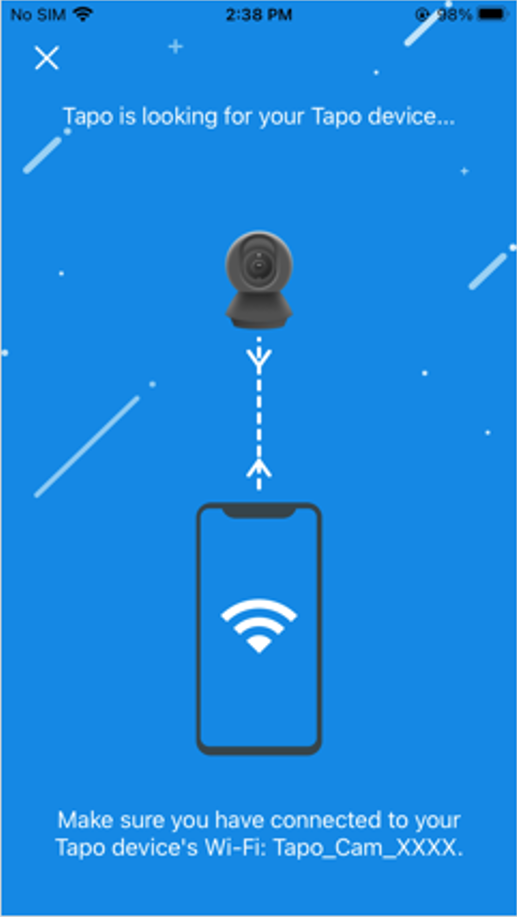
On iOS
Open your phone's Wi-Fi settings and connect to the camera's network, which will appear as Tapo_Cam_XXXX (where XXXX represents the last four digits of the camera's MAC address). Return to the Tapo app once connected.
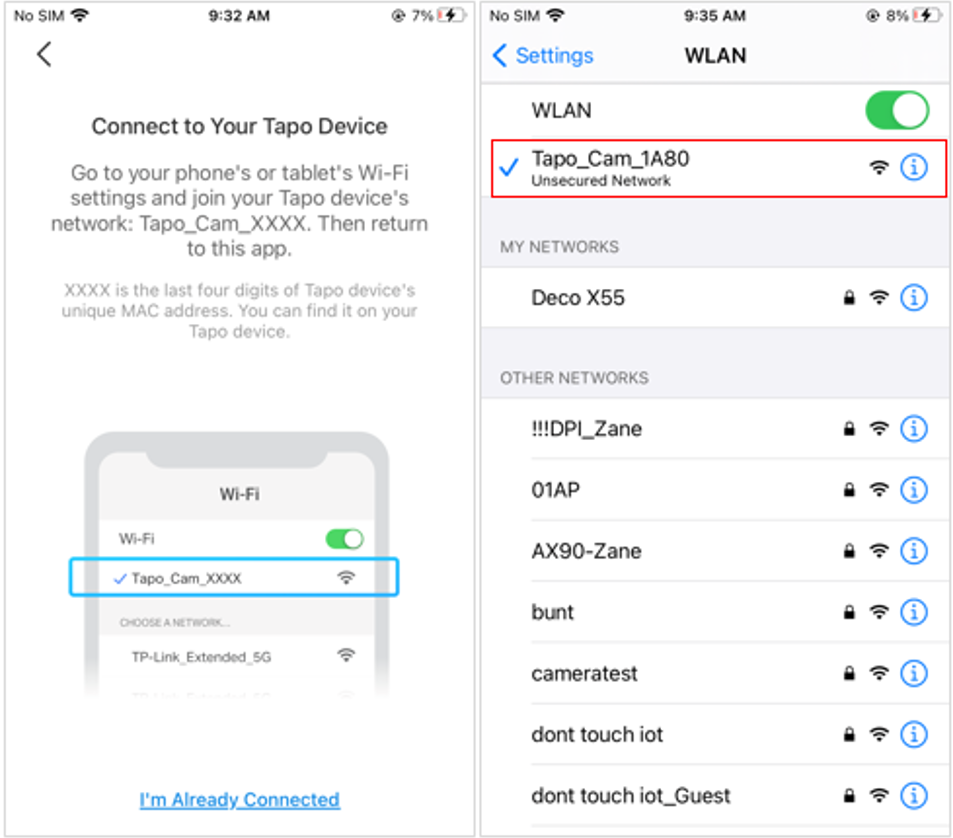
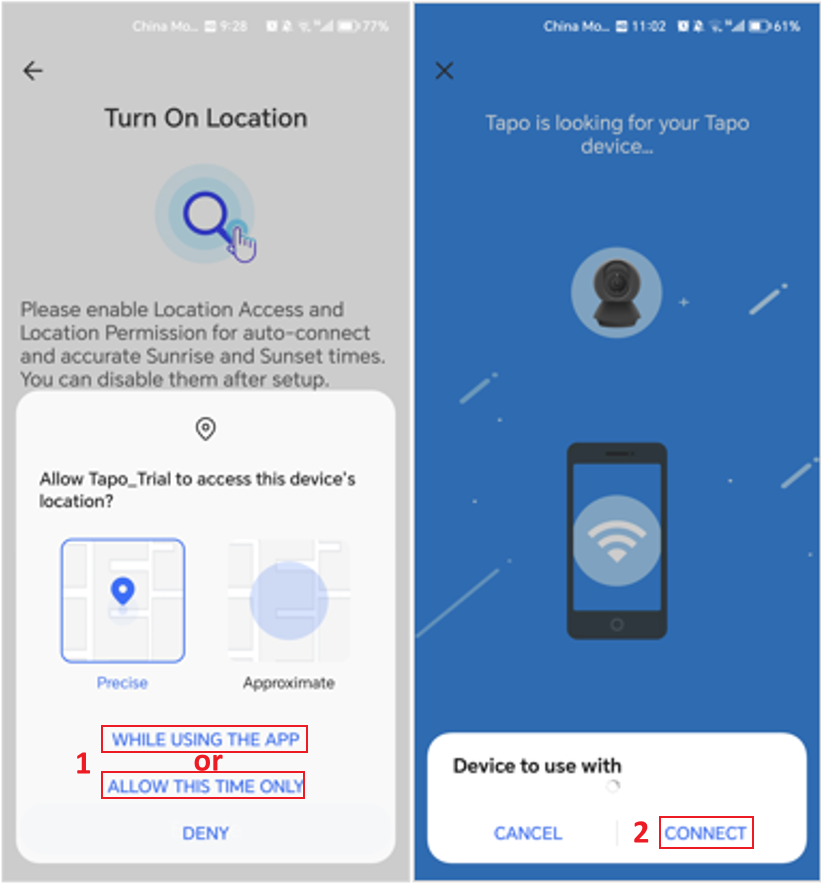
On Android
Grant the app location access when prompted. You can select While Using the App or Allow This Time Only, then tap Connect. You can turn off location access after setup is complete.
Step 5: Connect Your Camera to Your Home Wi-Fi
The app will search for your camera. This may take a minute or two.
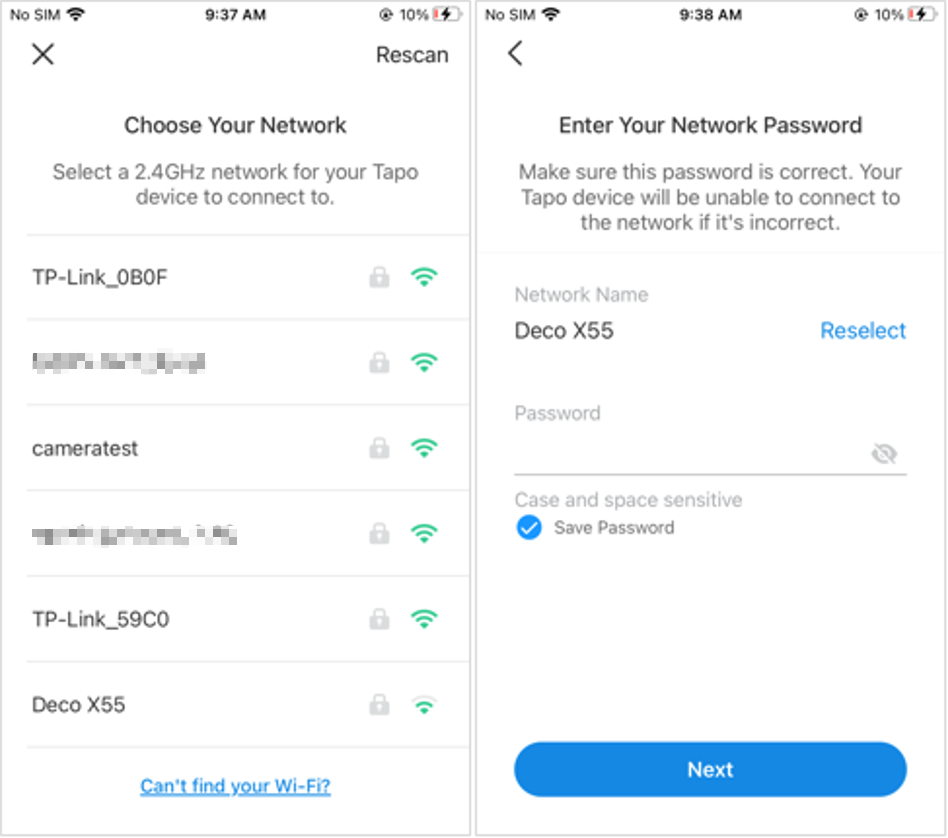
Once the camera is found, select your 2.4GHz home Wi-Fi network and enter the password when prompted.
Step 6: Enter Your Network Password and Join
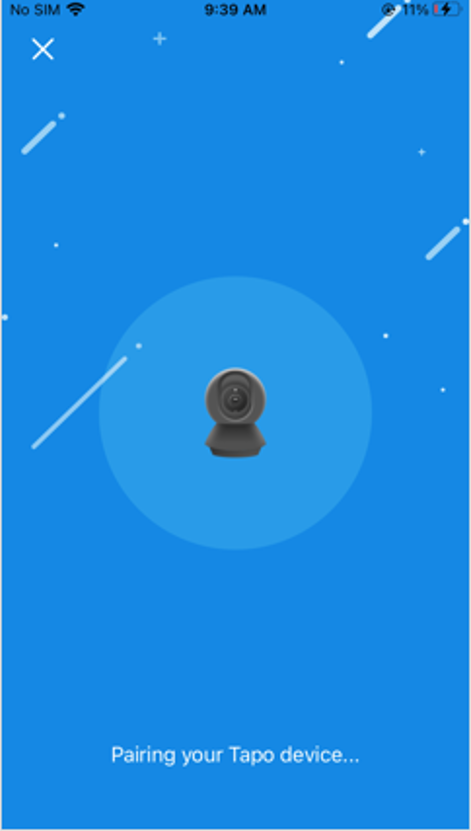
Select your 2.4GHz network from the list of available networks and enter your password. Tap Next to continue. The app will pair the camera with your network. Make sure the LED remains solid throughout the pairing process.
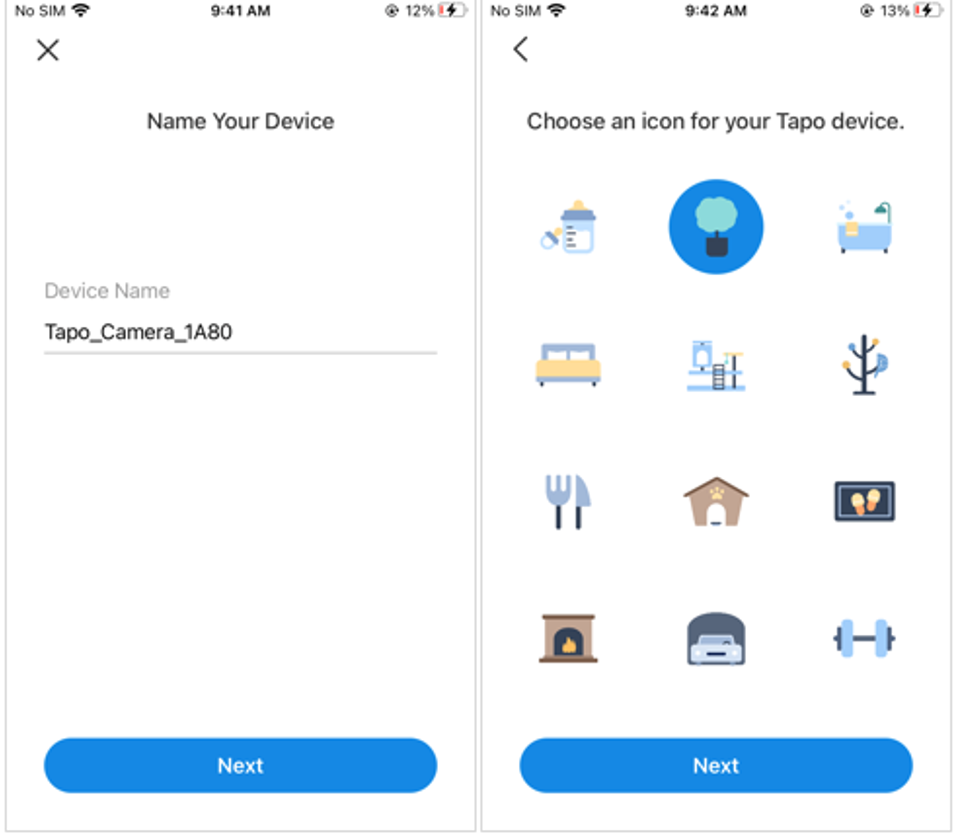
Step 7: Name Your Camera and Finish Setup
Once pairing is complete, give your camera a unique name and select its location for easy identification in the app. Tap Next to finish.
Step 8: Setup Complete
When the Complete screen appears, your camera has been successfully added to your account. Tap Done to start using it.

Troubleshooting and Tips
What if the setup fails? If you run into trouble completing the Tapo camera setup, see Tapo Cameras: Your Complete Guide to Setup, Features, and Settings for answers to common configuration questions. You can also check what to do if you can't view your Tapo or Kasa camera for connectivity troubleshooting.
Can I use the camera without Wi-Fi? During the initial configuration process, a network connection is required. Once set up, the camera can continue to function even if it temporarily loses its router connection. Local microSD card (sold separately) recording, including detection recording and 24/7 recording, will keep running. However, without a Wi-Fi connection, live view, video playback, and push notifications through the app will not be available.
How do I change the Wi-Fi network? At this time, the only way to switch to a different wireless network is to reset your Tapo camera and run through the setup process again.
What to Do After Setup
Once your Tapo security camera is live, here are a few things to set up next:
- Insert a microSD card (sold separately): Local video storage lets you record footage directly to the card. See how to install an SD card for your Tapo camera for instructions.
- Enable motion detection: You can configure motion detection sensitivity and schedules through the Tapo camera app. Visit Getting to Know Your Tapo Camera App for a full overview of app features and settings.
- Share access with family members: The Tapo app lets you grant other TP-Link accounts access to your camera. Learn how with how to share Tapo and Kasa smart devices with family or multiple users.
Once you have your smart home camera up and running, you may also want to explore what smart homes can do to get even more out of your connected devices.
Is this faq useful?
Your feedback helps improve this site.


TP-Link Community
Still need help? Search for answers, ask questions, and get help from TP-Link experts and other users around the world.