How to set up DDNS (DynDNS) on the Archer C8, C5 V2, TD-W9970 router
Dynamic Domain Name System (DDNS) is useful for your own website, FTP server, or other servers behind the Router.
If you DO have account from http://dyn.com/, please skip to Step 12. Otherwise, please follow these steps for how to create account.
Step 3
Please go to http://dyn.com/, and you´ll see the main page popped up.

Step 4
Select SIGN IN on the top of the menu. Then click on My DynDNS Account on the right hand side.

Step 5
Type in your information then click on Create Account.

Check your email box and fill in your Confirmation Code.


Step 7
Click on CONTINUE.

Step 8
Then go to this page and click on My Services.

Step 9
Click on Add Hostname.

Step 10
Type in the Hostname whatever you want. Click on Add To Cart.

Step 11
You will pay for this Hostname then you can get it.


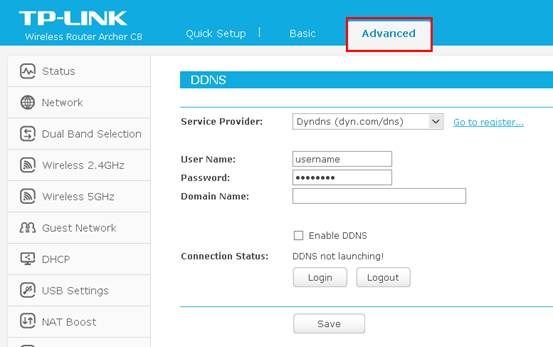
Step 12
Enter the User Name, Password and Domain Name. Check the Enable DDNS box and click the Login button to Login to the DDNS service.

After you go through all the steps above, the DDNS should be working properly.
Tips:
If you want to use a new DDNS account, please log out first, then log in with the new account.
Get to know more details of each function and configuration please go to Download Center to download the manual of your product.
Ez a GY.I.K. hasznos volt?
Véleménye segíti az oldal fejlesztését