Kasa and Tapo Siri Integration: How to Control Smart Devices with Siri
This guide covers how to use the iOS Shortcuts app to set up Kasa Siri and Tapo Siri integration, so you can control your smart devices with a tap or a voice command. The setup works on iPhone and iPad running iOS 12 or later. The steps below use Tapo as the example, but the process is the same for Kasa devices.
Key Takeaways
- Both Tapo and Kasa smart devices support Siri voice control through the iOS Shortcuts app.
- No additional hub or third-party integration is required. Siri control is set up entirely within the Shortcuts app.
- iOS 12 or later is required, and your Tapo or Kasa device must already be set up and connected to the Internet before creating a shortcut.
- Each device should have a unique, easy-to-recognize name before you create a Siri shortcut. This helps Siri identify the correct device when you give a voice command.
- Once a shortcut is created, you can trigger it by tapping it in the Shortcuts app or by asking Siri to run it by name.
Setting Up Siri Control for Your Tapo or Kasa Device
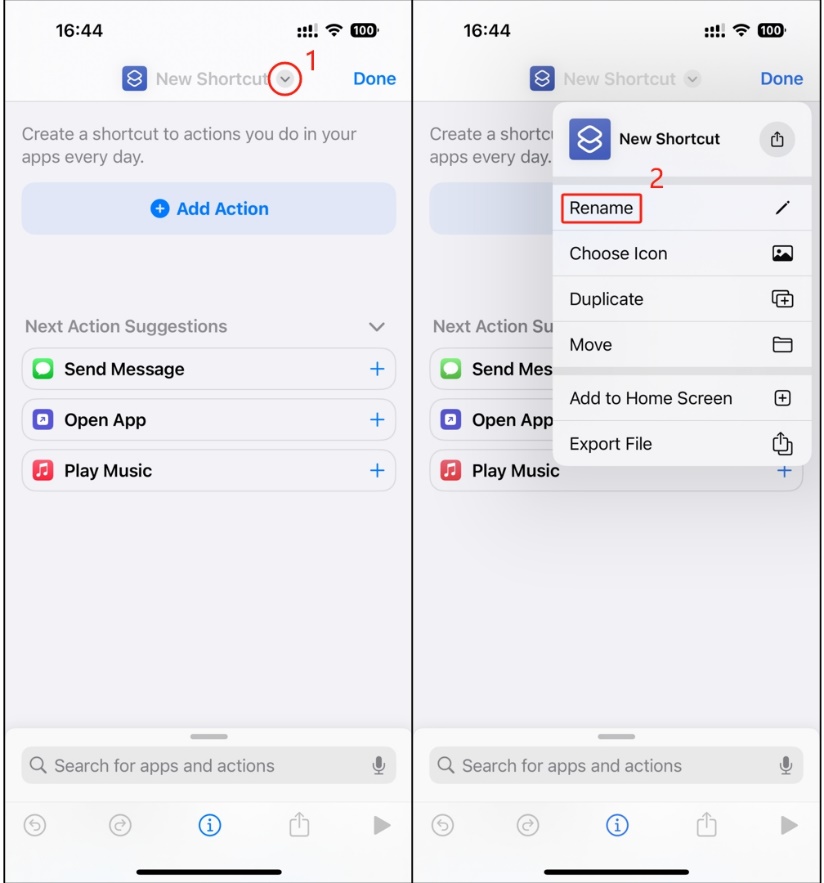
Step 1. Open the Shortcuts App on your iPhone or iPad, and add a new shortcut.

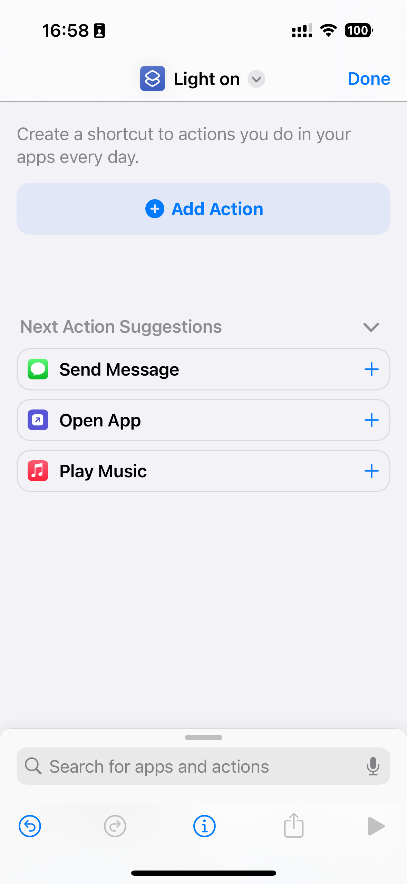
Step 2. Rename the shortcut as you want. e.g., Light on.
Step 3. Tap Add Action and enter Tapo in the search bar.
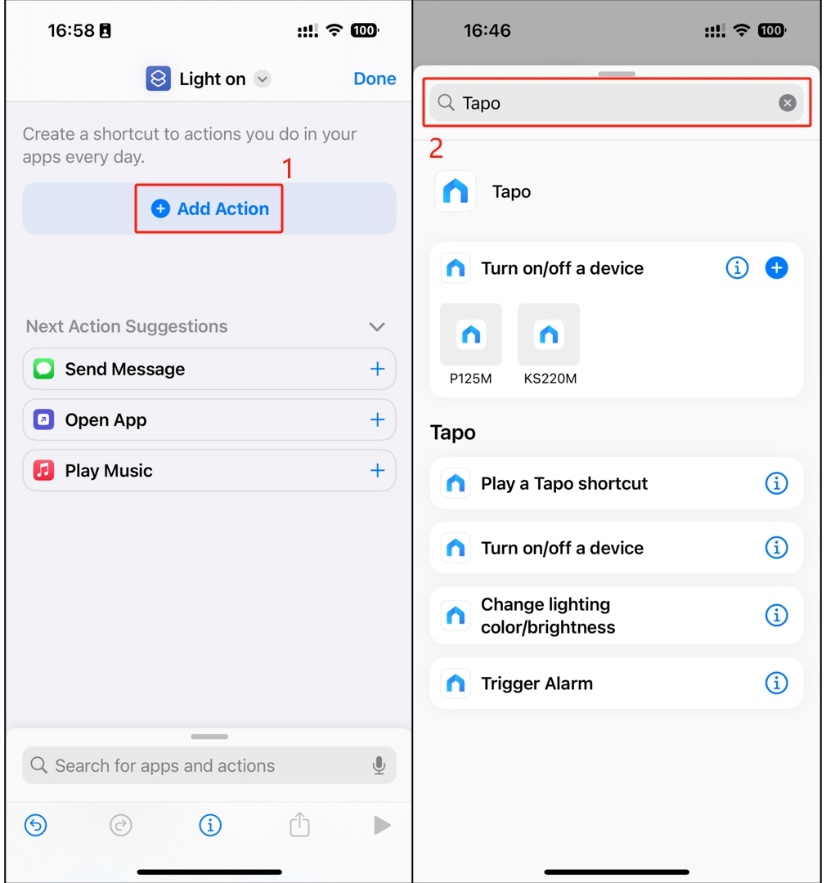
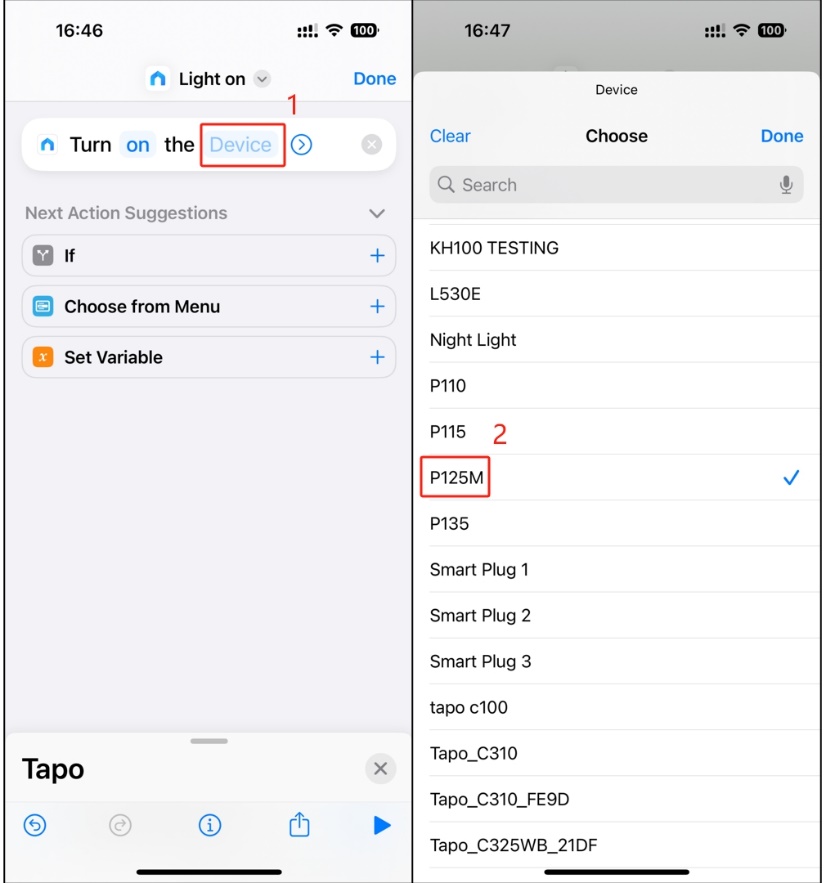
Step 4. Select an action as you want. e.g., Turn on/off a device.
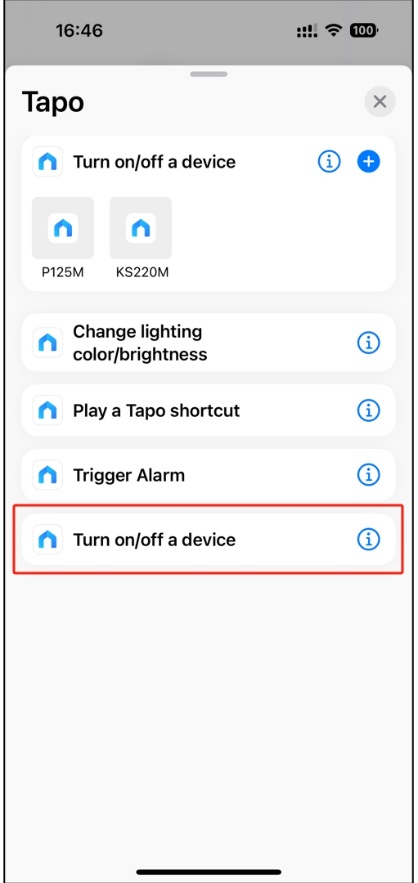
Step 5. Select a device. e.g., P125M.
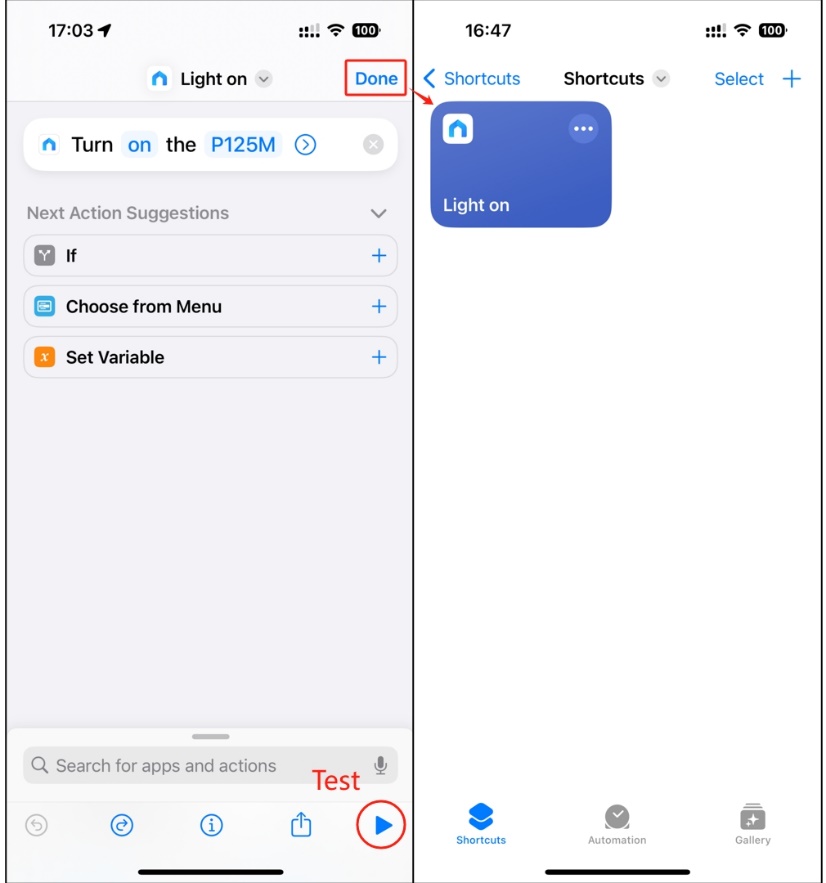
Step 6. Tap Done to finish.
Note: You can test it by tapping the triangular play button in the bottom-right corner.
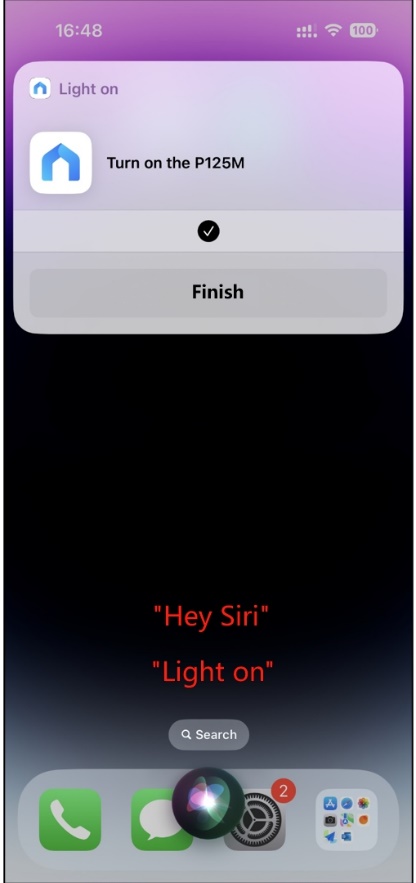
Now you can enjoy using Siri to control your Tapo and Kasa devices.
Looking For More
Ez a GY.I.K. hasznos volt?
Véleménye segíti az oldal fejlesztését

TP-Link Community
Still need help? Search for answers, ask questions, and get help from TP-Link experts and other users around the world.