Tapo RVA110_Replacement Guide
You may refer to either this video or the steps below:
Replace the main brush every 6-12 months.
Step 1. Turn the robot vacuum over, then unlatch and remove the main brush cover.
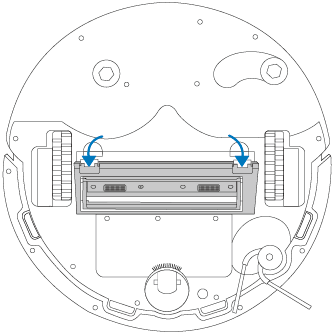
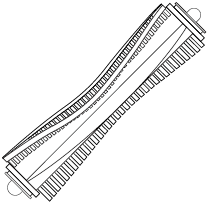
Step 2. Remove the main brush and install a new one.
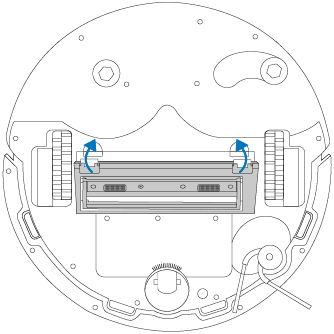
Step 3. Press on the main brush cover and listen for a click to lock it in place.
You may refer to either this video or the steps below:
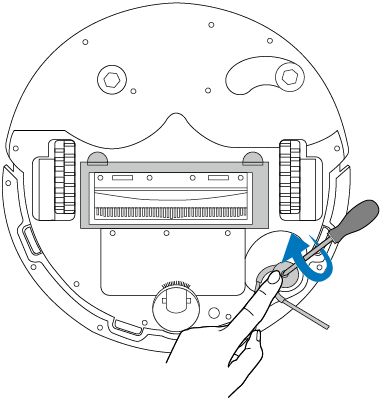
Replace the side brush every 3-6 months.
Step 1. Press and hold the side brush, use a screwdriver to unscrew the side brush clockwise to remove.
Step 2. Replace with a new one. Turn the side brush anticlockwise to secure it tightly and ensure it is properly installed.
You may refer to either this video or the steps below:
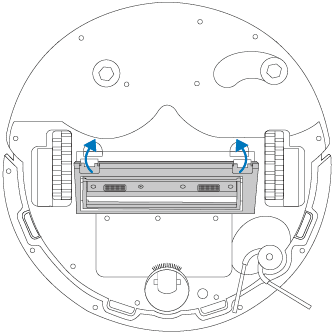
Replace the main brush cover every 6-12 months.
Step 1. Turn the robot vacuum over, then unlatch and remove the main brush cover.

Step 2. Replace with a new main brush cover and listen for a click to lock it in place.
You may refer to either this video or the steps below:
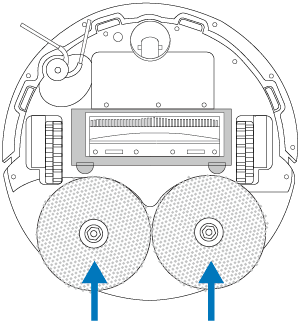
Replace the mop cloth every 2-3 months.
Step 1. Remove the mopping attachment from the robot vacuum.

Step 2. Detach the mop cloth from the mop cloth mount.

Step 3. Replace with the new mop cloth. Align the loop side to the hook side and press together.

Step 4. Attach the mopping attachment to the mopping roller.
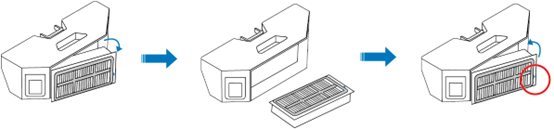
Replace the filter every 2-4 months.
Step 1. Remove the cover and take out the dustbin.
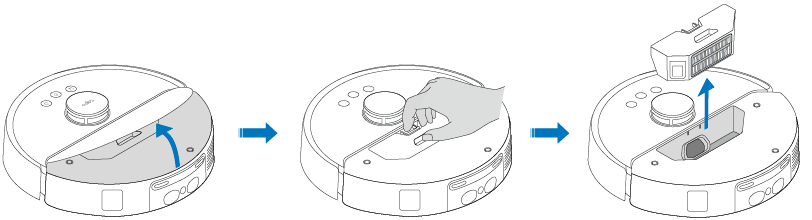
Step 2. Remove the filter from the dustbin and replace it with a new one. Ensure that the arrow on the right side faces outward during installation.
You may refer to either this video or the steps below:
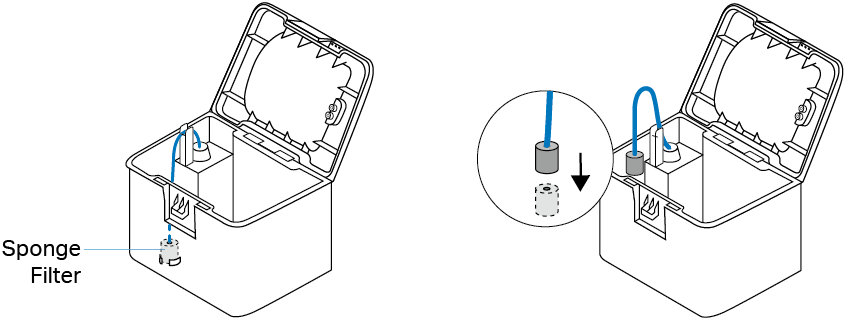
Replace the sponge filter in the clean water tank as needed.
Remove the sponge filter from the clean water tank and replace it with a new one. Ensure it is securely installed.