How to install TP-Link Print Server by using Standard TCP/IP port in Windows Vista and Windows 7 (another case)
You never use the printer on your computer before but also want to share printing; you just need to add a printer, follow the steps to create a Standard TCP/IP port, and then install the printer driver.
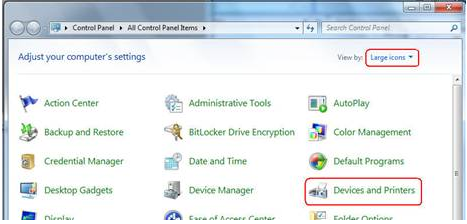
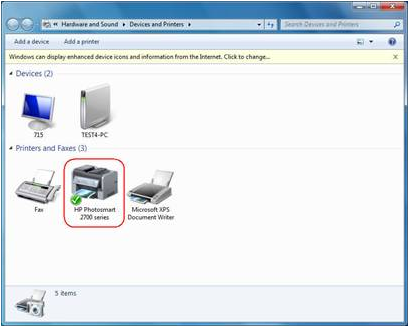
Step 1 Click Start-> Control Panel, and select Devices and Printers.
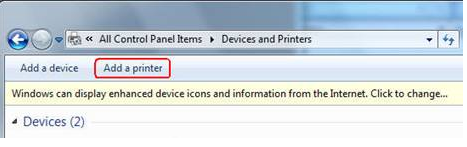
Step 2 Click Add a printer.
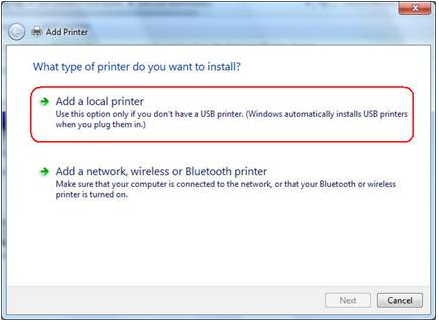
Step 3 Select Add a local printer.
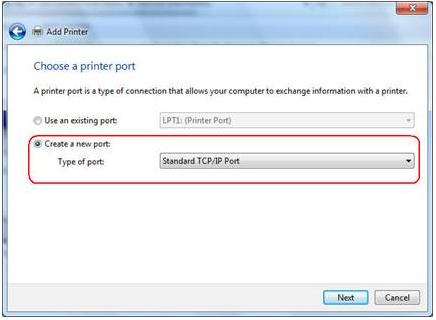
Step 4 Select Create a new port, and the type of port is Standard TCP/IP Port.
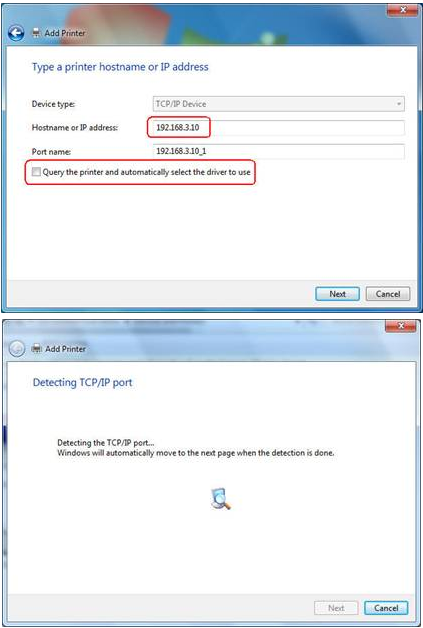
Step 5 Input the IP address of the print server and click Next. The windows will detect the TCP/IP Port. Please wait for the next page.
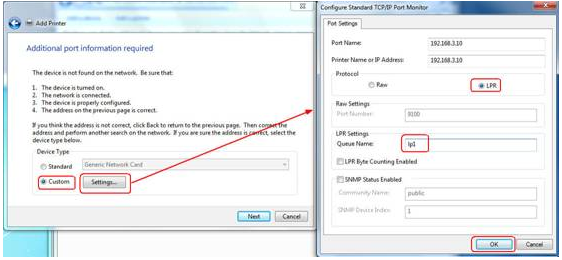
Step 6 Select Custom and click Settings. And then on the next page, please select LPR as the Protocol and the Queue Name is lp1.
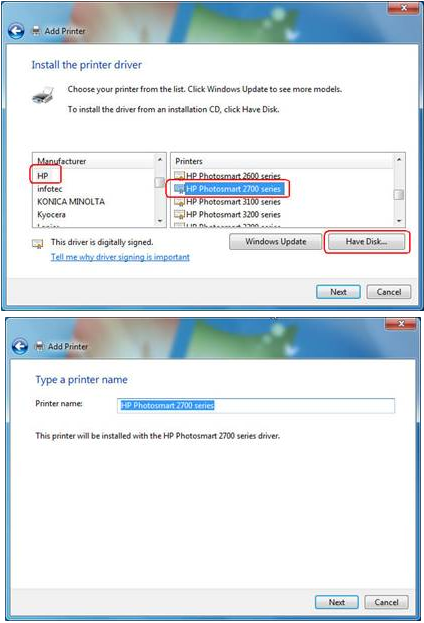
Step 7 It will ask you to install the driver of the printer. You can select one in the list or click Have Disk to install other drivers. Please follow the steps to finish the installation.
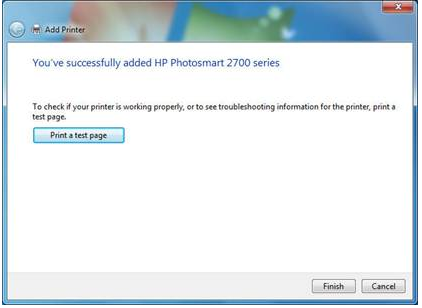
Step 8 After that, the new printer is in the list. And you can enjoy the sharing.
Esta FAQ é útil?
Seu feedback ajuda a melhorar este site.