How to configure Repeater mode of the Wireless N Access Point (new logo)
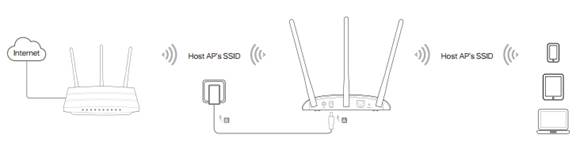
In Repeater mode, the access point extends the range of an existing Wi-Fi network. This mode is suitable when you are in a Wi-Fi dead-zone or a place with weak wireless signal, and you want to have a larger effective range of the wireless signal throughout your home or office.
1. Log in the web-based management of the Access Point. For detailed instruction, please refer to How to log in the web-based management interface of Wireless N Access Point (new logo)?
Here takes TL-WA901ND as demonstration.
2. Go to Quick Setup and click Next to start.
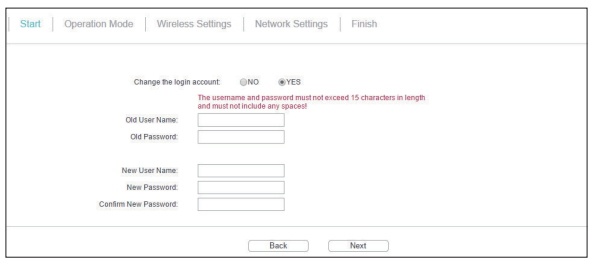
3. If you want to change your login account, click YES. Then enter your old username and password, then a new username and password. If not, click Next to move on.
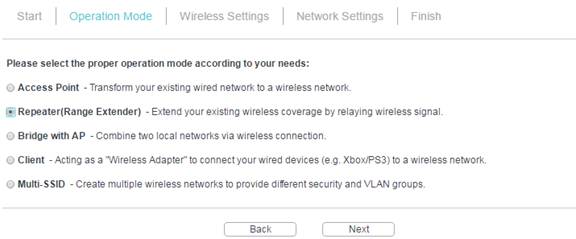
4. Select Repeater (Range Extender) as Operation Mode. Click Next.
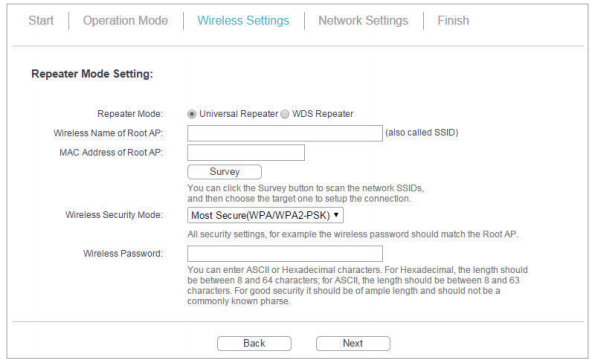
5. Select Universal Repeater or WDS Repeater. It’s recommended to choose Universal Repeater if you are not sure whether your host AP supports WDS.
6. Click Survey to find your host network and click Connect. Enter the host network’s password in the Wireless Password field, and then click Next.
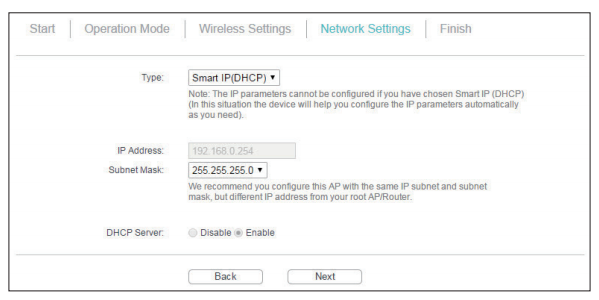
7. Select the LAN IP type of the access point or leave the default setting Smart IP for most cases, and then click Next.
8. Click Finish to complete the configuration.
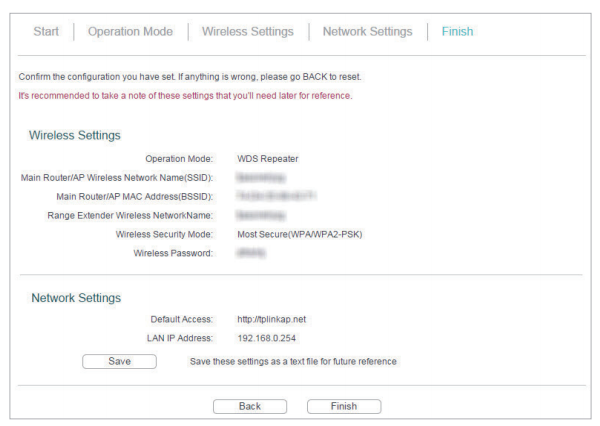
9. Relocate the access point about halfway between your host AP and the Wi-Fi dead zone. The extended network shares the same network name and password as your host network.
Get to know more details of each function and configuration please go to Download Center to download the manual of your product.
Is this faq useful?
Your feedback helps improve this site.

TP-Link Community
Still need help? Search for answers, ask questions, and get help from TP-Link experts and other users around the world.