How to install a Standard TCP/IP Printer on Windows 8
Windows 8 is a new operating system of Microsoft, it changed greatly compared with the former versions. Since it also supports TCP/IP printing, it is compatible with our Print Servers, like TL-PS110U/TL-PS110P/TL-PS310U/TL-WPS510U. Here is the configuration guide.
Note: Before the installation, please make sure the printer works fine if it is connected to computer directly.
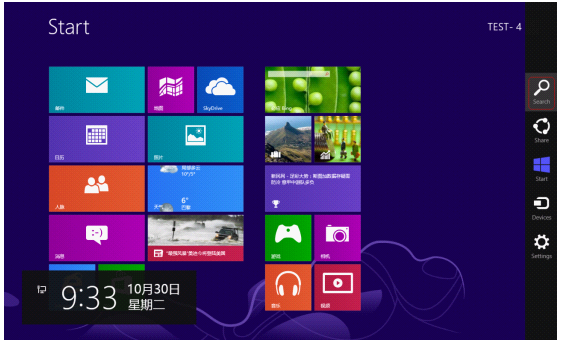
Step 1 Please move your mouse to the right corner and you will see Search. Click it and search Control Panel.
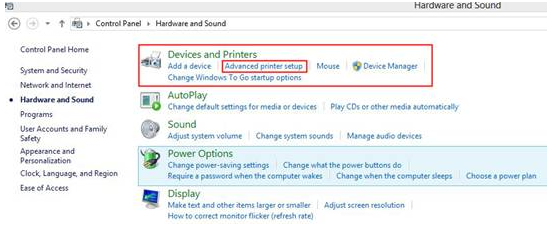
Step 2 Go to Control Panel->Hardware and Sound page, and click Advanced printer setup.
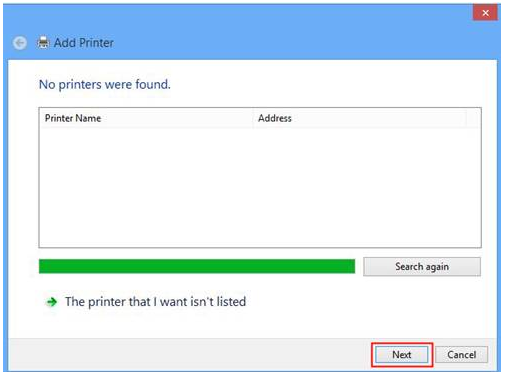
Step 3
A window will pop out to search the printers automatically, please ignore it and click Next button.
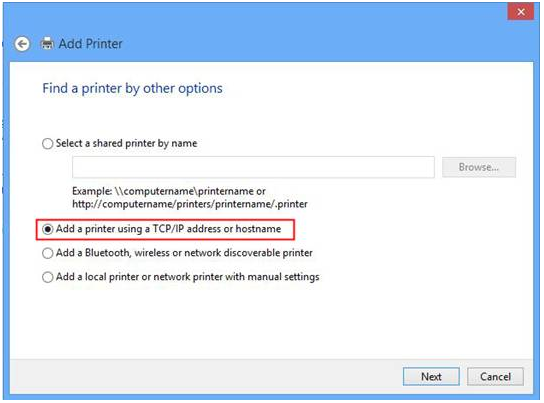
Step 4 Please Select Add a Printer using a TCP/IP address or hostname, click Next.
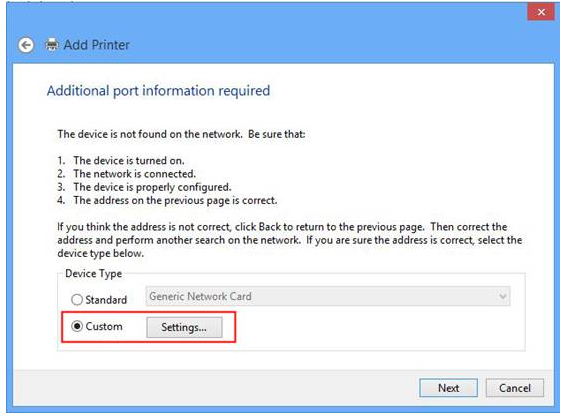
Step 5 Please select Custom and click Settings.
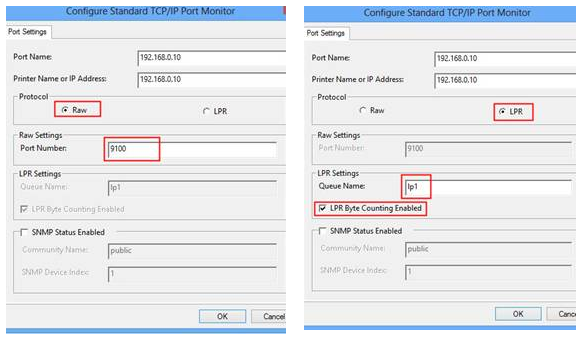
Step 6 Please type the IP address of your Print Server in Hostname or IP address. The print server’s IP should in same subnet with your router. As default, the Protocol is Raw. You can keep it still or select LPR. The two protocols support different printing languages. You can try one first, if can’t print, delete it and try another one.
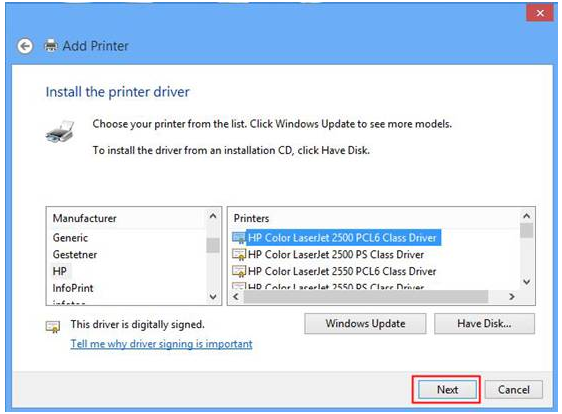
Step 7 Select the correct driver for your printer. If you can’t find the model of your printer, please connect your printer to PC with USB cable and install the driver first. Click Next.
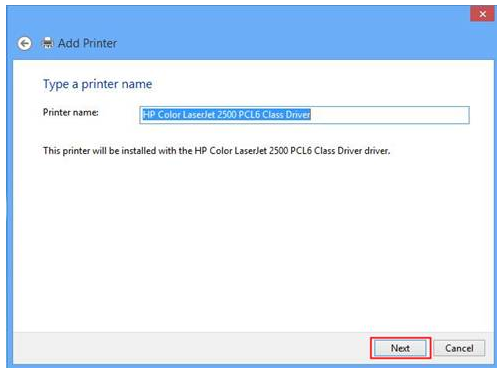
Step 8 Click Next.
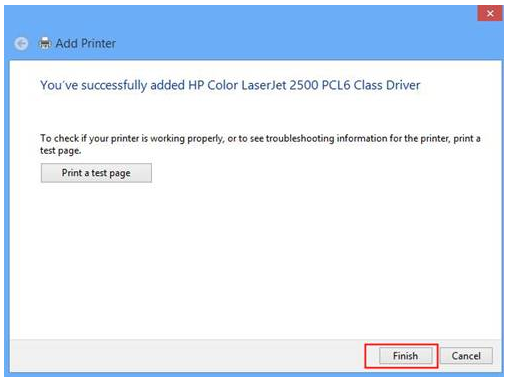
Step 9 Click Finish.
Until now, you have finished the installation. You can find the newly added Printer on Control Panel-> Hardware and Sound-> Devices and Printers page.

¿Es útil esta pregunta frecuente?
Sus comentarios nos ayudan a mejorar este sitio.