M7350 V6.2 User Guide
Chapter 2 Set Up Internet Connection
This chapter introduces how to install the hardware and set up the internet connection of your Mobile Wi-Fi.
It contains the following sections:
1. Install the SIM Card and Battery
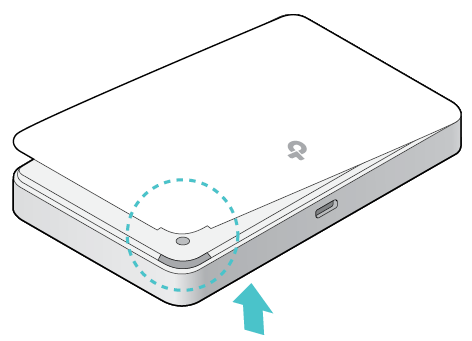
1.Remove the cover.
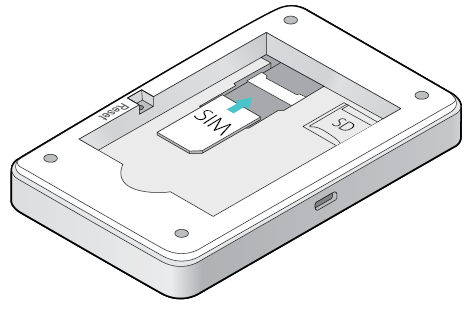
2.Insert the SIM card.
 Note:
Note:
•A nano or micro SIM card must be converted using the provided SIM card adapter.
•The SIM card is not provided by TP-Link.
3.Install the SD card if any. Slide and lift up the slot cover, insert the SD card and slide the cover back to lock. The inserted SD card can be used for storage and media sharing.
Note:
•The SD card is not provided by TP-Link.
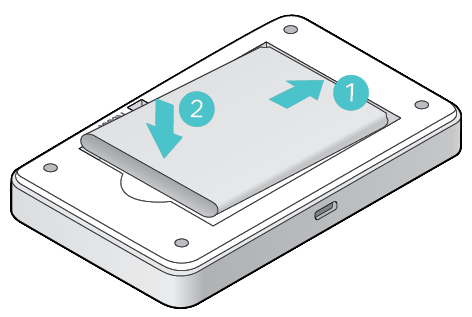
4.Install the provided battery.
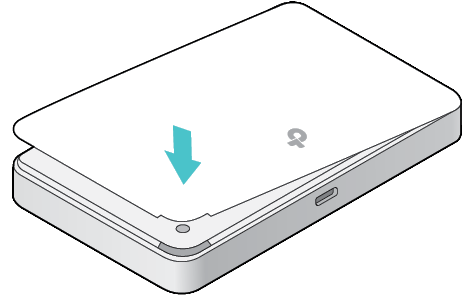
5.Replace the cover.
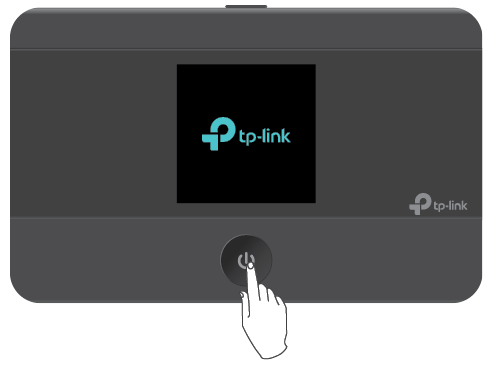
1.Press and hold  (power button) until the welcome screen appears.
 Note:
Note:
To power off, press and hold (power button) until “Power Off” appears on the screen.
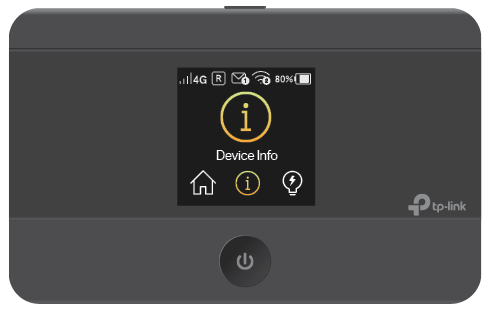
2.The following screen will come up.

Note: If other messages appear on the screen, please refer to FAQ > Q2.
Method One: Using the SSID and Wireless Password
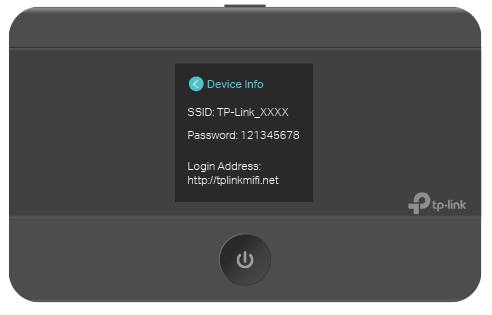
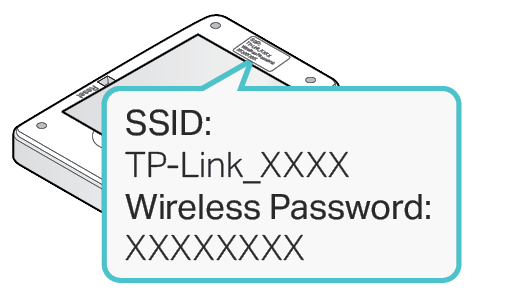
1.Find the default SSID (network name) and wireless password from the screen or on the Wi-Fi info label.
•On the screen:
1 )Press  (menu button) to enter the menu page and switch to the Device Info menu.
2 )Press (power button) to enter the Device Info page.
•On the Wi-Fi info label:
Remove the cover, note down the default SSID and password, then replace the cover.
2.On your device, select the SSID and enter the wireless password.
Note: If you use a computer to connect to the Mobile Wi-Fi, please set it to obtain an IP address automatically.
Method Two: Via WPS (Wi-Fi Protected Setup)
If you have a WPS-supported device (such as Android phones or tablets), you can connect to the Mobile Wi-Fi more easily using WPS button or PIN.
Note:
The WPS function takes effect only when the SSID Broadcast function and wireless function are enabled.
•Via the WPS button
1 )Press (menu button) to enter the menu page and switch to the WPS menu.
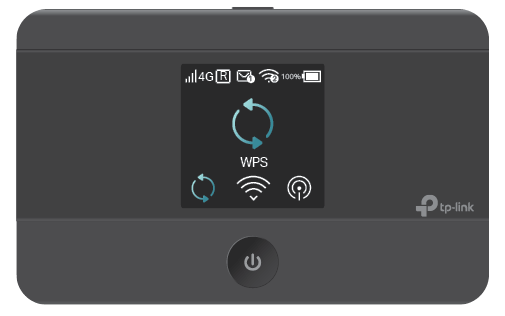
2 )Press  (power button) to enter the WPS page.
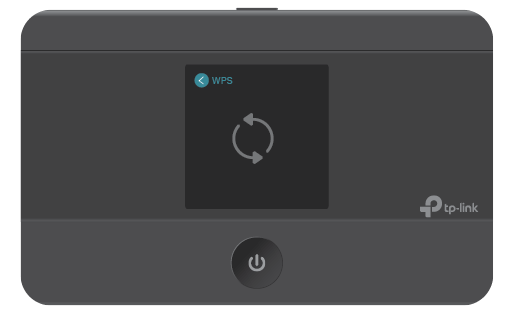
3 )Press (menu button) and  (power button) to enable the WPS function, and then the Mobile Wi-Fi starts to scan WPS-supported devices.
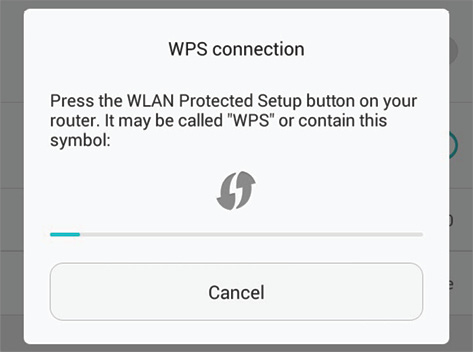
4 )On your WPS-supported device, go to Settings, turn on Wi-Fi, and enable WPS within 2 minutes.
Note:
The entry to the WPS function may differ form the example below and has different names on different devices.
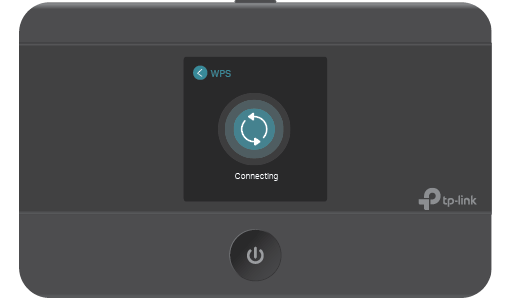
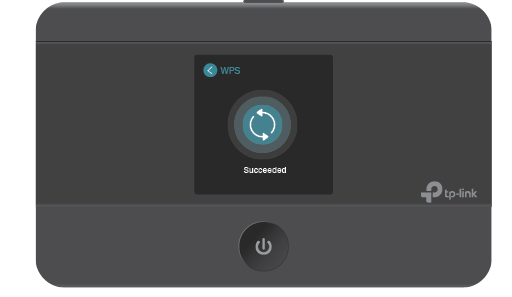
5 )The status of WPS will change from Connecting to Succeeded after your WPS-supported device is successfully connected to the Mobile Wi-Fi.
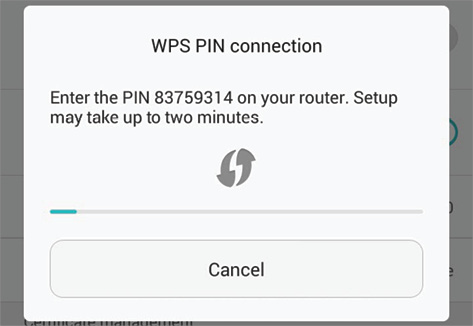
•Via the PIN
1 )On your WPS-supported device, go to Settings, turn on Wi-Fi, enable WPS PIN connection and get the PIN.
Note:
The entry to the WPS function may differ from the example below and has different names on different devices.
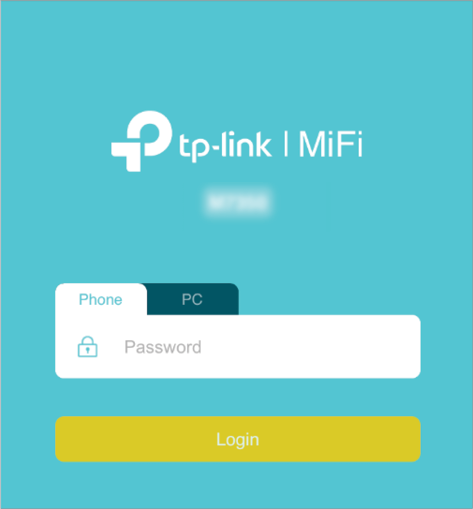
2 )On another device already connected to the Mobile Wi-Fi, visit http://tplinkmifi.net, and log in with the default password: admin.
3 )Go to Device > Advanced > WPS, check the PIN box and enter the PIN of your WPS-supported device in the field.
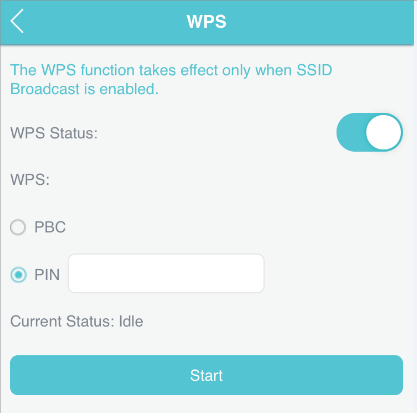
4 )Click Start to start the WPS process, and the Current Status will change from Idle to Succeed after your WPS-supported device is successfully connected to the Mobile Wi-Fi.