
How to Replace the Main Brush Cover for Tapo Robot Vacuum
You may refer to either this video or the steps below:
Replace the main brush cover every 6-12 months.
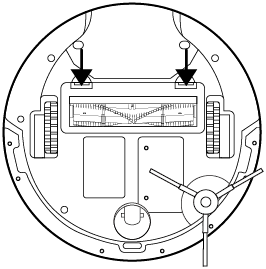
Step 1. Turn the robot vacuum over, then unlatch and remove the main brush cover.

Step 2. Replace with a new main brush cover and listen for a click to lock it in place.
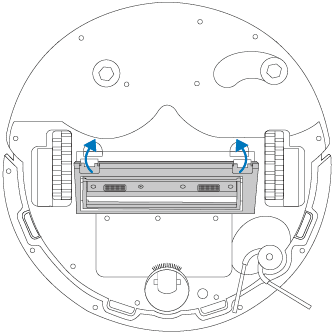
Step 1. Turn the robot vacuum over, then unlatch and remove the main brush cover.
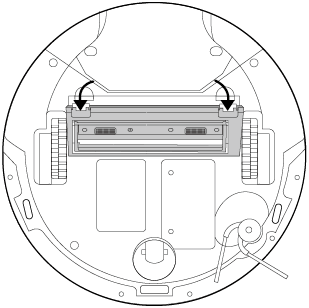
Step 2. Replace with a new main brush cover and listen for a click to lock it in place.
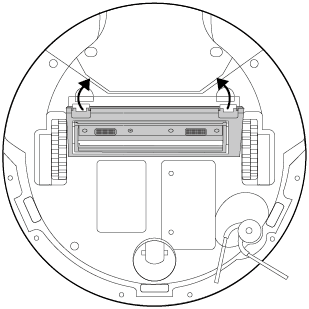
Step 1. Turn the robot vacuum over, then unlatch and remove the main brush cover.
Note: If you have installed the mopping attachment, uninstall it from the robot vacuum first.
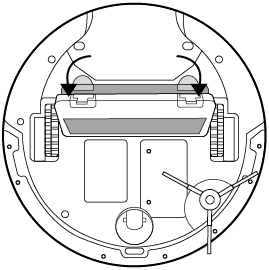
Step 2. Replace with a new main brush cover. Press on the main brush cover to lock it in place.
Looking For More
Is this faq useful?
Your feedback helps improve this site.



TP-Link Community
Still need help? Search for answers, ask questions, and get help from TP-Link experts and other users around the world.