How to set up Dynamic DNS feature on TP-Link Modem Routers (new logo)
DDNS (also named as Dynamic Domain Name System) is a feature to bind your modem Router which has a floating IP address assigned by ISP(Internet service provider) to a static domain name. This feature is often used for establishing your own website, FTP server or other servers behind the Modem Router.
Before set up on modem router:
The Modem routers apply to this article support two DDNS service provider: NO-IP(https://www.noip.com ) & DynDNS(https://www.dyndns.com ). To use the DDNS feature, make sure you have registered the service on one of those two providers and Keep the router on internet.
For how to register DDNS service from those two service provider, please visit their site and contact support of them.
For how to set up DDNS feature , please follow the steps below
Note: this article uses Archer VR600 v1&v2 for demonstration.
Step1:
Access the web interface of the Modem router by visit <http://192.168.1.1> or <http://tplinkmodem.net>. Input your admin username and password to login the modem router.
Step2:
Go to Advanced on the top, then go to Network on the left side menu and click the Dynamic DNS feature. The page will show as below.
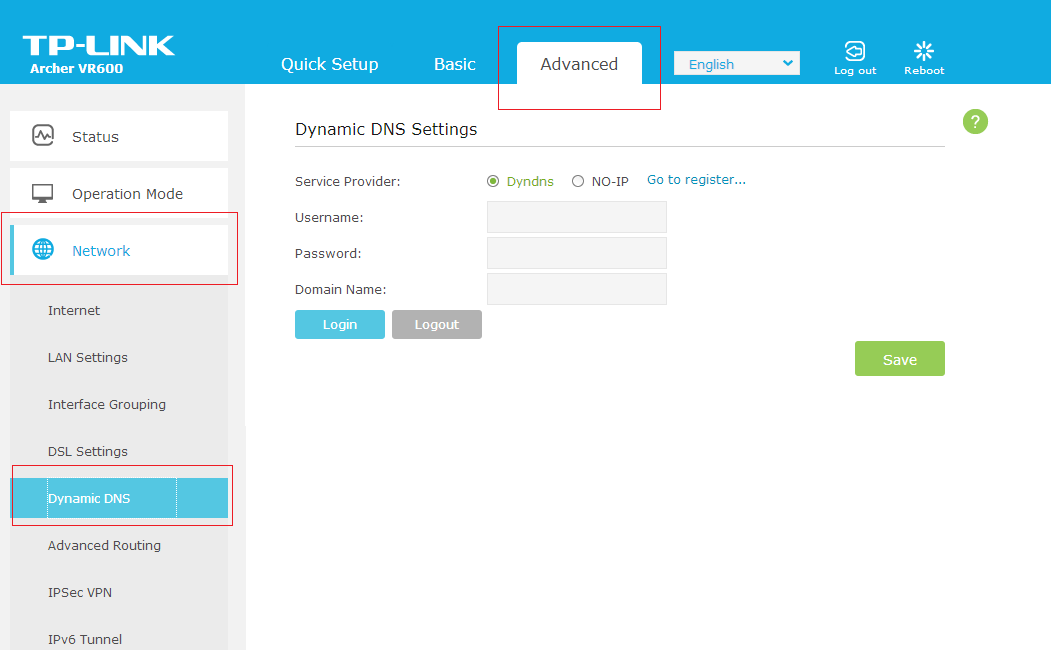
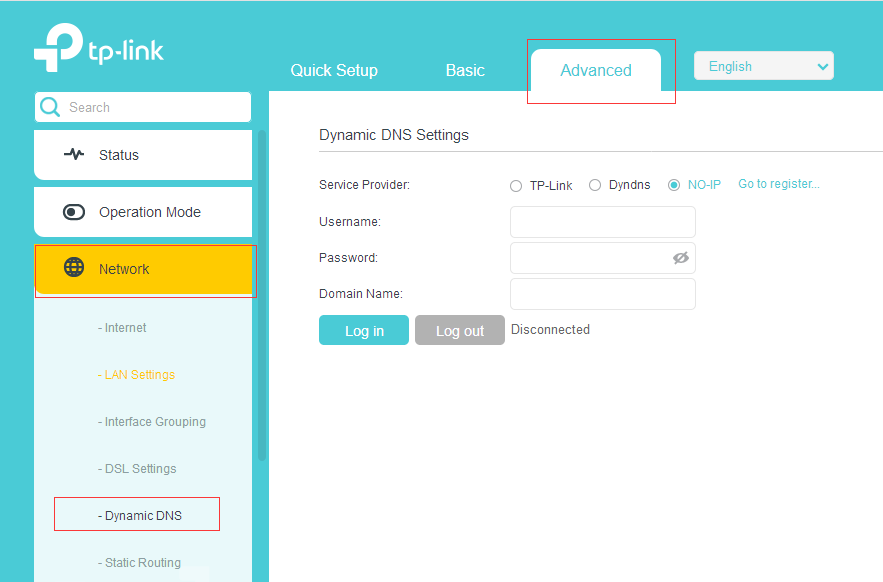
Or this
Step3:
Choose your DDNS service provider, enter the domain name which you want to bind with this modem router and enter your account message to authenticate this modem router with your service provider.
Step4:
Click “Log in” to push authenticate and update your DDNS.
Click “Log out” to disconnect your DDNS from service provider to use another domain name or move this domain name to another devices
Click “save” to save full your DDNS settings on the router’s flash
After set up:
Check your DDNS is activated and updated or not by running “nslookup your_domain_address” command on Windows, MACOS and Linux computer to resolve your domain name.
Because of the flush time of service provider, sometimes your DNS will not get updated immediately. Please running the command again after 5 minutes if you failed to get the DNS resolve successfully.
Get to know more details of each function and configuration please go to Download Center to download the manual of your product.
¿Es útil esta pregunta frecuente?
Sus comentarios nos ayudan a mejorar este sitio.


