How do I change the LAN IP address of a TP-Link Wireless Router?
Step 1. Connect your device to the TP-Link router, and open a web browser and browse to the URL “tplinkwifi.net”.

Note: This url should not provide search results. If you do see search results, do not click on any links and try again. If you have any concerns, we recommend you contact our support team before proceeding.
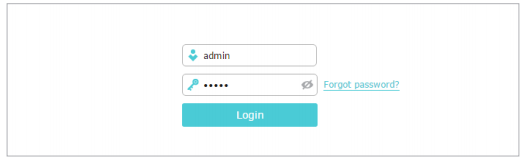
Step 2. Log in to your router. If you have connected your router to your TP-Link Cloud account, you will need to use those credentials to log in.
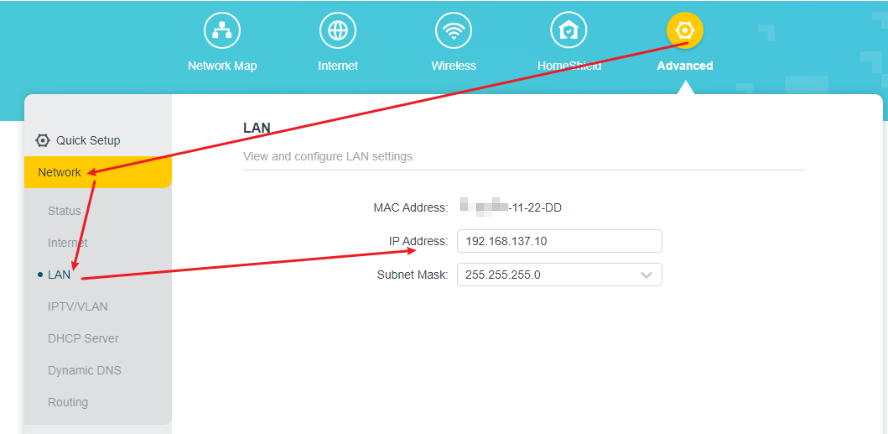
Step 3. From the main screen, click on Advanced > Network > LAN> IP Address. Type in your new LAN IP in the LAN IP field, then click on Save.
The interface may vary depending on the model. If your interface does not have an Advanced tab, go directly to Network > LAN in the side navigation bar.
Get to know more details of each function and configuration. Please go to the Download Center to download the manual of your product.
Looking For More
Questa faq è utile?
Your feedback helps improve this site.


TP-Link Community
Still need help? Search for answers, ask questions, and get help from TP-Link experts and other users around the world.