How to use Printer Sharing on the Wi-Fi Routers (new logo)
If your printer has Ethernet port or Wi-Fi function please ignore this article, and contact technical support of your printer's company.
The feature of Printer Sharing helps you share a printer with different computers connected to the router.
1. Install the Driver of the Printer
Make sure you have installed the driver of the printer on each computer that needs printer service. If you do not have the driver, contact the printer manufacturer.
2. Connect the Printer
Connect a printer to the USB port with the USB cable. Wait several seconds until the USB LED becomes solid on.
3. Install the TP-Link USB Printer Controller Utility
TP-Link USB Printer Controller Utility helps you access the shared printer. Download and Install the utility on each computer that needs printer service.
1) Visit https://www.tp-link.com/technology-library/tp-link-router-with-versatile-usb-connectivity/.
2) Click PC Utility (for Windows users) or Mac Utility to download the installation file and extract it.
3 ) Open the uncompressed folder, then click TP-Link USB Printer Controller Setup (for Windows users) or TP-Link UDS Printer Controller Installer (for Mac users) to install the utility.
4. Access the Printer
You should set the shared printer as Auto-Connect Printer on every computer that needs printer service.
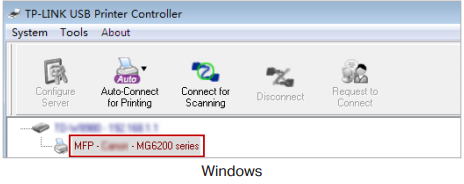
1) Double-click the icon  on your desktop to launch the USB Printer Controller.
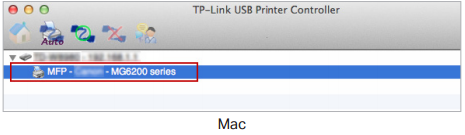
2) Highlight the printer you share.
3) Click the Auto-Connect for printing tab to pull down a list, then select Set Auto-Connect Printer.
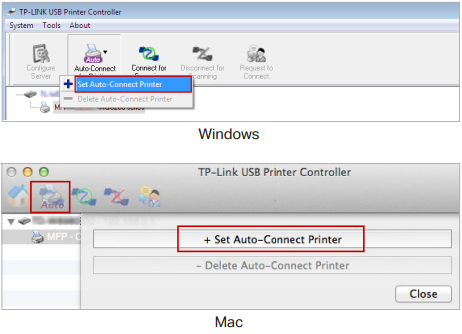
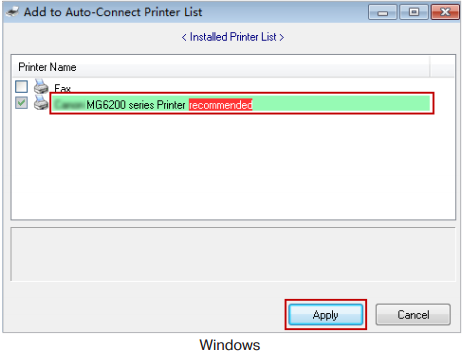
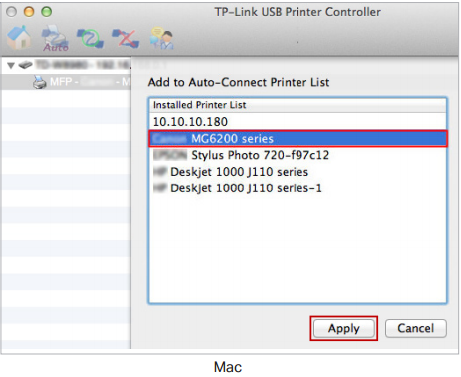
4) Select the printer you share, then click Apply.
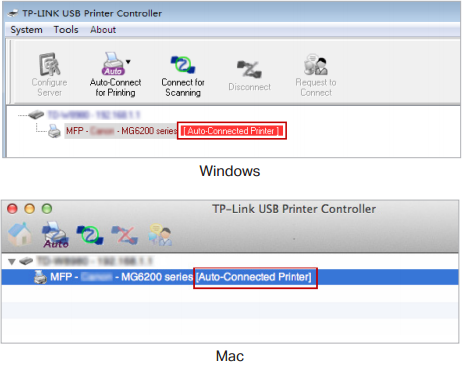
5) You will see the printer marked as Auto-Connect Printer. Now you can print with this printer.
Note:
1. The Print Server also allows different clients to share the scan feature of MFPs (Multi-Function Printers). To scan with TP-Link USB Printer Controller, right-click the printer and select Network Scanner. Then, a scanning window will pop up. Finish the scanning process by following on-screen instructions.
2. Our TP-Link would be compatible with a large proportion of USB printers from most of main brands, like HP, Canon, Epson, Brother, Samsung and Lenovo, etc. If your printer is still not working with our router, it might be the compatibility issue.
Get to know more details of each function and configuration please go to Download Center to download the manual of your product.
¿Es útil esta pregunta frecuente?
Sus comentarios nos ayudan a mejorar este sitio.
