Getting to know your Tapo Camera App
This article allows you to quickly and easily find where a certain function button/icon is located on the Tapo Camera App.
1. Home
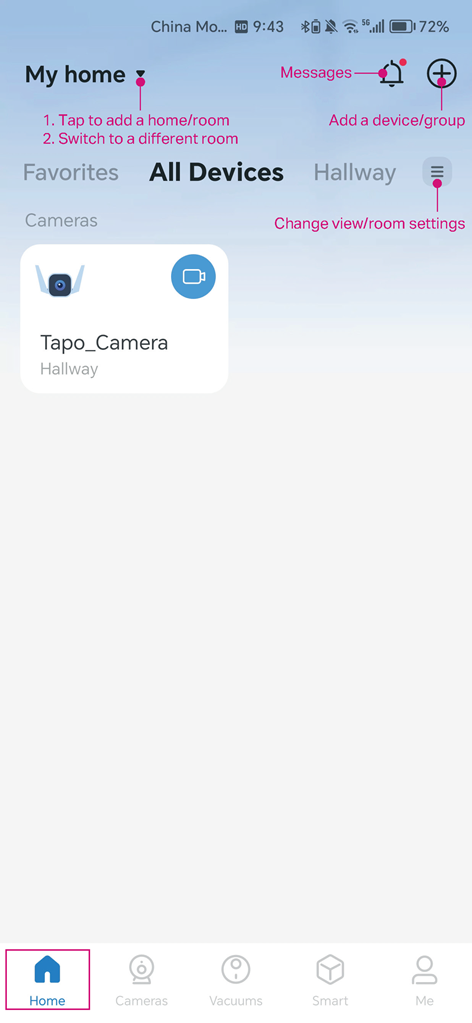
We can tap a device card in the Tapo App, and get more detailed information related to this device.
Here we take Tapo C320WS as an example. After tapping the camera card, we can see the live view page and many functions showing on the camera page.
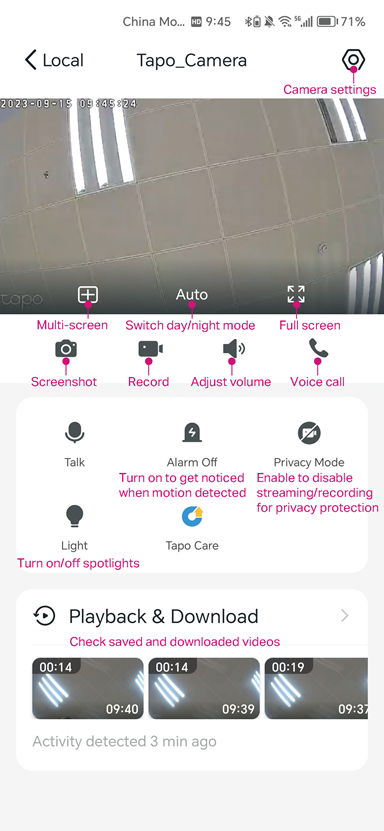
Tap the gear icon to enter Device Settings page. There are many camera features on this page.
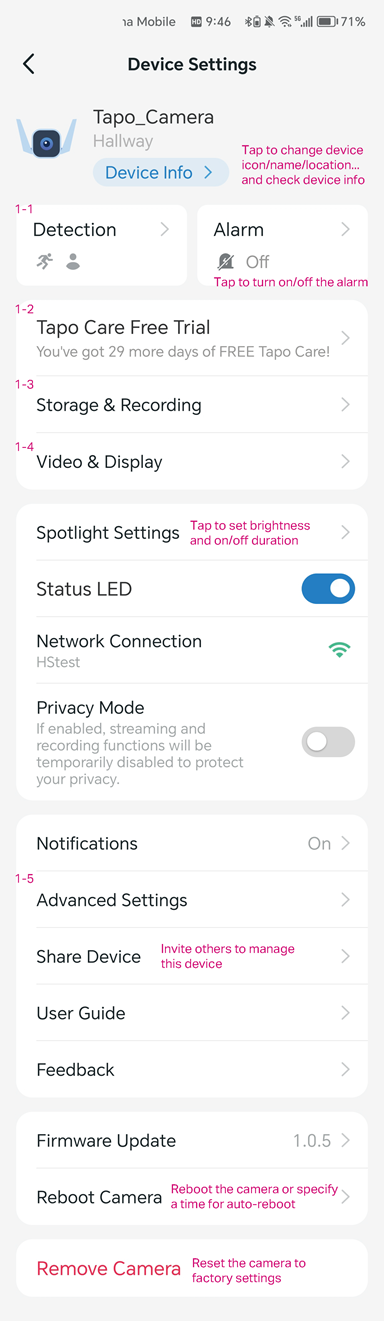
1.1 Detection
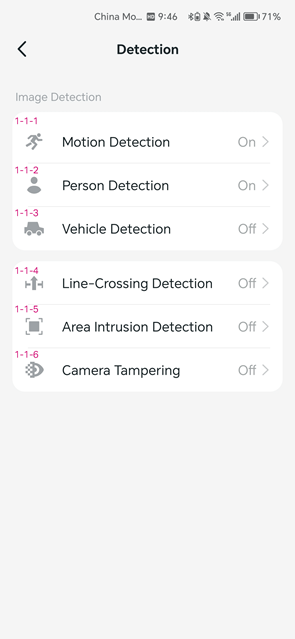
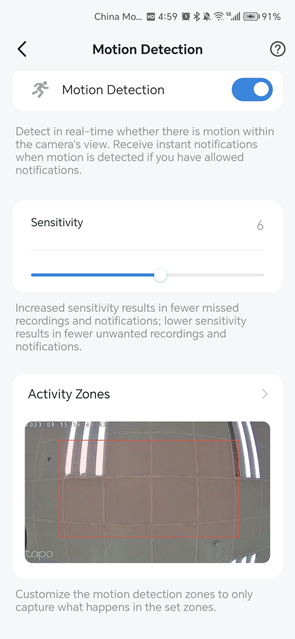
1.1.1 Motion Detection
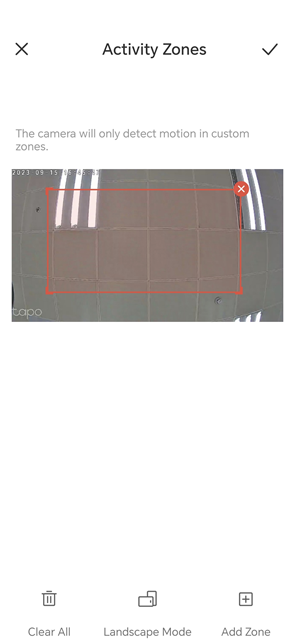
Adjust the sensitivity and customize the motion activity zones.
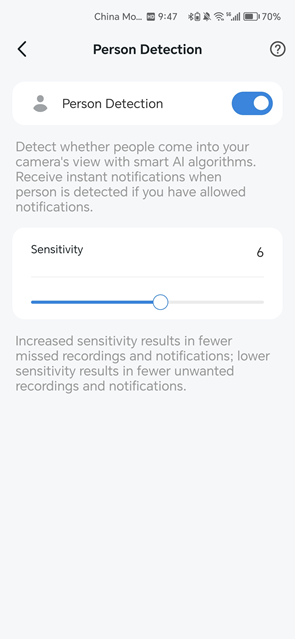
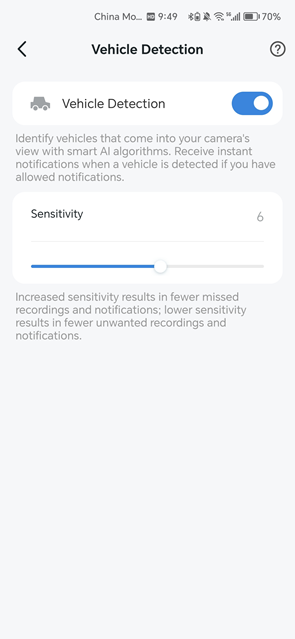
1.1.2.Person Detection/ Vehicle Detection
Receive instant notifications when person/vehicle is detected if you have allowed notifications. Adjust sensitivity for person/vehicle detection.
Note: AI Detection includes person, vehicle, pet, package detections etc., and varies from different cameras. Here we take Tapo C320WS as an example.
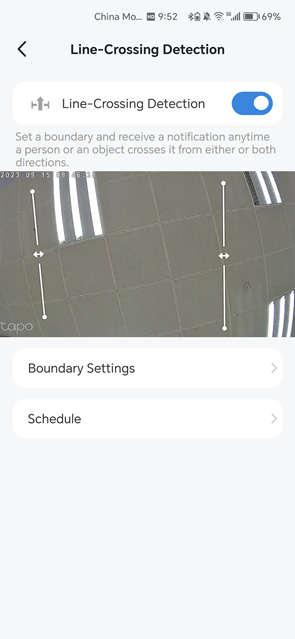
1.1.3 Line-Crossing Detection
Set a boundary and receive a notification anytime a person or an object crosses it from either or both directions.
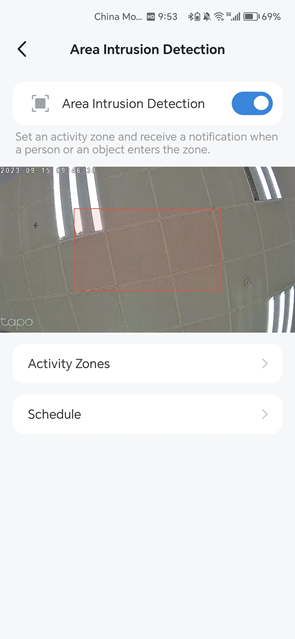
1.1.4. Area Intrusion Detection
Set an activity zone and receive a notification when a person enters the zone.
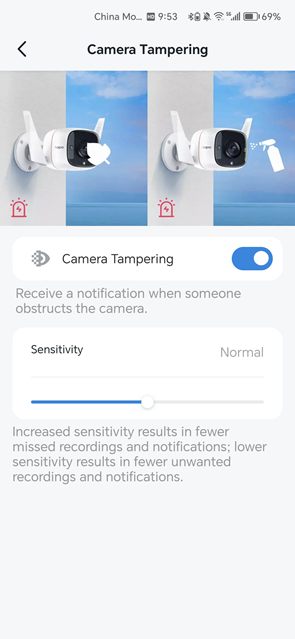
1.1.5 Camera Tampering
Receive a notification when someone obstructs the camera.
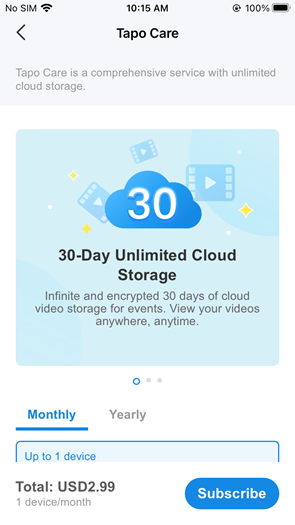
1.2 Tapo Care
Tapo Care is a paid service package launched by TP-Link for Tapo Camera video cloud storage.
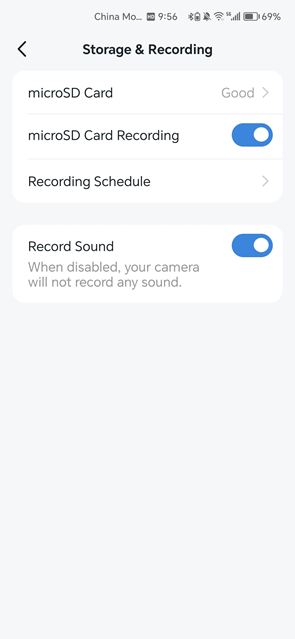
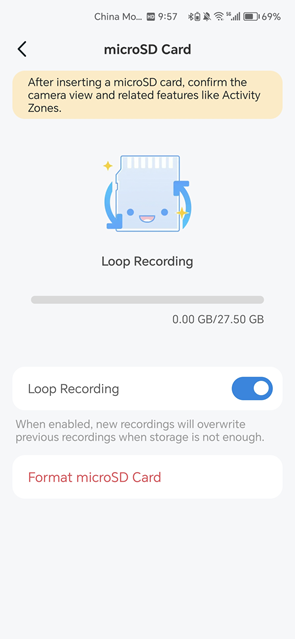
1.3 Storage & Recording
Check the microSD card status, and enable/disable the loop recording function.
1.4 Video & Display
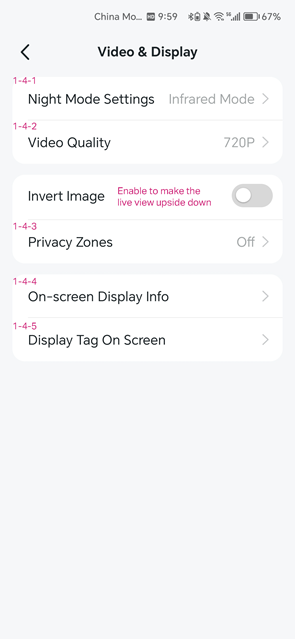
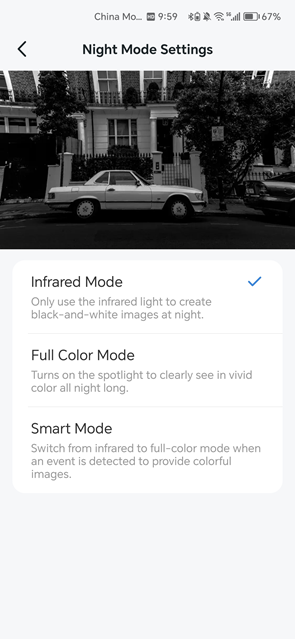
1.4.1 Night Mode Settings
Change the night vision mode, and images will be black-and-white or colorful at night.
Note: Night mode varies from different cameras. Here we take Tapo C320WS as an example.
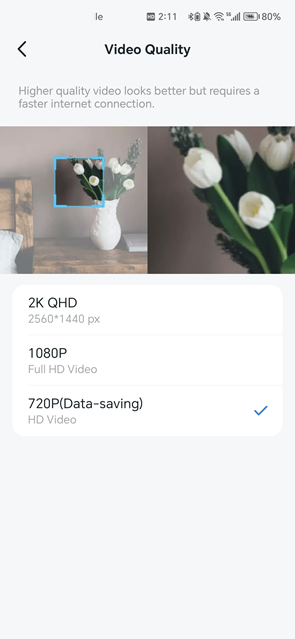
1.4.2 Video Quality
Change the video quality. Higher-quality video requires a faster internet connection.
Note: Video quality varies from different cameras. Here we take Tapo C320WS as an example.
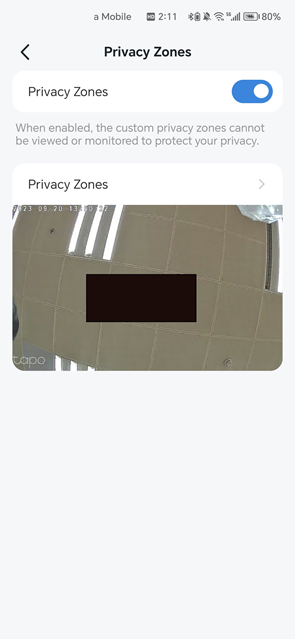
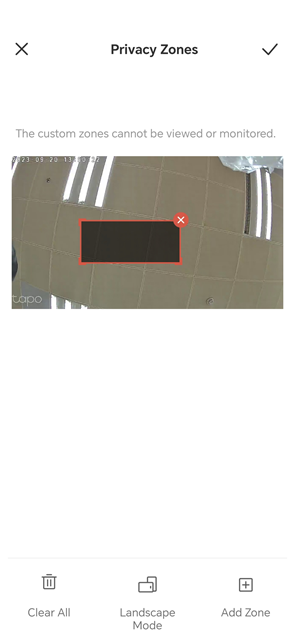
1.4.3 Privacy Zones
Enable privacy zones and customize zones for privacy protection.
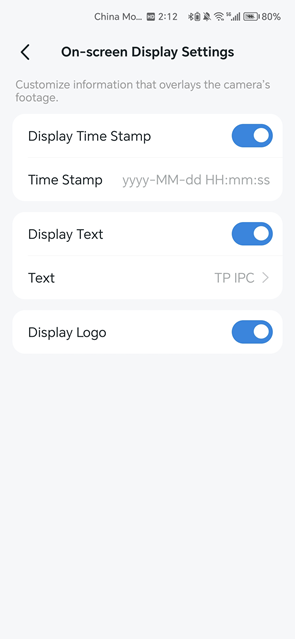
1.4.4 On-screen Display Info
Customize information that overlays the camera’s footage.
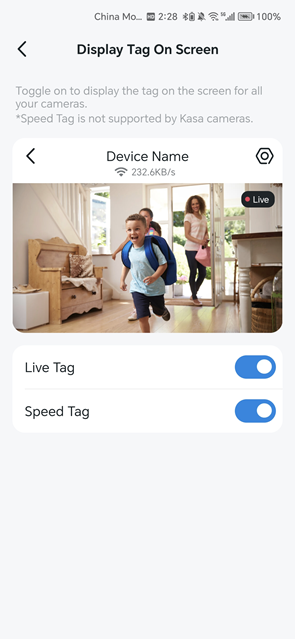
1.4.5 Display Tag On Screen
Toggle on to display the live/speed tag on the screen for this camera.
1.5 Advanced Settings
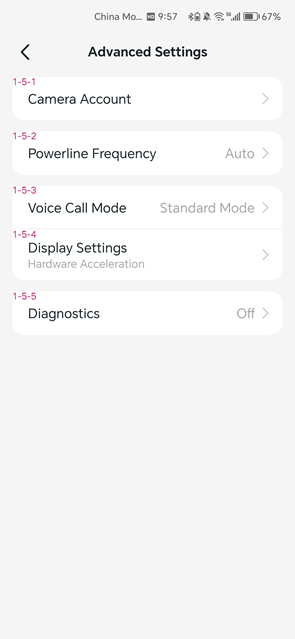
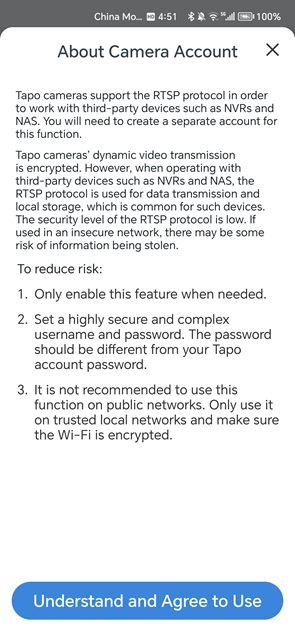
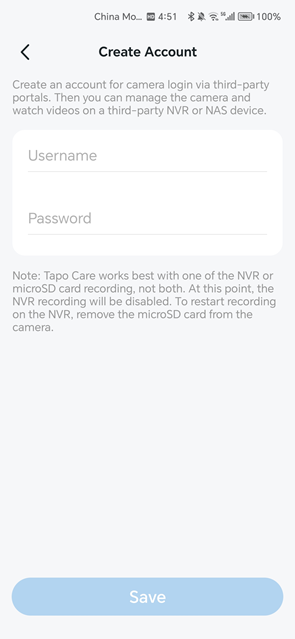
1.5.1 Camera Account
Create an account for camera login via third-party portals.
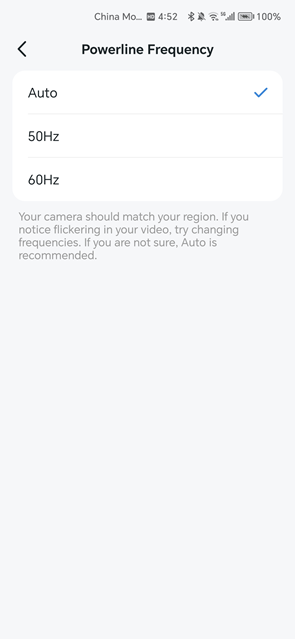
1.5.2 Camera Frequency
Try to change the frequency if you notice flickering in your video.
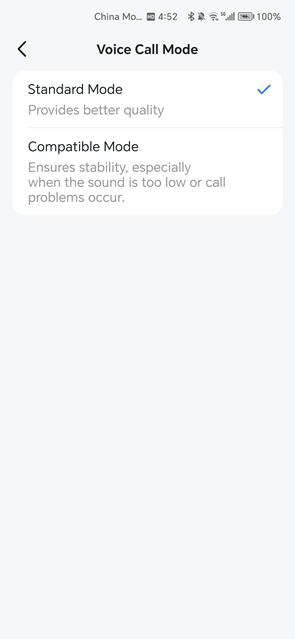
1.5.3 Voice Call Mode
Try compatible mode if there is a call problem or sound is too low.
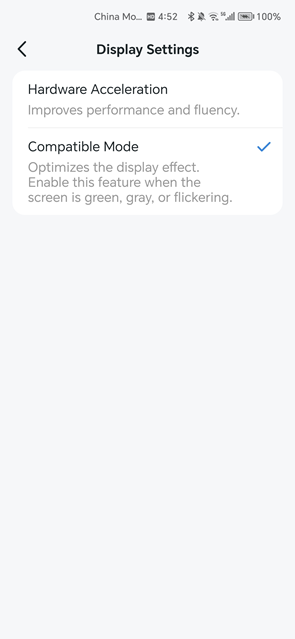
1.5.4 Display Settings
Try compatible mode when the screen is green, gray, or flickering.
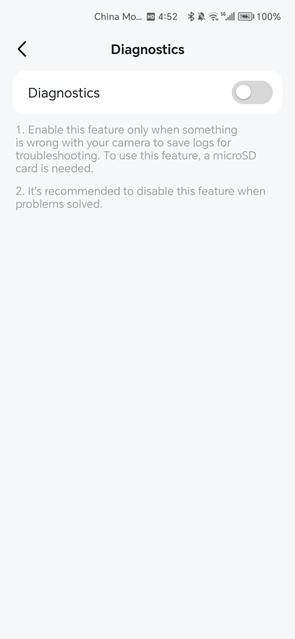
1.5.5 Diagnostics
Enable this feature to save logs for troubleshooting problems with your camera.
2. Cameras
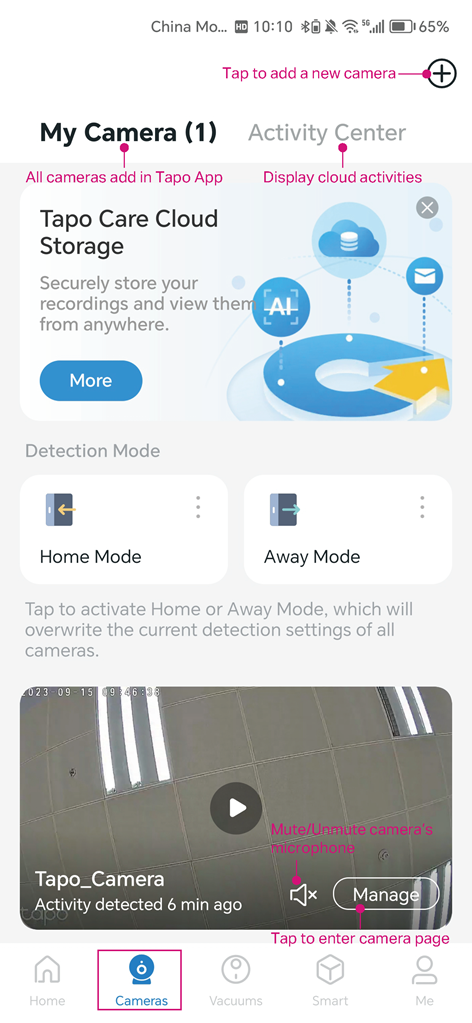
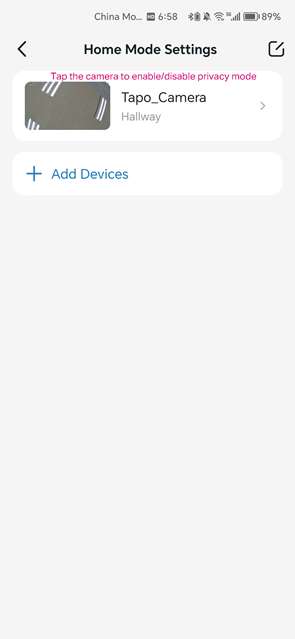
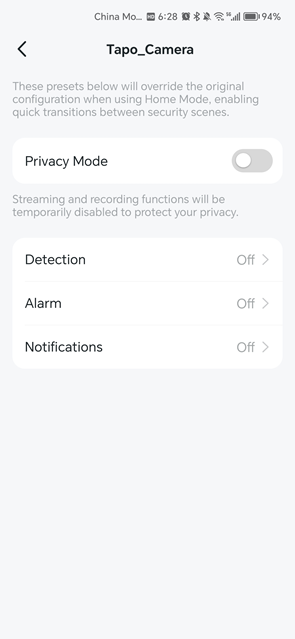
Home Mode/Away Mode
Add cameras to apply home mode or away mode. If you disable Privacy Mode, you can turn on/off Detection, Alarm, and Notifications.
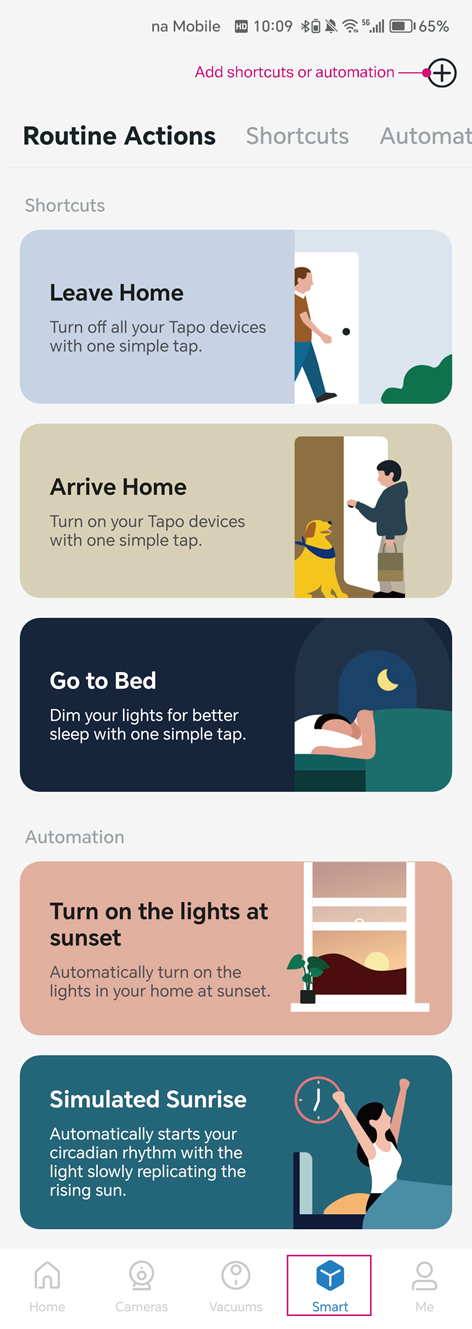
3. Smart
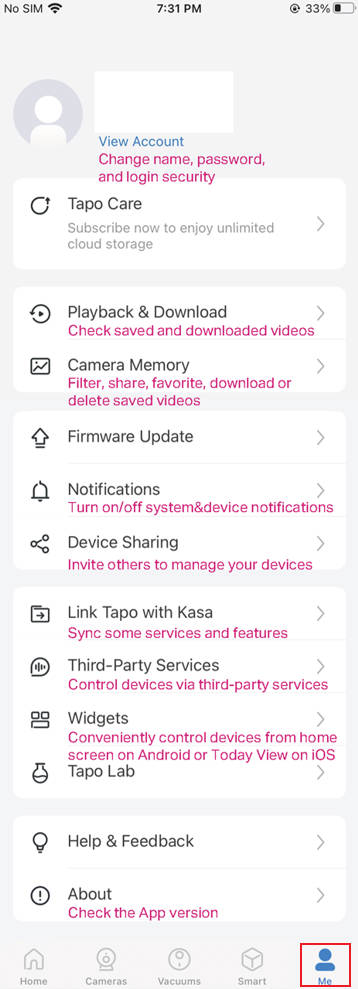
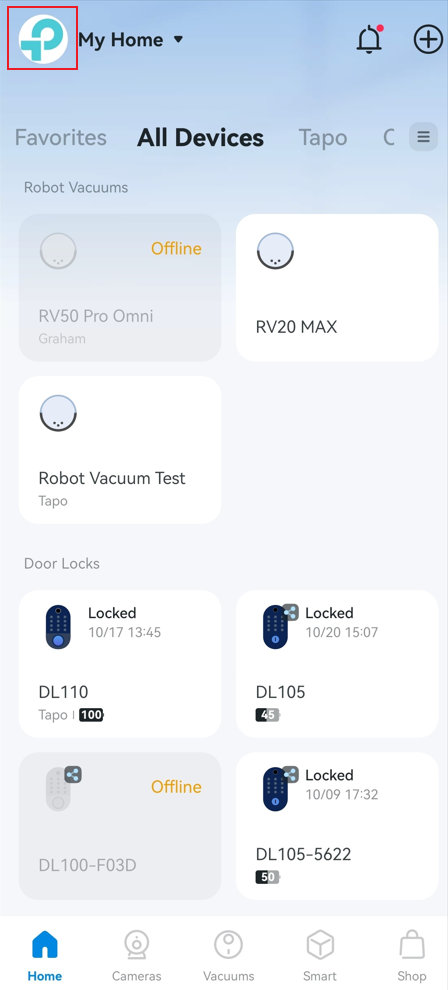
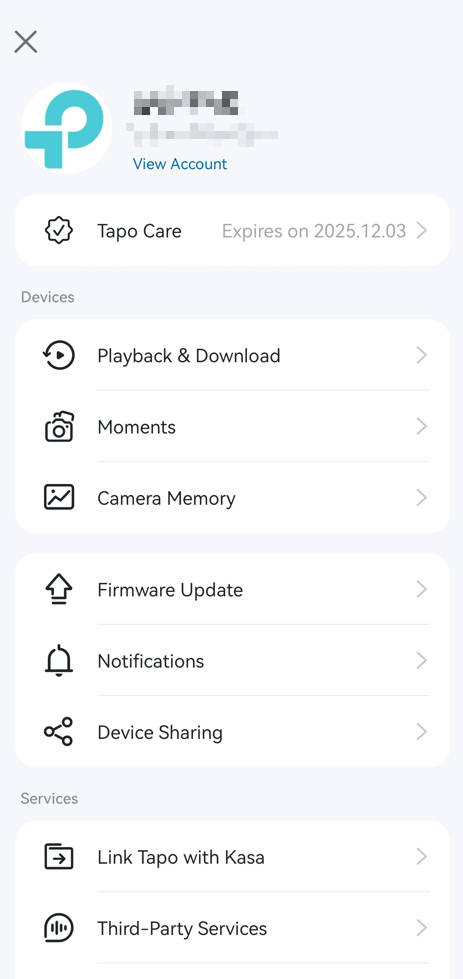
4. Me
The location of Me button may vary by app version. It is located either in the bottom right corner or top left corner of the app.
¿Es útil esta pregunta frecuente?
Sus comentarios nos ayudan a mejorar este sitio.