How to connect my Tapo / Kasa smart device to Google Home
This guide will show you how to connect your Tapo/Kasa device to your Google Home. Once connected, you can use simple voice commands to control Tapo smart plug and smart bulb, or stream your Tapo camera videos on your Google Nest/Chromecast device display.
For Matter devices, we provide a method to link with Google Home directly, and no need to set up with Tapo APP.
Link Tapo / Kasa service with Google Home
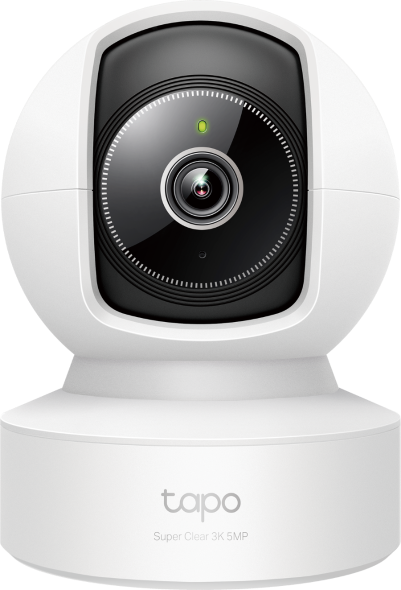
To get started, make sure your Tapo device is set up and online. Here we take Tapo camera as an example.
Option 1:
- Open the Tapo/Kasa app, tap Me > Third-Party Service > Google Assistant > Tapo/Kasa Actions.

- Tap Link from Google Home app , then it will turn to Google Home APP automatically.

3. Google Home will start link procedure and open the Tapo APP. Tap Agree & Link.

4. The link procedure is finished. You will see the devices linked to your TP-Link ID. Select a device to assign to different home and rooms.

5. The devices are connected successfully.

Option 2:
- Open the Google Home app, tap device menu and then tap the Add button.
- Tap Works with Google Home, and search Tapo/Kasa.
- Tap Tapo/Kasa, it will automatically open the Tapo/Kasa APP and start link procedure.

- The following steps is the same as Option 1.
Enjoy!
You can stream your Tapo camera videos on your Google Nest display using simple voice commands. For example: “Hey Google, show my Tapo Smart Wi-Fi Camera”.
Note: Every time you change the name of the Tapo device, you will need to discover the device again to update its name.
The length of time you can stream the live feed through Google Assistant
Watching the live feed of Tapo cameras through Google Assistant will use your internet traffic as it’s a Cloud-to-Cloud service. In consideration of your extranet traffic and performance, the live feed will stop automatically after 10 minutes. However, you can ask Google to show the camera again if you want to continue streaming.
Matter devices connect to Google Home directly
Please refer to this FAQ for more information:
How to set up Matter device with Alexa, Google, Apple or SmartThings
Is this faq useful?
Your feedback helps improve this site.

(1)_normal_20240513182614f.png)
TP-Link Community
Still need help? Search for answers, ask questions, and get help from TP-Link experts and other users around the world.